Shaping the Front Edge
With my breadboard end fitting nicely onto the tongue, I turned my attention to shaping the front (end grain) edge of the breadboard to match the live edge of the slab. I started by marking where the breadboard and the edge met. I then made successive cuts with the table saw to remove the bulk of the material to match the breadboard edge to the slab edge.
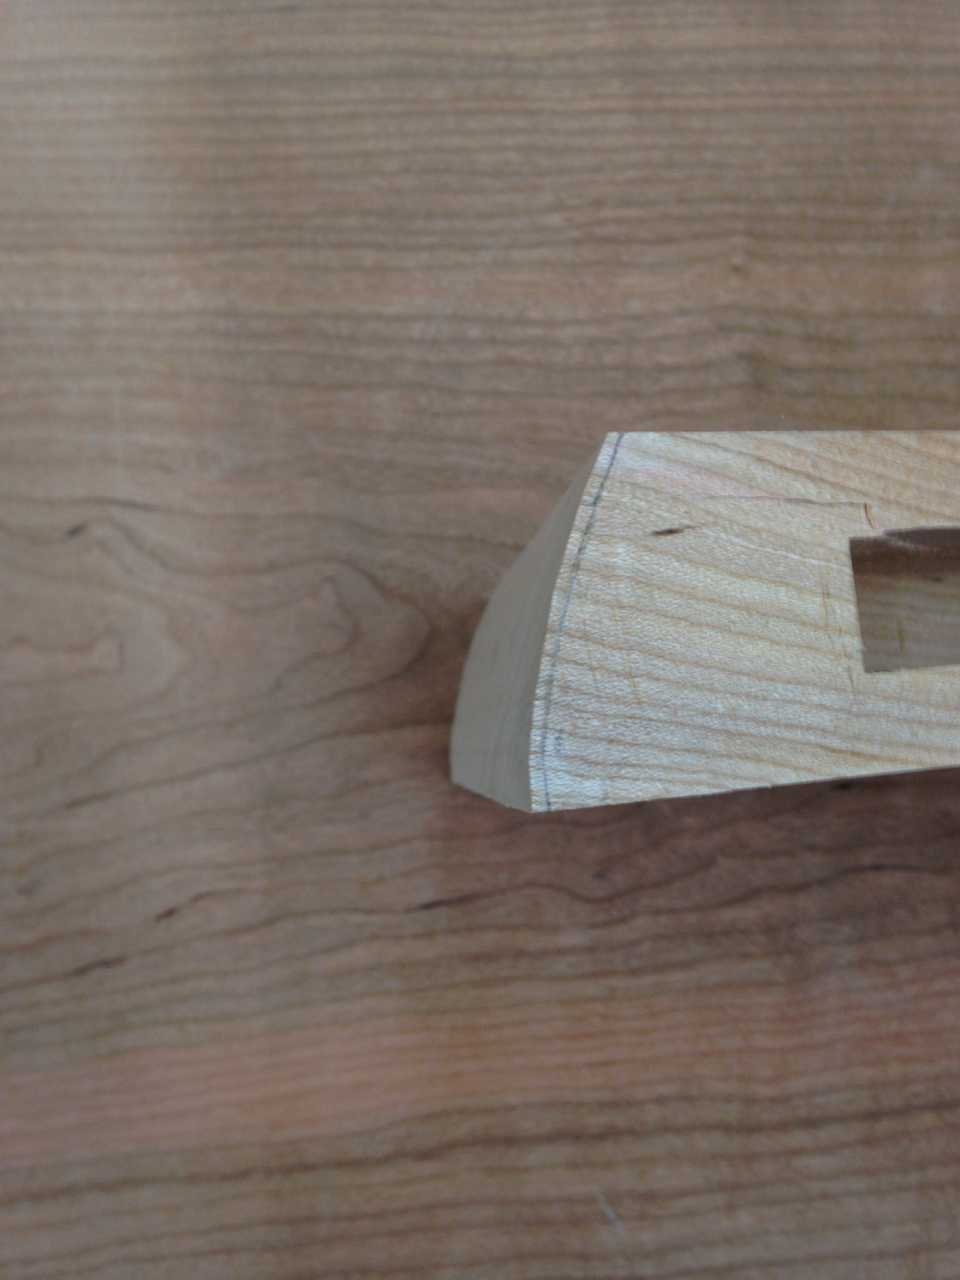
After shaping the front and fitting it, it was obvious how the front of this end of the slab gets thinner on the bottom at the front. That left my breadboard too thick at the front.
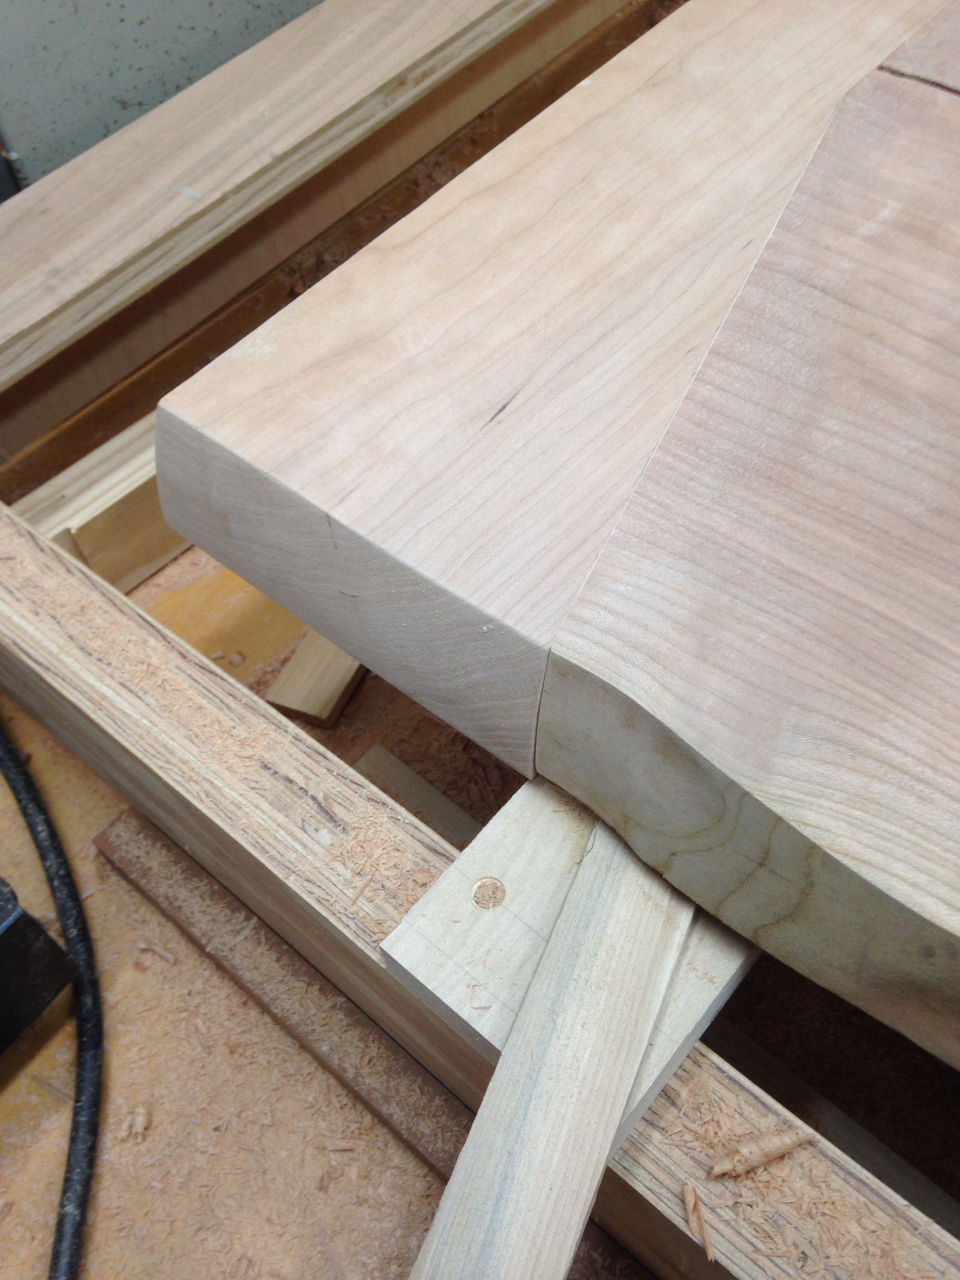
So I marked the bottom edge, and hogged off the material traversing with a jack plane.
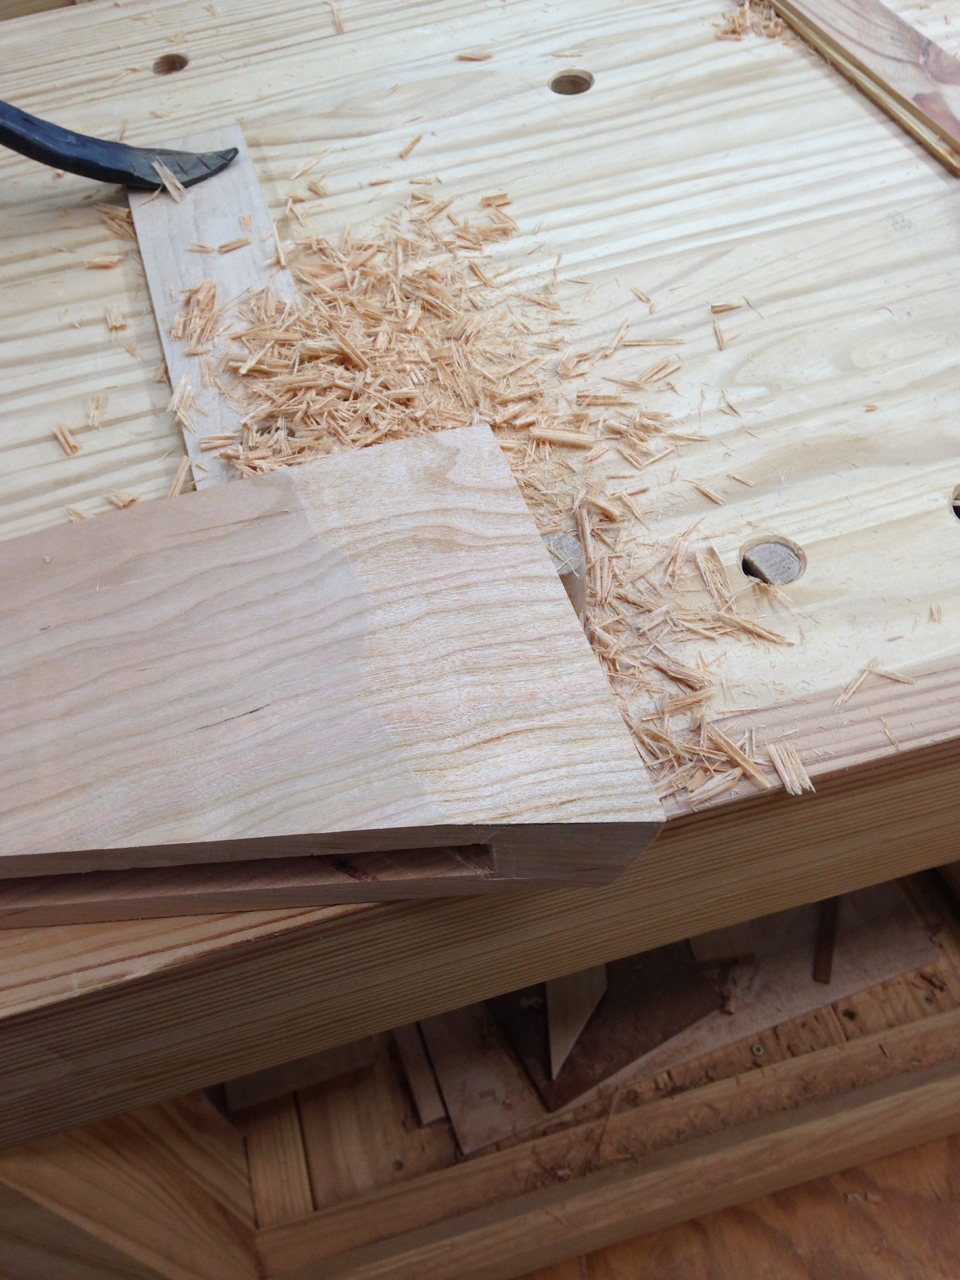
A bit of time with a smoother to even the edge and I was done.
Pegging the Breadboard to the Slab
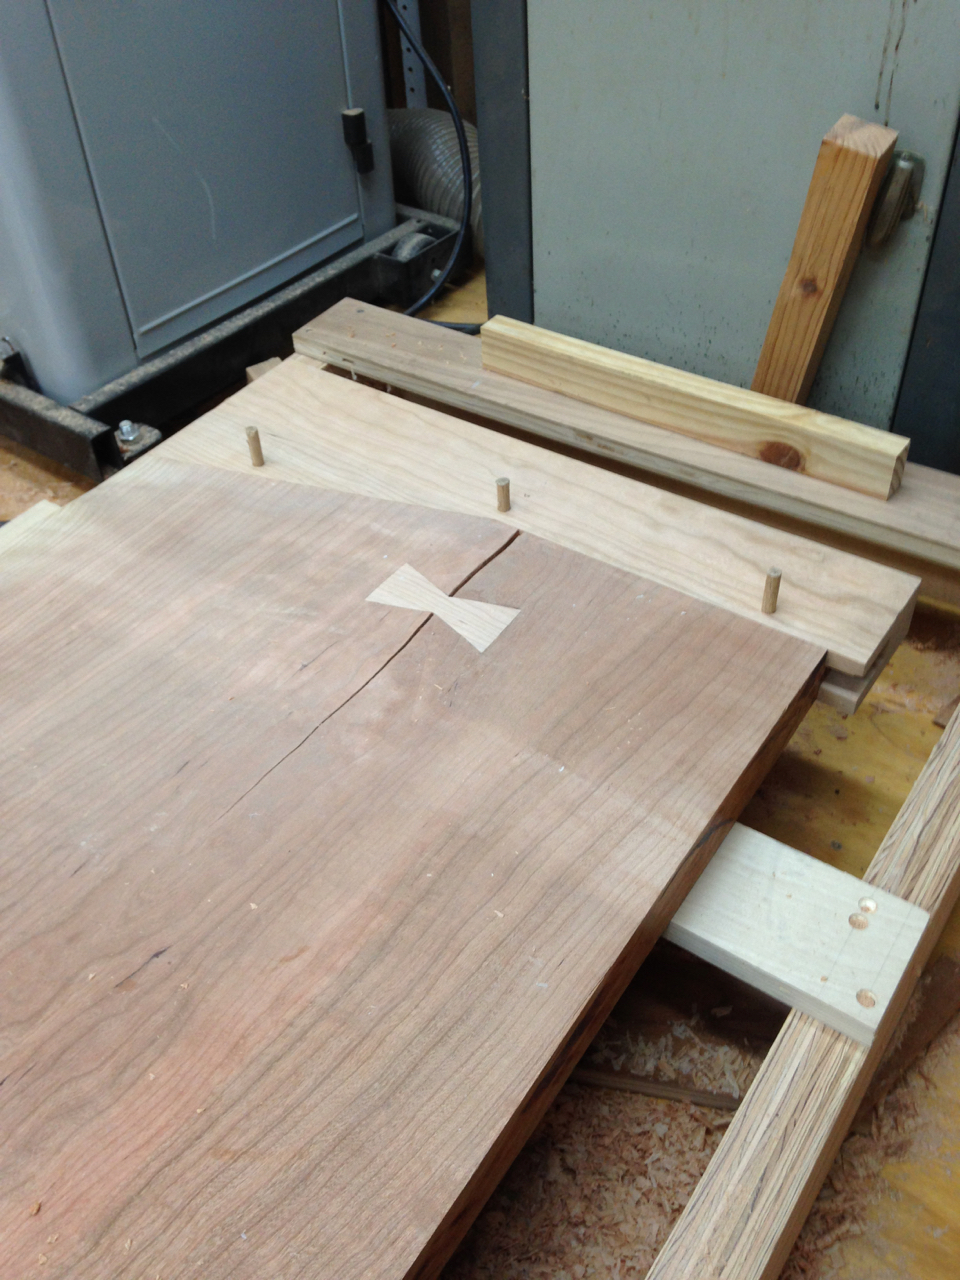
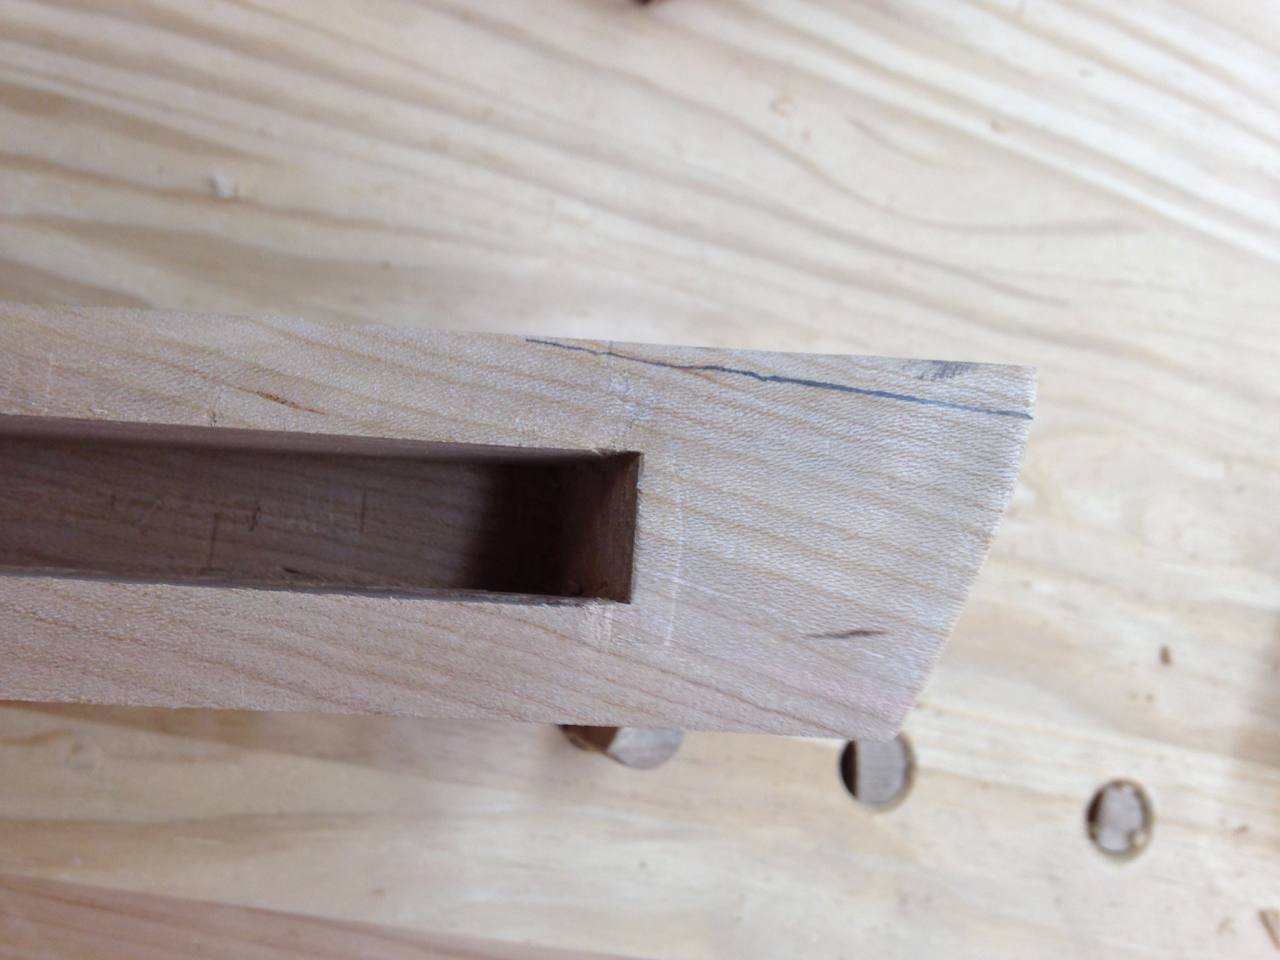
I had not intended to use through pins to fasten my breadboard end. But as I thought about it, I realized I couldn’t drawbore the holes if I didn’t. Drawboring is a technique where you drill the holes in the breadboard end and then drill the holes on the ‘tongue’ of wood slightly toward the shoulders of wood that meet the breadboard. If you sharpen your dowels you can drive the pegs through the offset holes and the offset will help pull your breadboard tight against the panel (in this case the slab top). If you want all the details, check out this great posting by Chris Schwarz (of Lost Art Press) on the Popular Woodworking site.
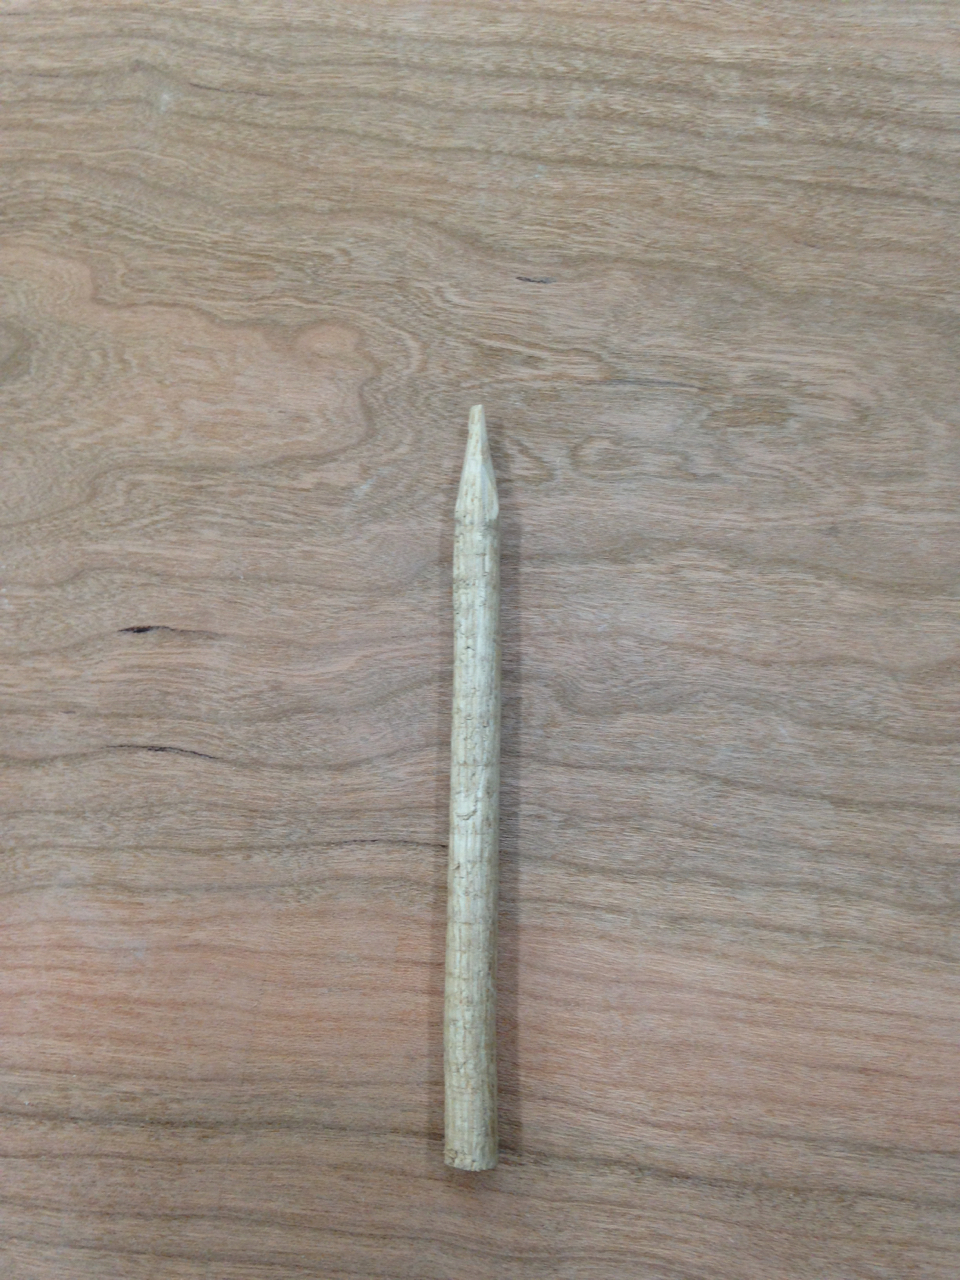
I had some nice hickory dowels left over from building my workbench a few years ago, but they were 3/8” in diameter, which I felt was too large aesthetically and from a materials perspective. So I used a homemade doweling plate to drive the dowels through increasingly smaller holes until I ended up with them just about 5/16”. I have a nice drill bit set that let me drill a hole 1/64th smaller, for a snug fit.
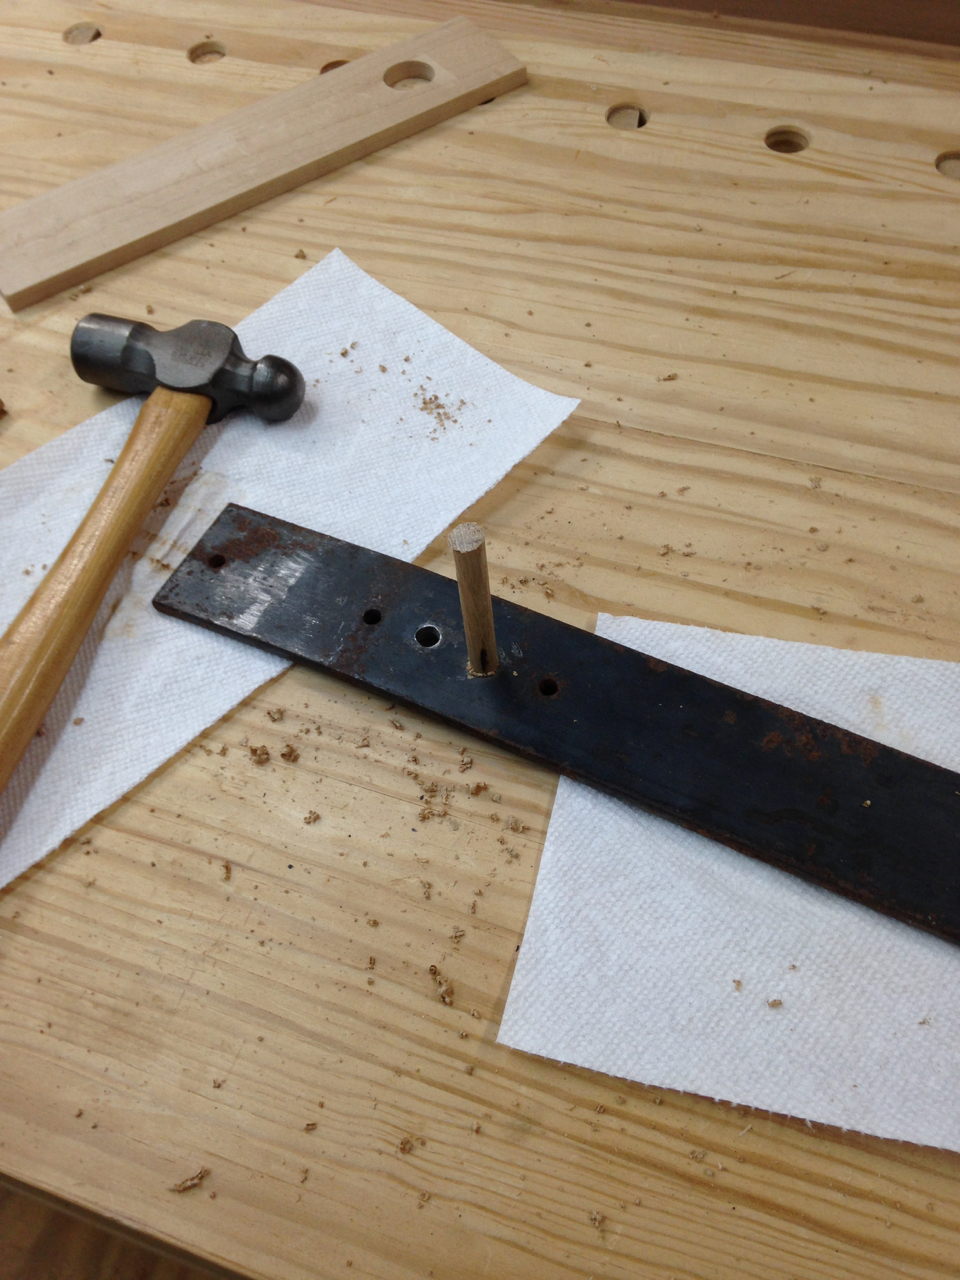
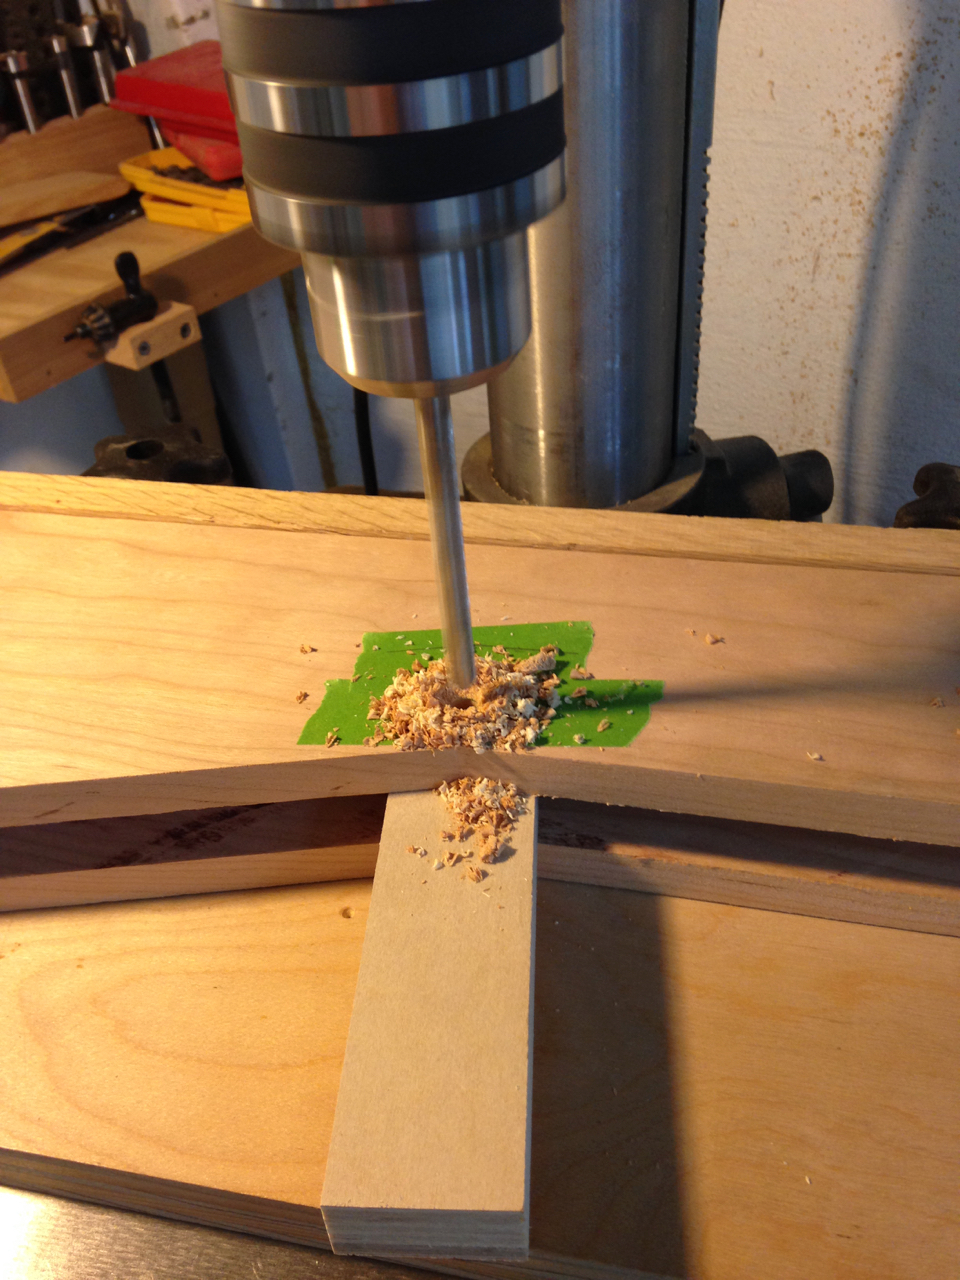
Drilling the holes is a two step process, as you drill the holes in the breadboard end, then mark and drill slightly offset in the tongue, elongating the two holes at front and back to allow for wood movement. A drill press made it straightforward to drill the holes in the breadboard.
Years ago, my brother-in-law Tom got me a transfer punch set for Christmas. It’s come in handy so many times (Thanks, Tom!)
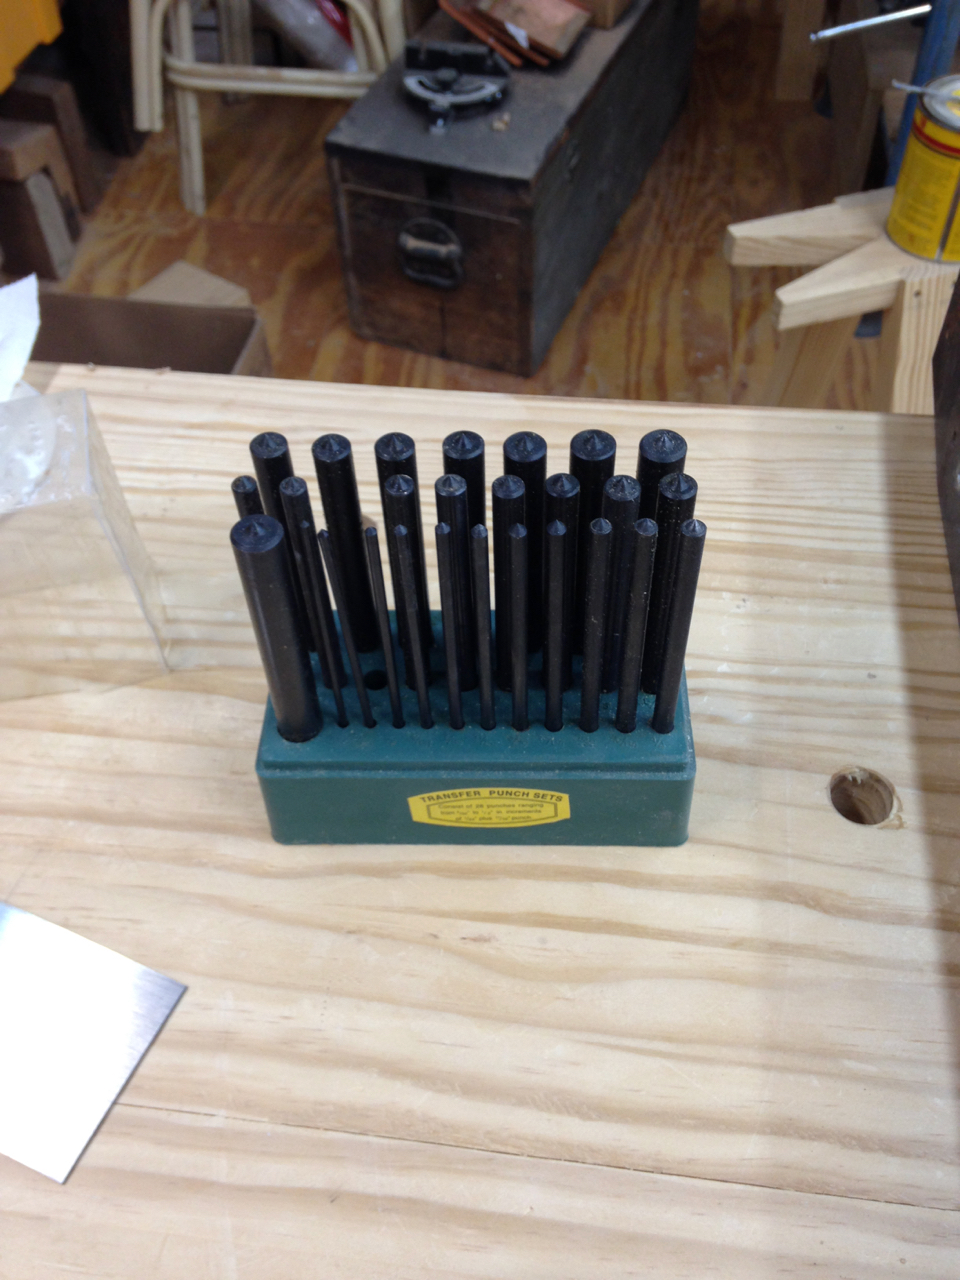
I used it to mark the tongue with the breadboard fitted.
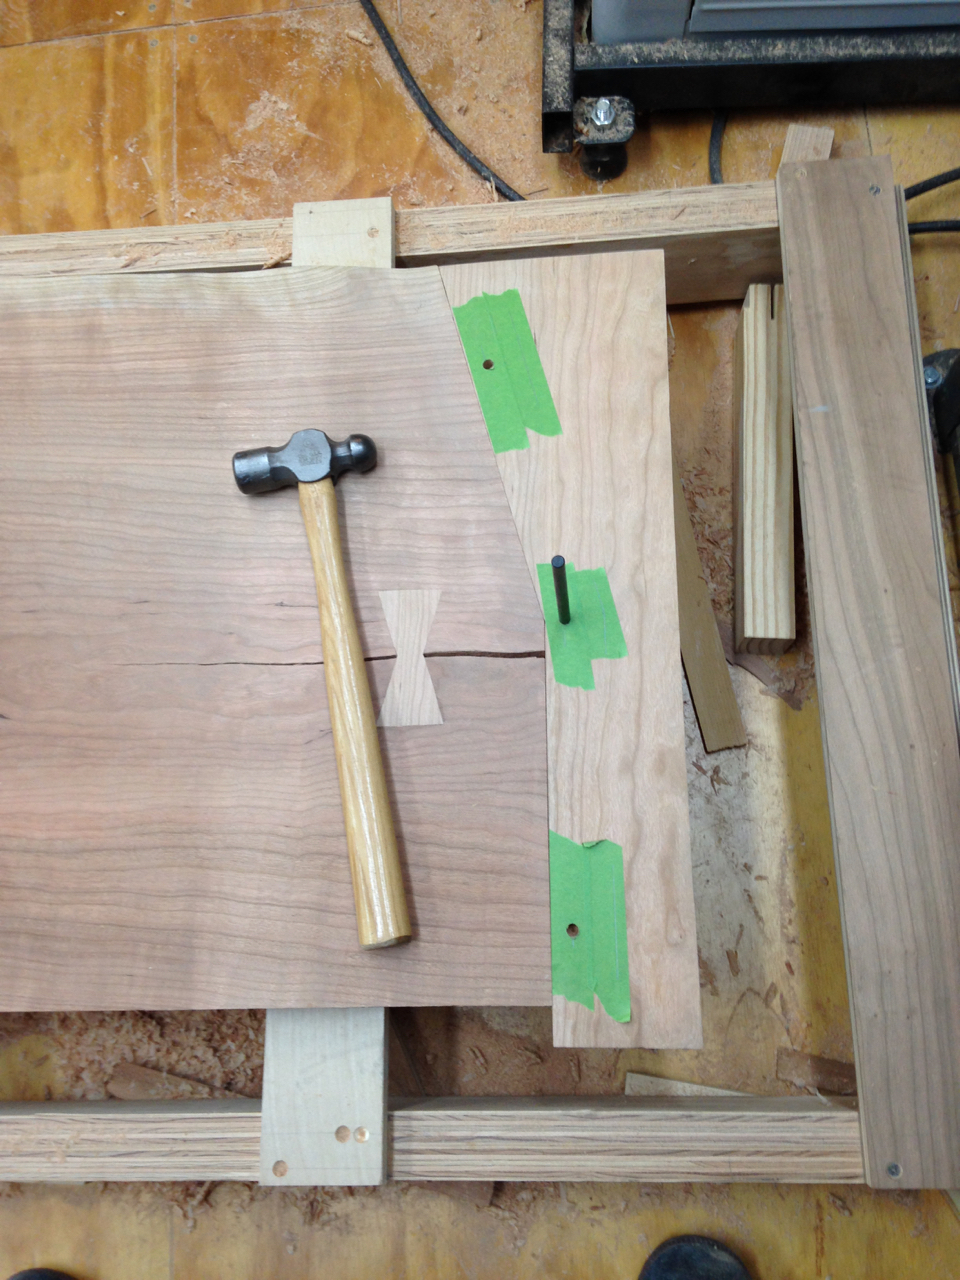
I then ‘moved’ the dent a bit closer to the shoulder of the tongue with an awl and drilled the holes in the tongue. I elongated the holes at the front and back to allow for wood movement.
It’s always a bit nerve-wracking driving in the pins. I’ve yet to have one break/shear on me, but if it did I’d have a mess on my hands. All turned out well.