I spent quite a bit of time in the shop today. I did some work on my gate repair project, which I’ll document sometime soon. But most of the time was spent learning how to fit inset doors. There are a lot of ‘firsts’ when I tackle a project, since it’s a hobby.
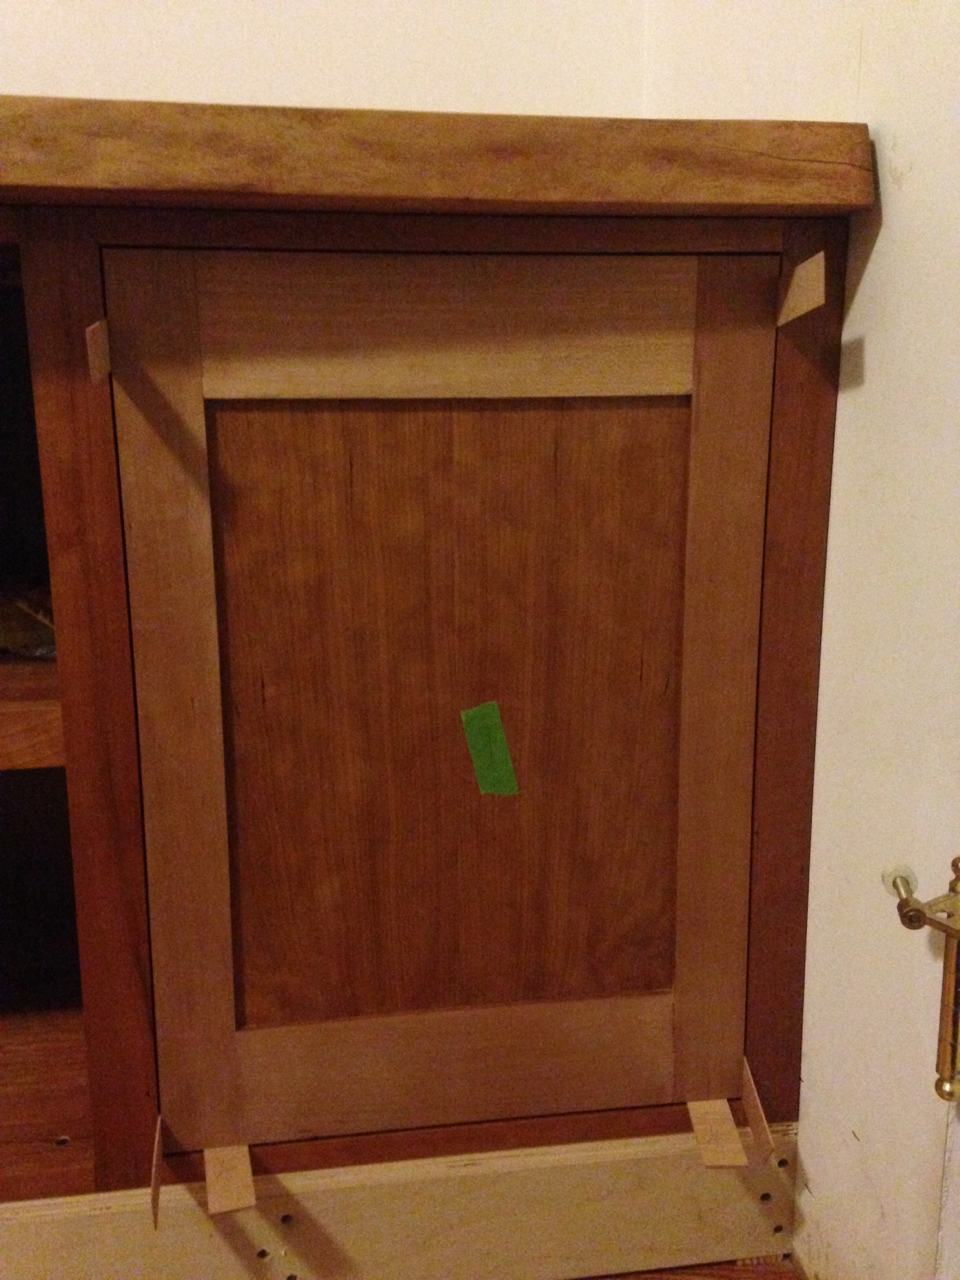
Inset doors are much more time consuming than overlay doors, because you have to fit each door individually to it’s opening. Invariably, the opening is not quite perfectly shaped, and though you won’t notice if the door is not exactly square, you’ll immediately spot a gap that gets narrower or wider along it’s length. On the plus side, inset doors (at least to my eye) look much, much better than overlay doors when done well. So now I get to learn how to do them well…
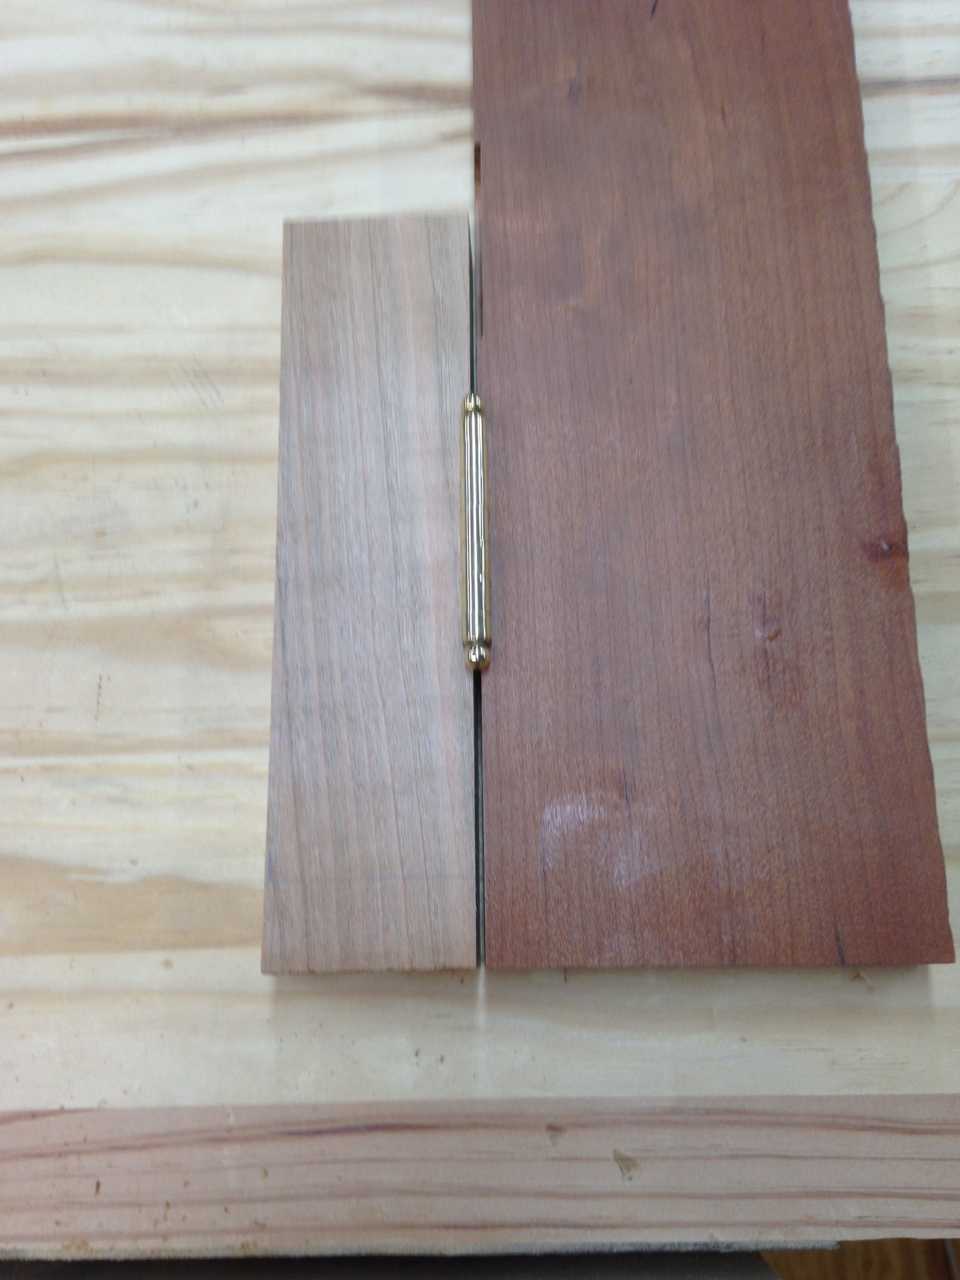
I used the hinge jig I made yesterday to make mortises in two pieces of cherry scrap and mounted a hinge in them. This allowed me to measure how large the gap on the side of the door needs to be. That turned be 1/16th of an inch.
So the sides and top need a gap of 1/16". The bottom needs a 1/8" gap to account for the bullet catch I’ll install to hold the door in place when closed, and to allow for a small amount of sag over time.
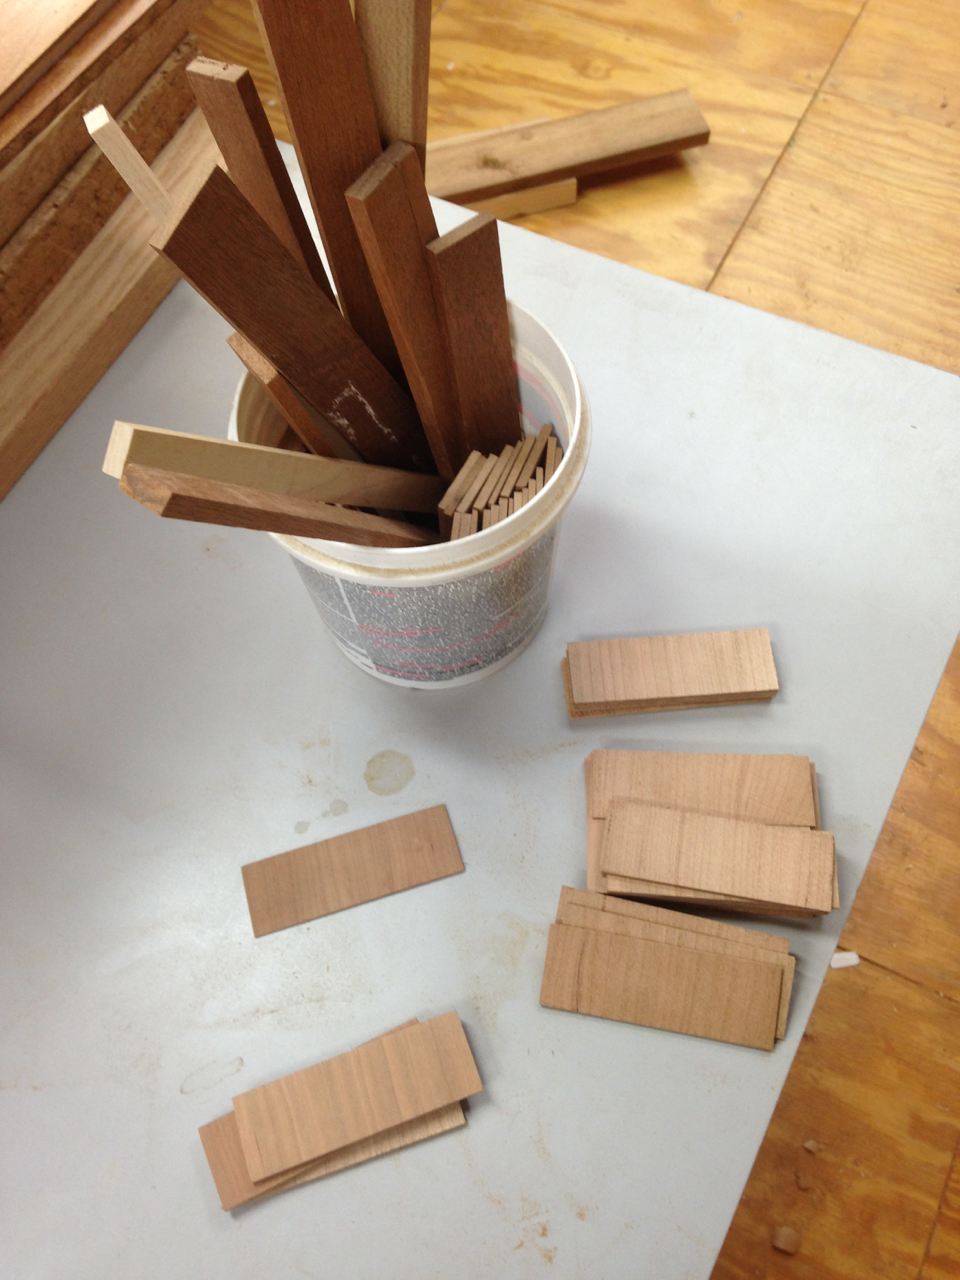
To hold the doors while fitting them and to check spacing, I need shims 1/16" thick and a few 1/8" thick. I was all set to head to the hardware store with my dial calipers to find things of appropriate thickness. Then I remembered all the offcuts from the tenons on my door rails. I’ve learned with these projects to keep pretty much everything until the project is done, and in this case had already decided to save these since they are a variety of thicknesses in a nice size. You never know when you’re going to need a thin shim of some odd thickness.
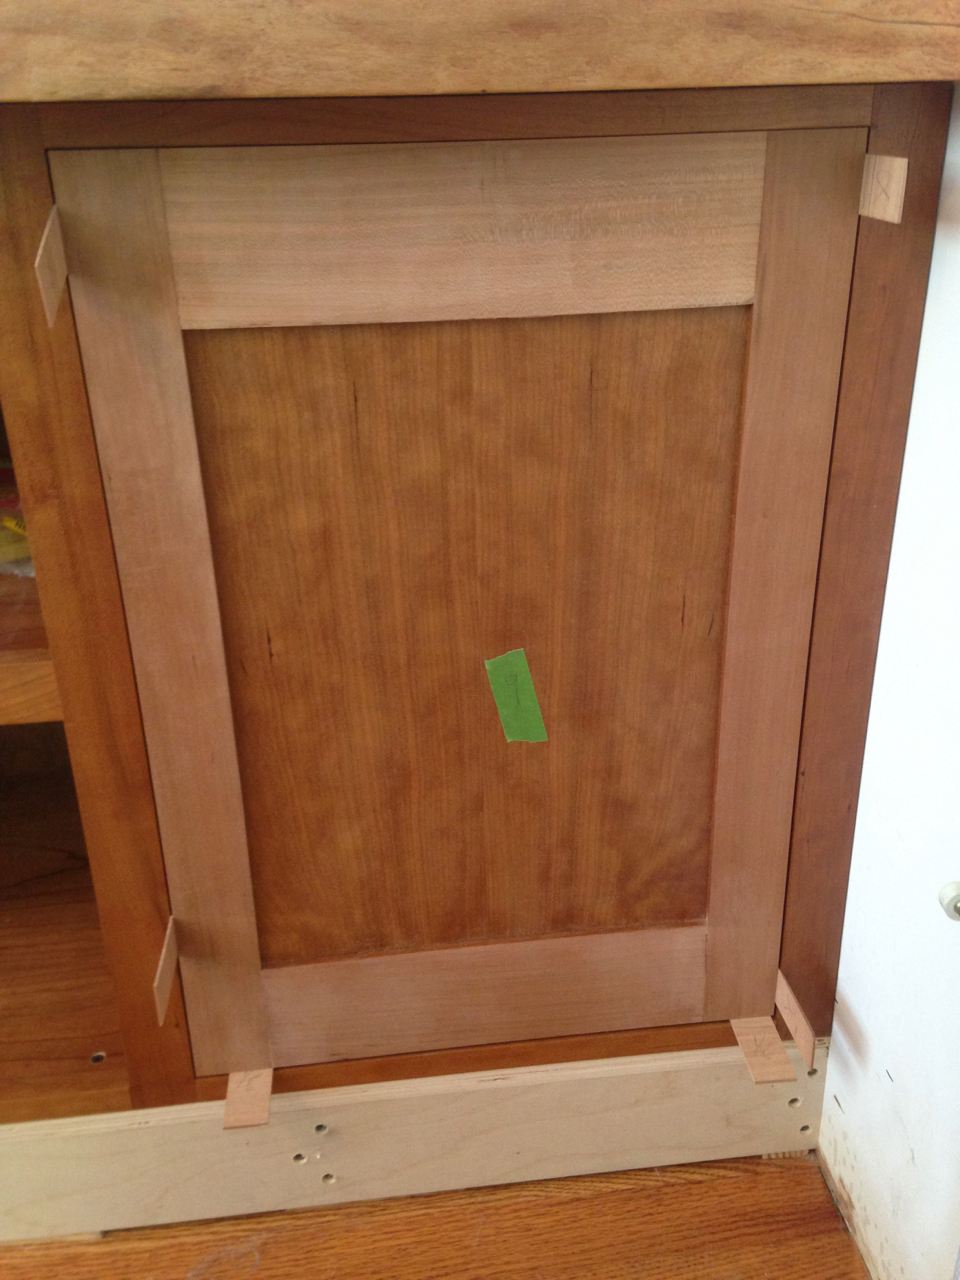
Once I had sorted through these to find ones of appropriate thickness, I spent some time trimming the door until it almost fit.
You probably can’t tell in the picture, but the door is actually sitting a bit high on the lower right side. So removing a bit of material from the right edge (more at the top tapering to nothing at the bottom) dropped that side to give a true 1/8" gap at the bottom. It did leave the top too close to the frame.
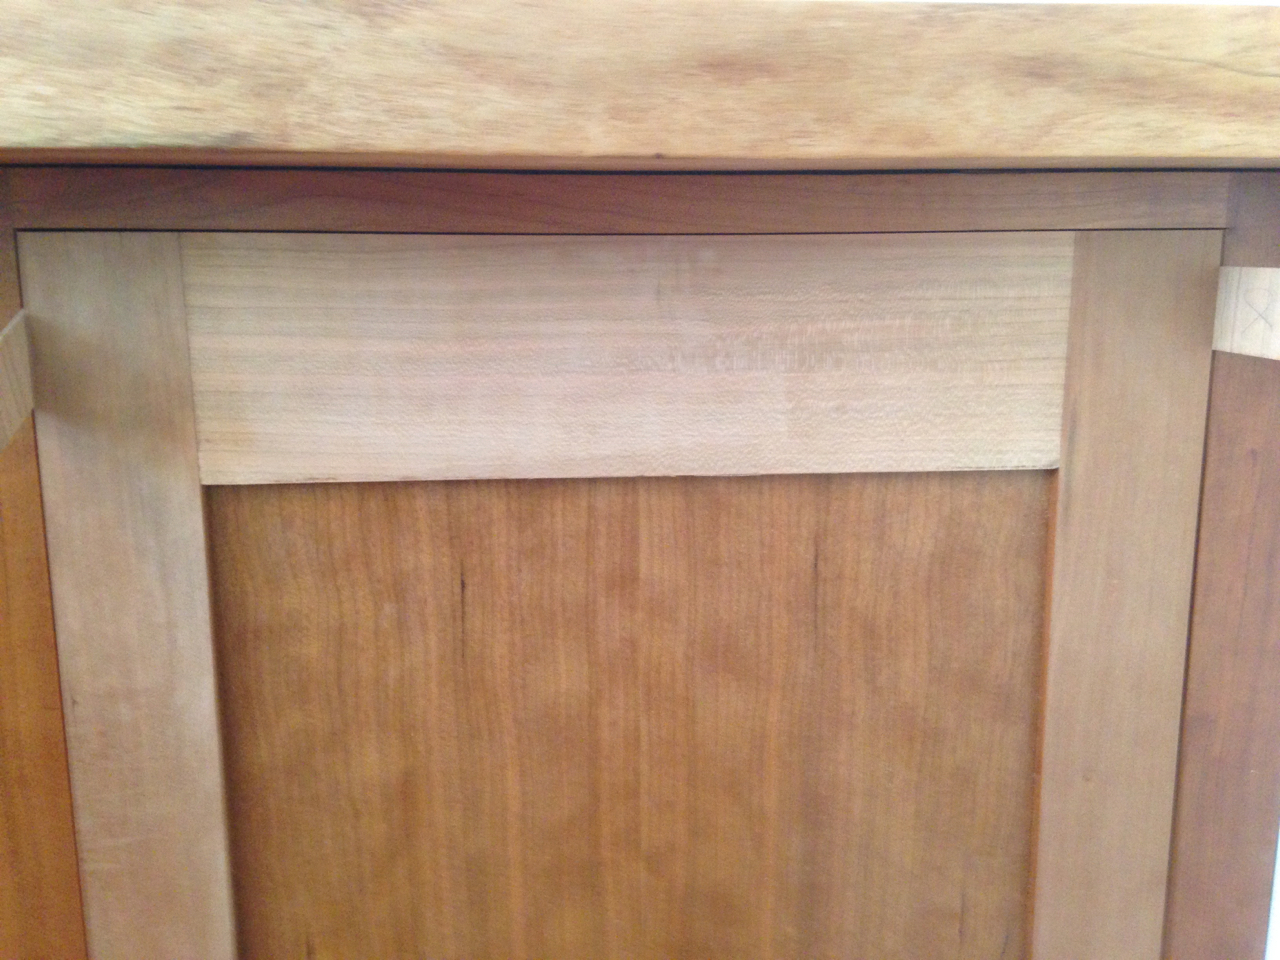
It also left the left edge with an uneven gap. I used a hand plane again to even out the gap. Then I used my crosscut sled to finish trimming the door to leave a proper gap at the top. I’m using a very fine cut sawblade that is narrower than a normal saw blade. It gives a very smooth edge but since it’s narrower than my normal blades I couldn’t use the edge of the gap in the sled as a guage for how much material I’m removing. Being able to do so is a huge time saver, so I used some double-sided carpet tape to temporarily install a thin sheet of plywood onto the sled and regain that zero-clearance edge.
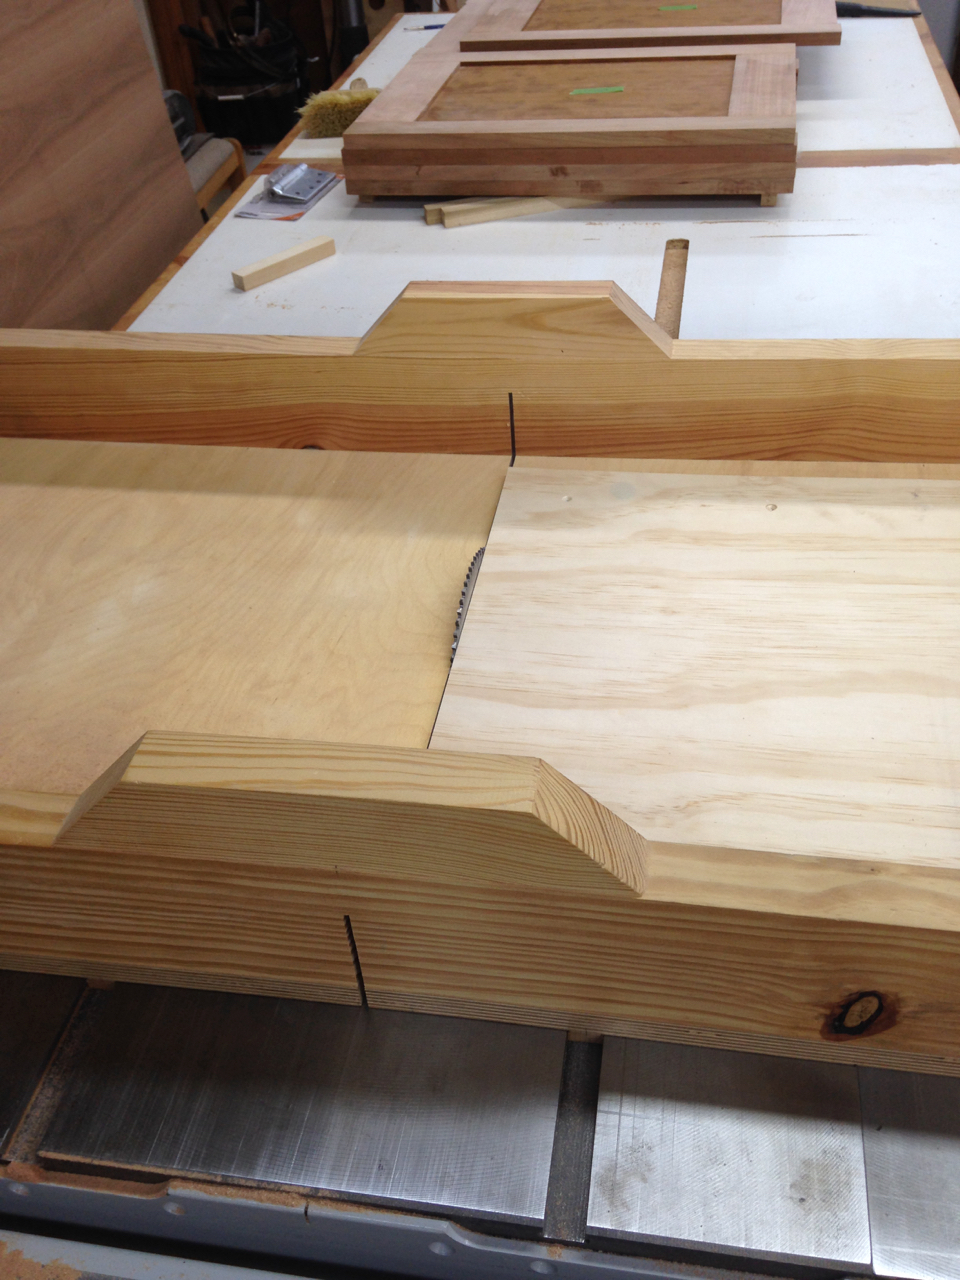
This made taking off a precise, small amount of material much simpler.
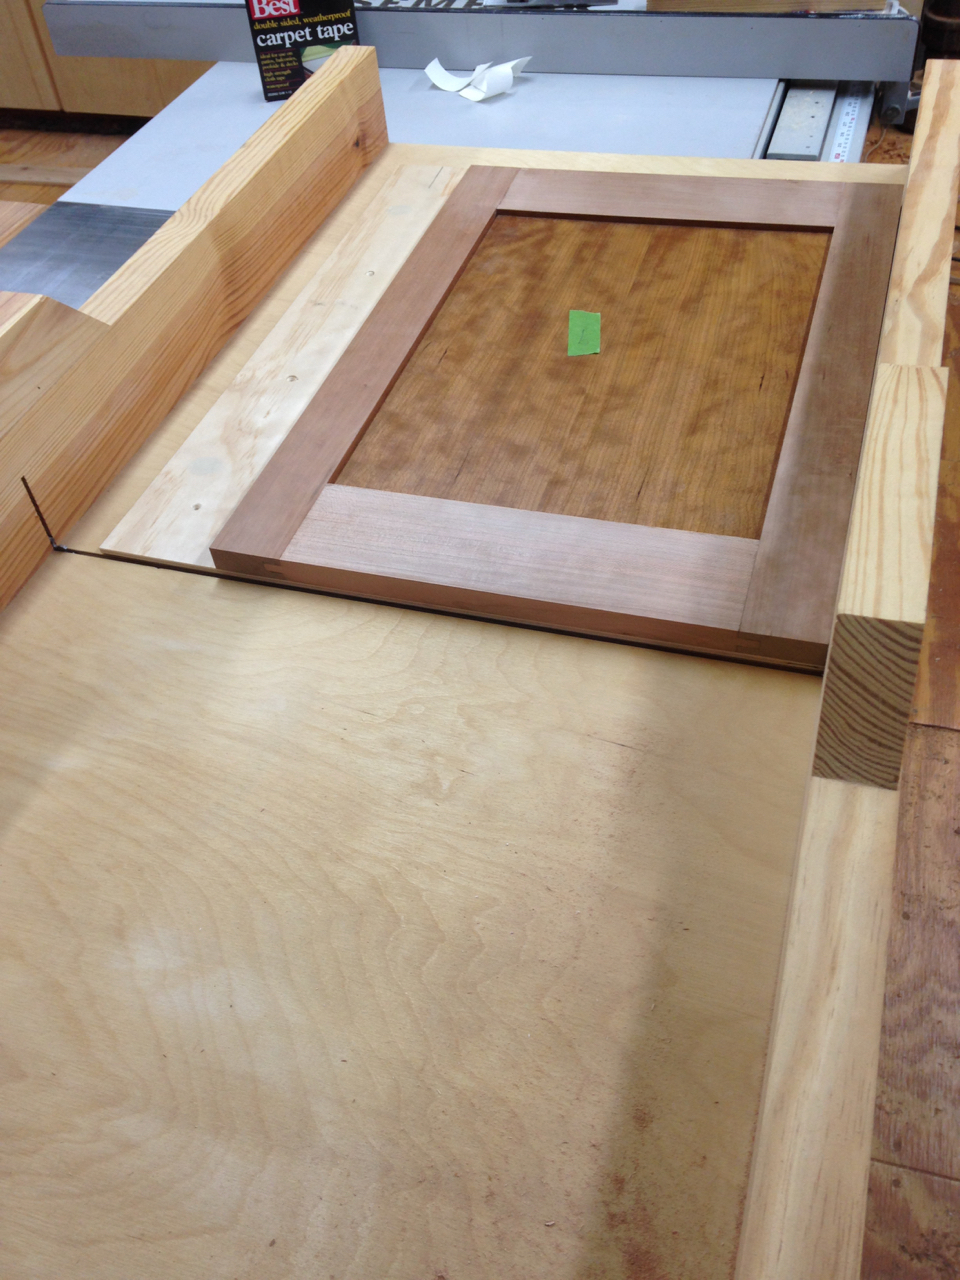
And so the first door is fitted, but not net mortised for hinges. Hopefully I’ll get those done tomorrow, so I can feel comfortable fitting the rest of the doors.