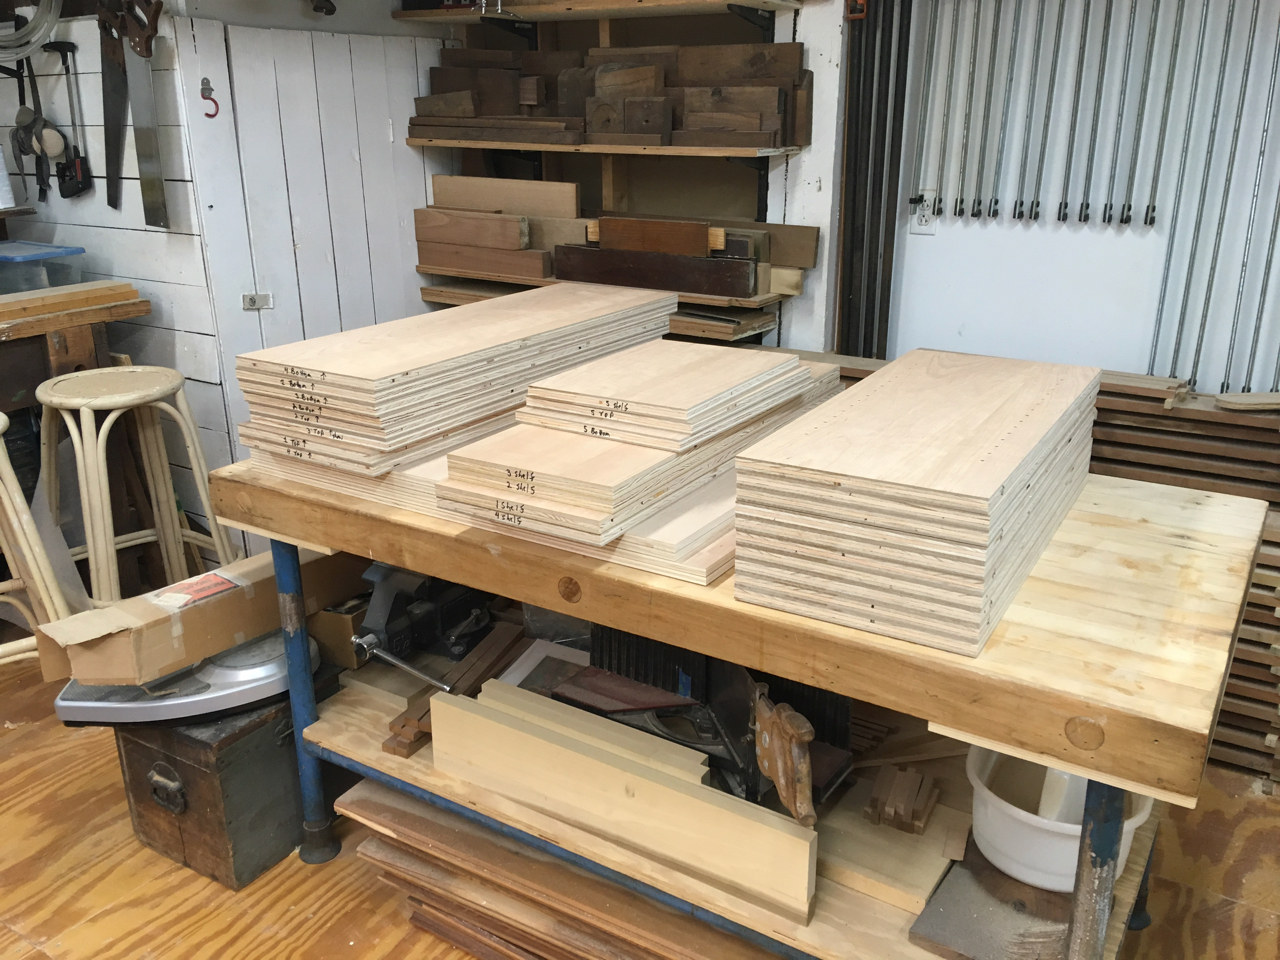
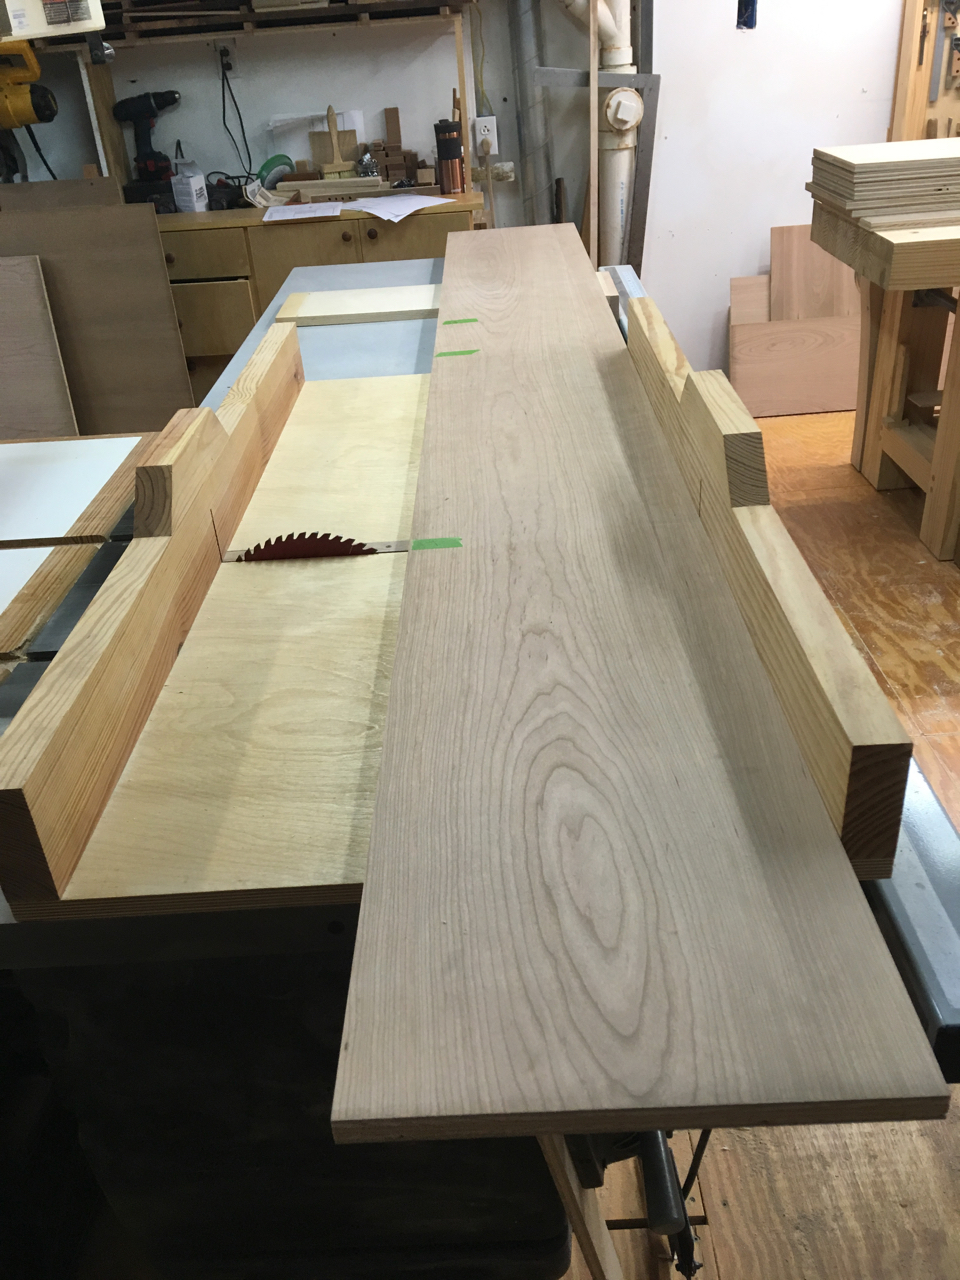
Rough Cutting And Matching
I started from four sheets of plywood.
Since the 3/4" sheets were on top, I first ripped them into strips approximately 12" wide (all my sides, tops, bottoms, and shelves are narrower). I set them out and laid out the individual parts, aiming to show the most pleasing grain and put the less appealing portions in places you won’t really see, such as the bottom of the cases (they will be about six feet off the ground).
To rip rough sections for backs from the 1/2" material, I used my zero clearance jig and my skill saw.
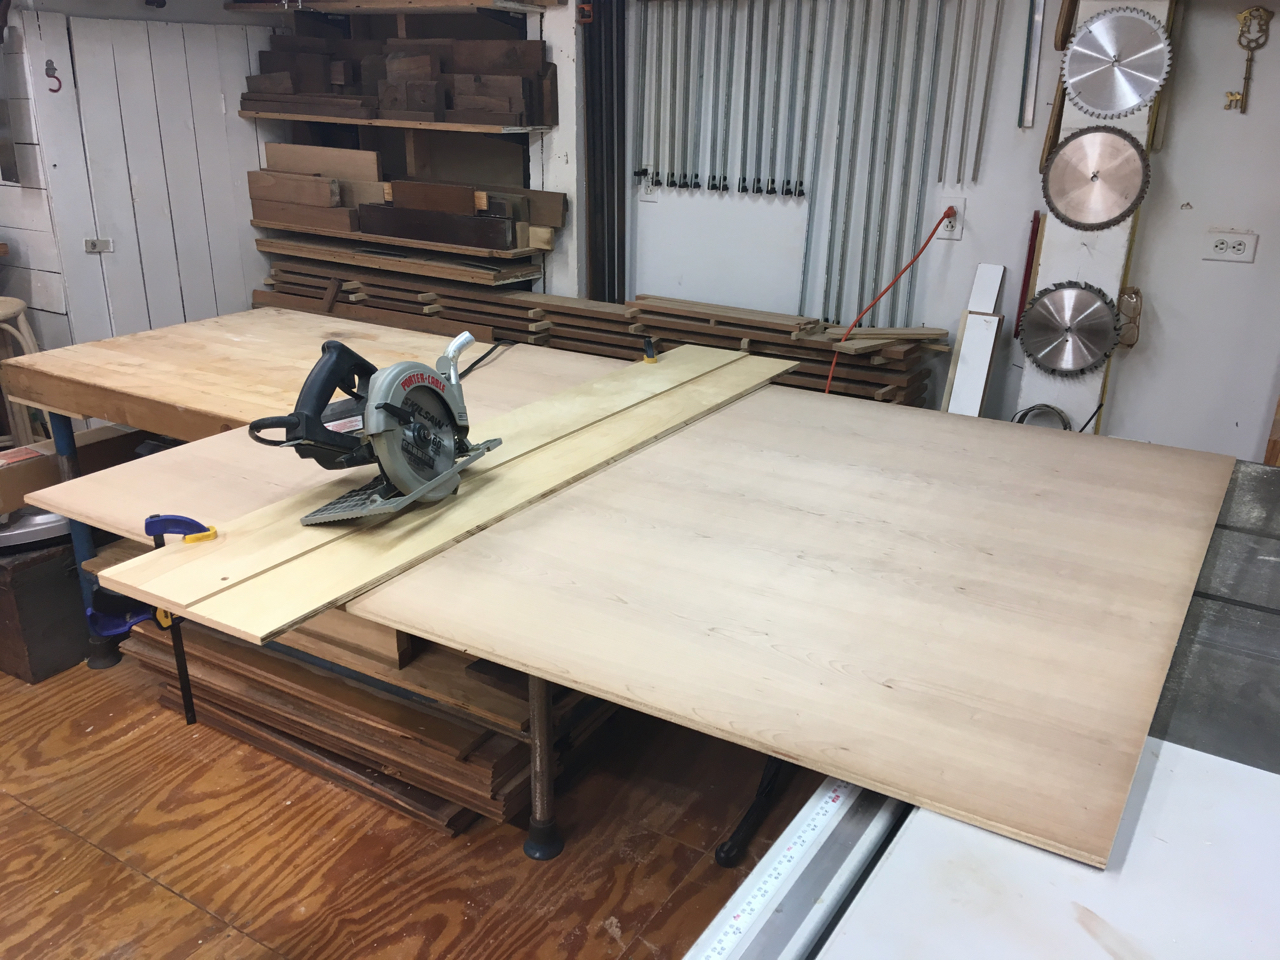
Next I needed to cut rough parts from the eight foot long strips of plywood with crosscuts. Unfortunately, some recent maintenance on my table saw moved the arbor slightly to the left. My crosscut sled still works, but the slot is now too wide to use the right edge of the slot as a guide for making a cut.
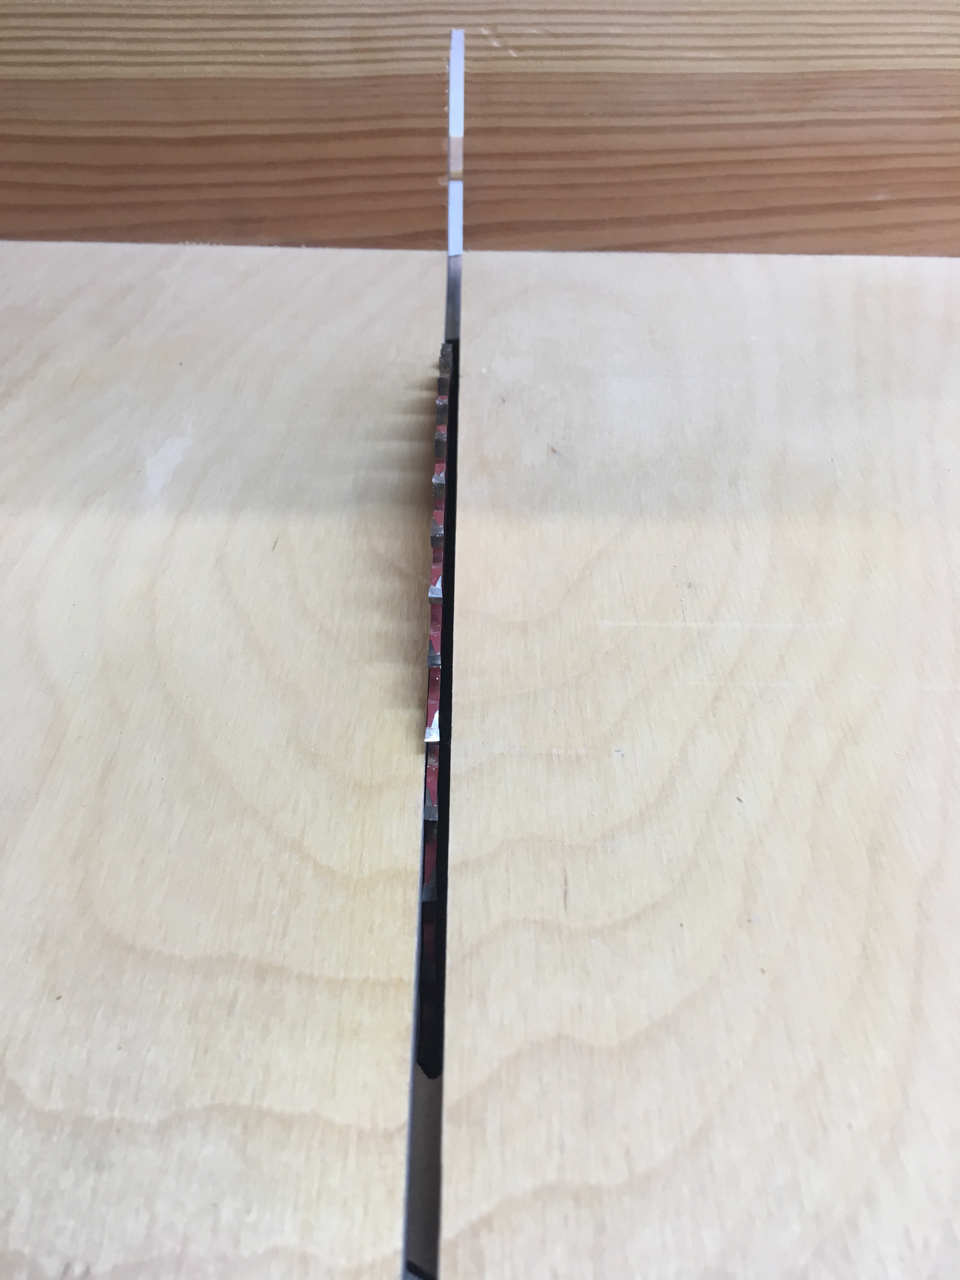
Having a zero clearance edge is a huge time saver when making cuts, so I needed to fix this. I had already decided to route out a recess to the right of the slot for a piece of 1/4" plywood about 1" wide. This will allow me to make a fresh zero clearance edge any time I need to without rebuilding my sled. It also will allow me to have a zero clearance insert for regular blades (1/8" wide kerf) and thin kerf blades (3/32" kerf).
Adapting The Crosscut Sled
Starting from the sled as it was, I measured to route out material from the right side of the slot. Routing left a lot of dust but removed most of the material.
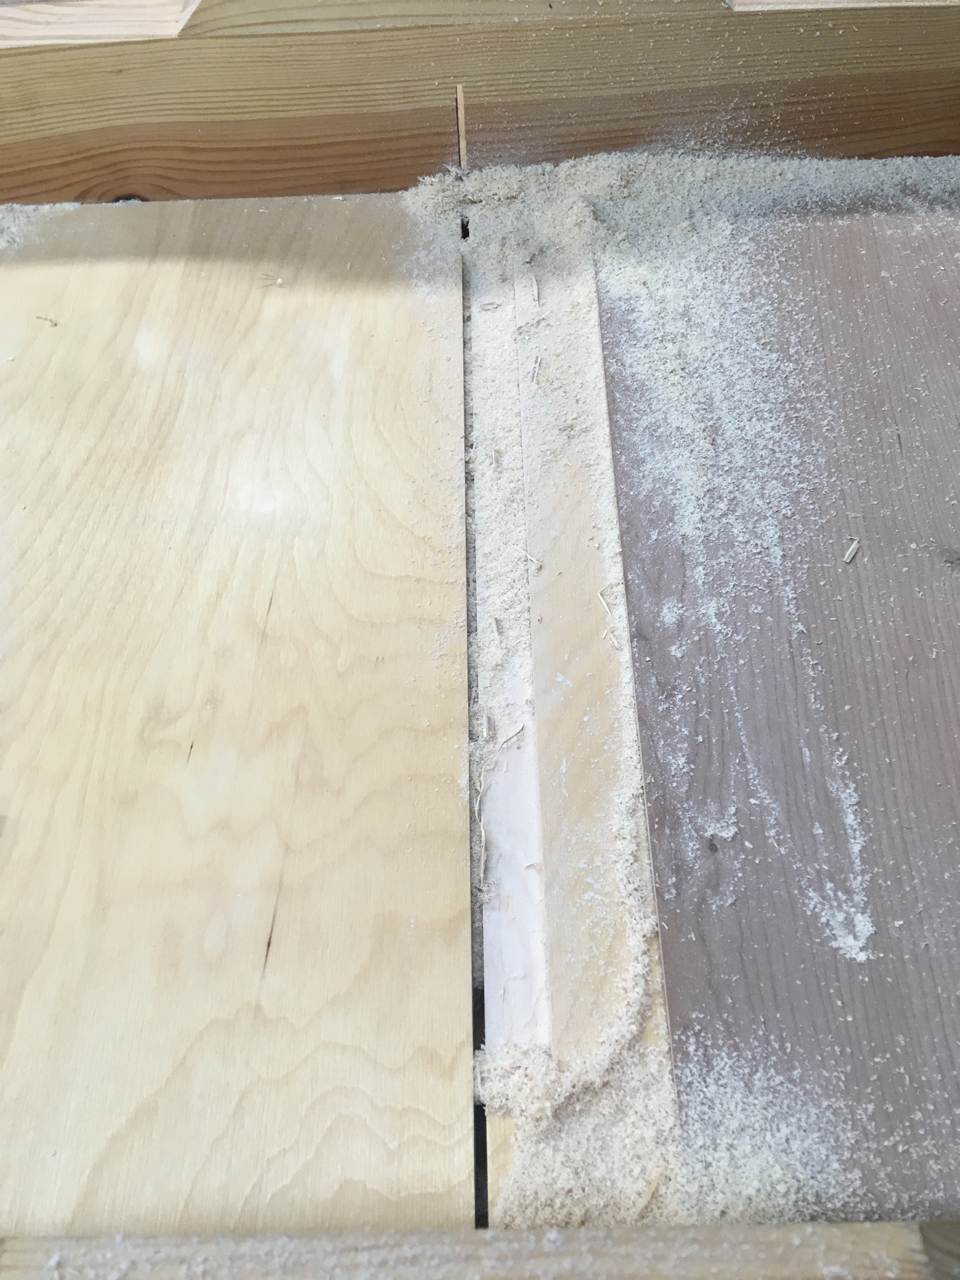
I was left with material at the back and front (back shown).
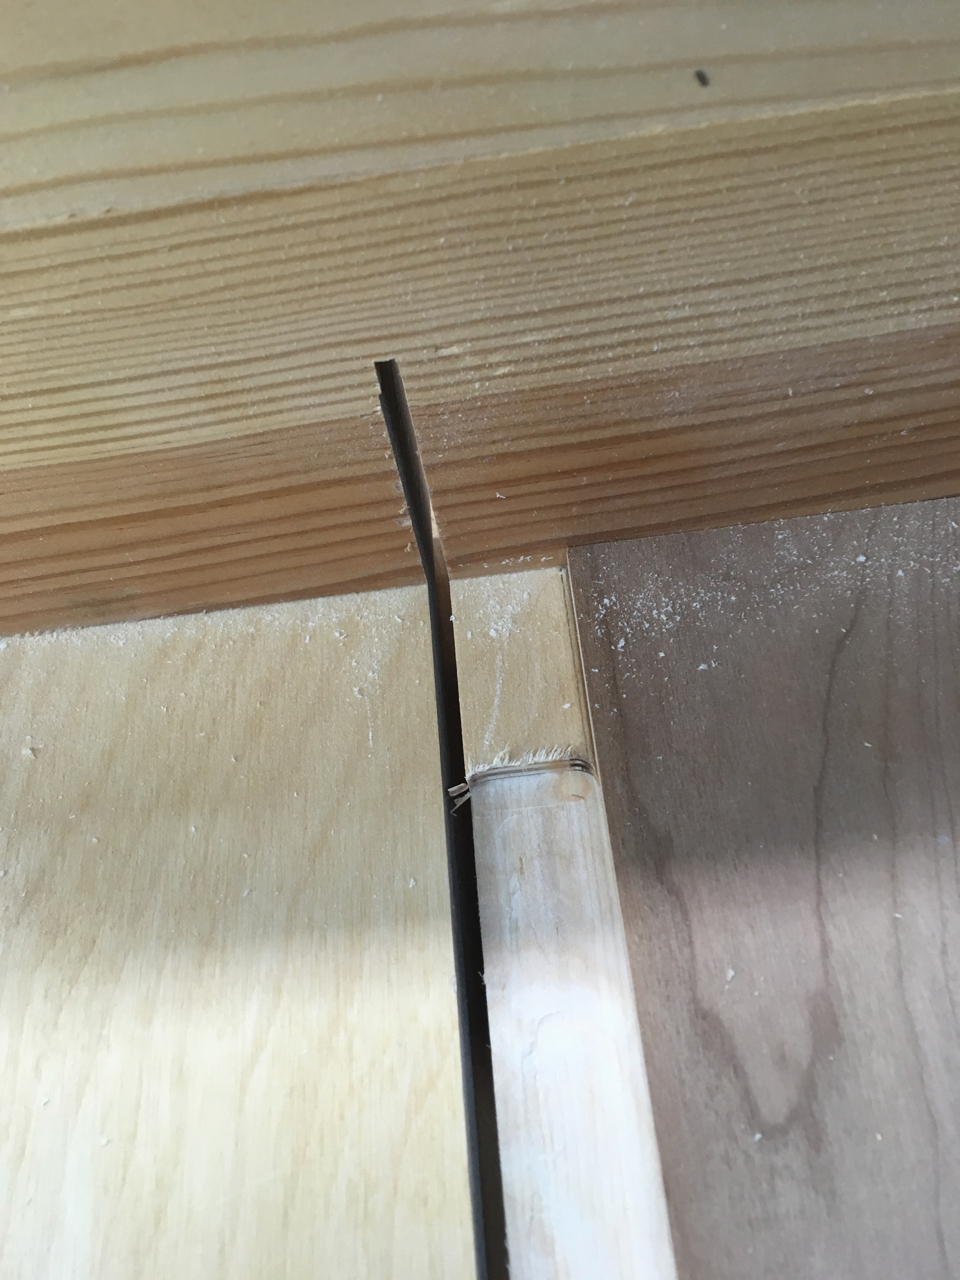
I chiseled this out by hand.

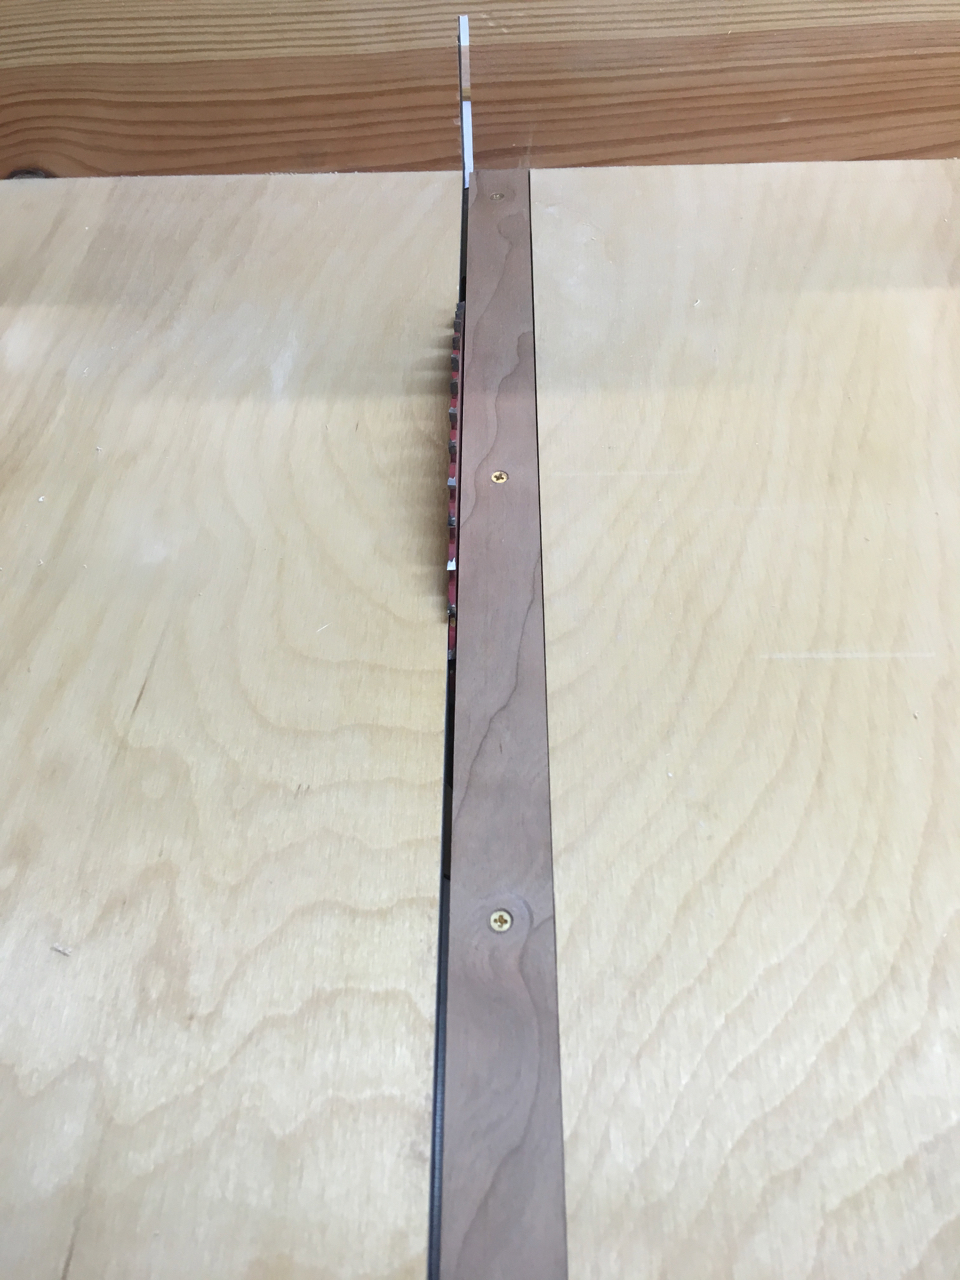
After drilling and installing a strip of 1/4" plywood with some small screws, I was able to run it through the saw and cut a fresh, accurate zero clearance edge.
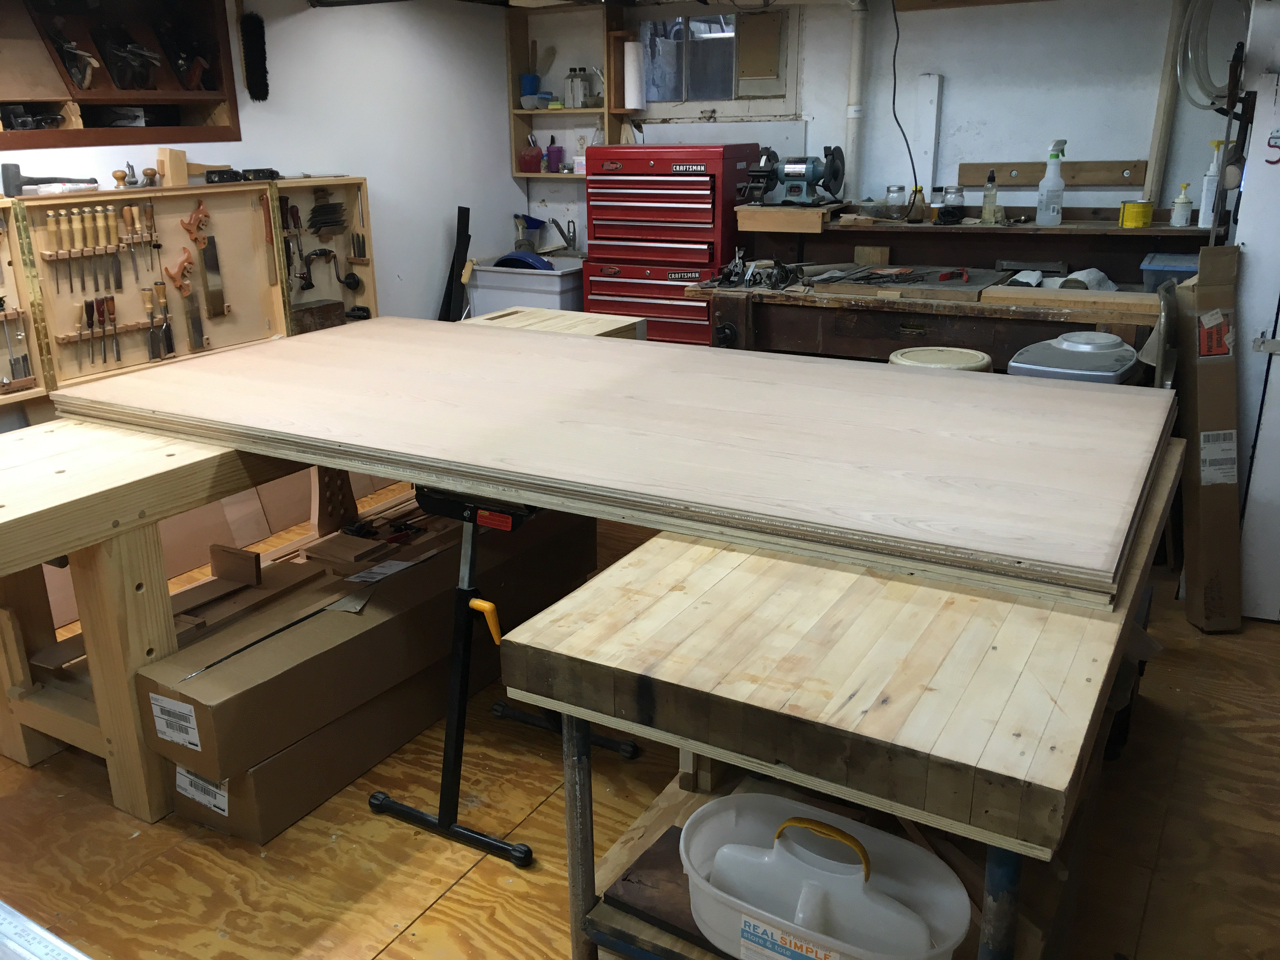
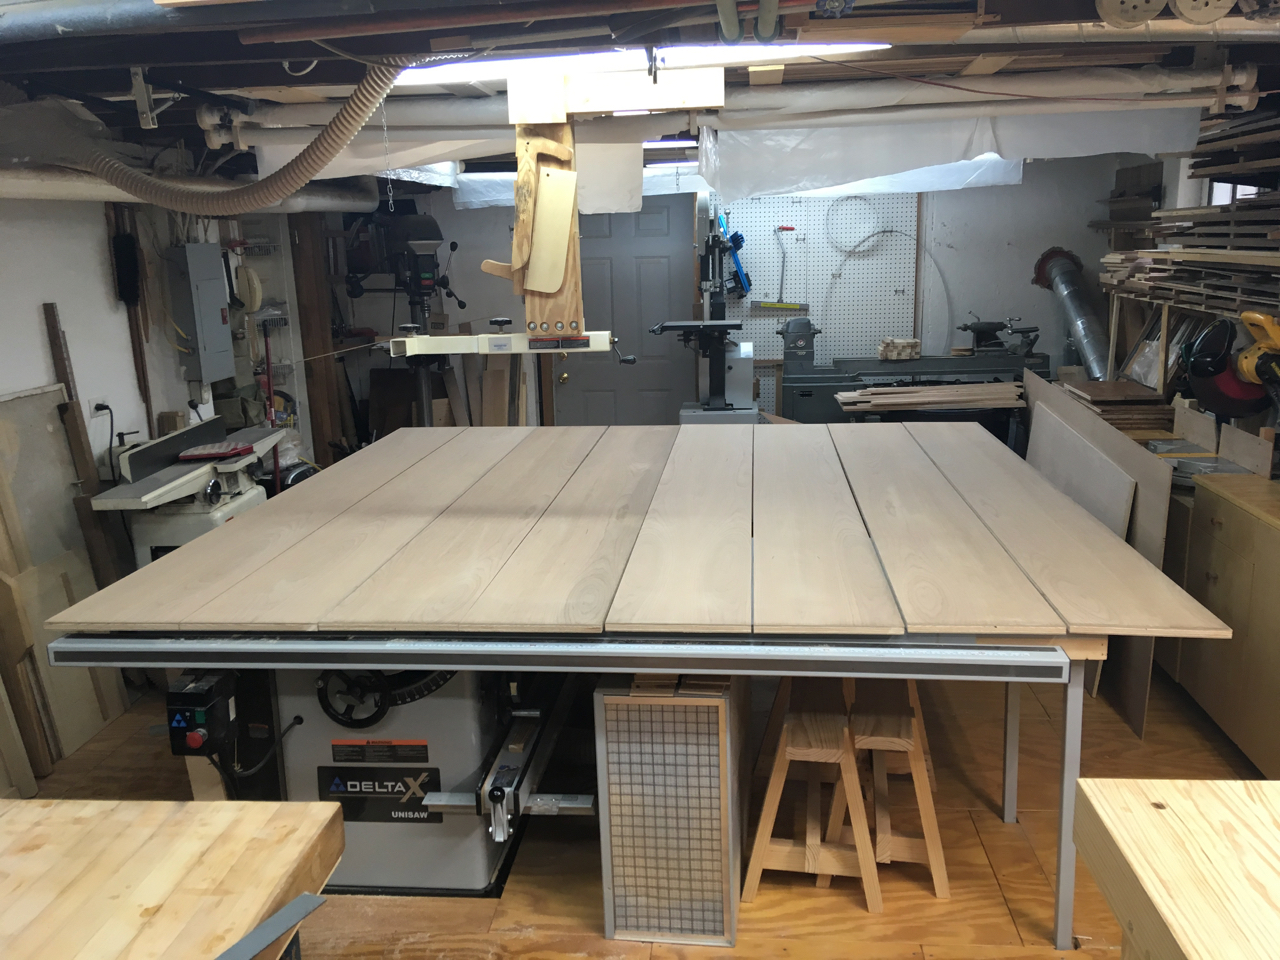
Cutting Parts to Final Size
With my crosscut sled repaired and a simple hook to support the long boards, I was ready to cut rough case parts.
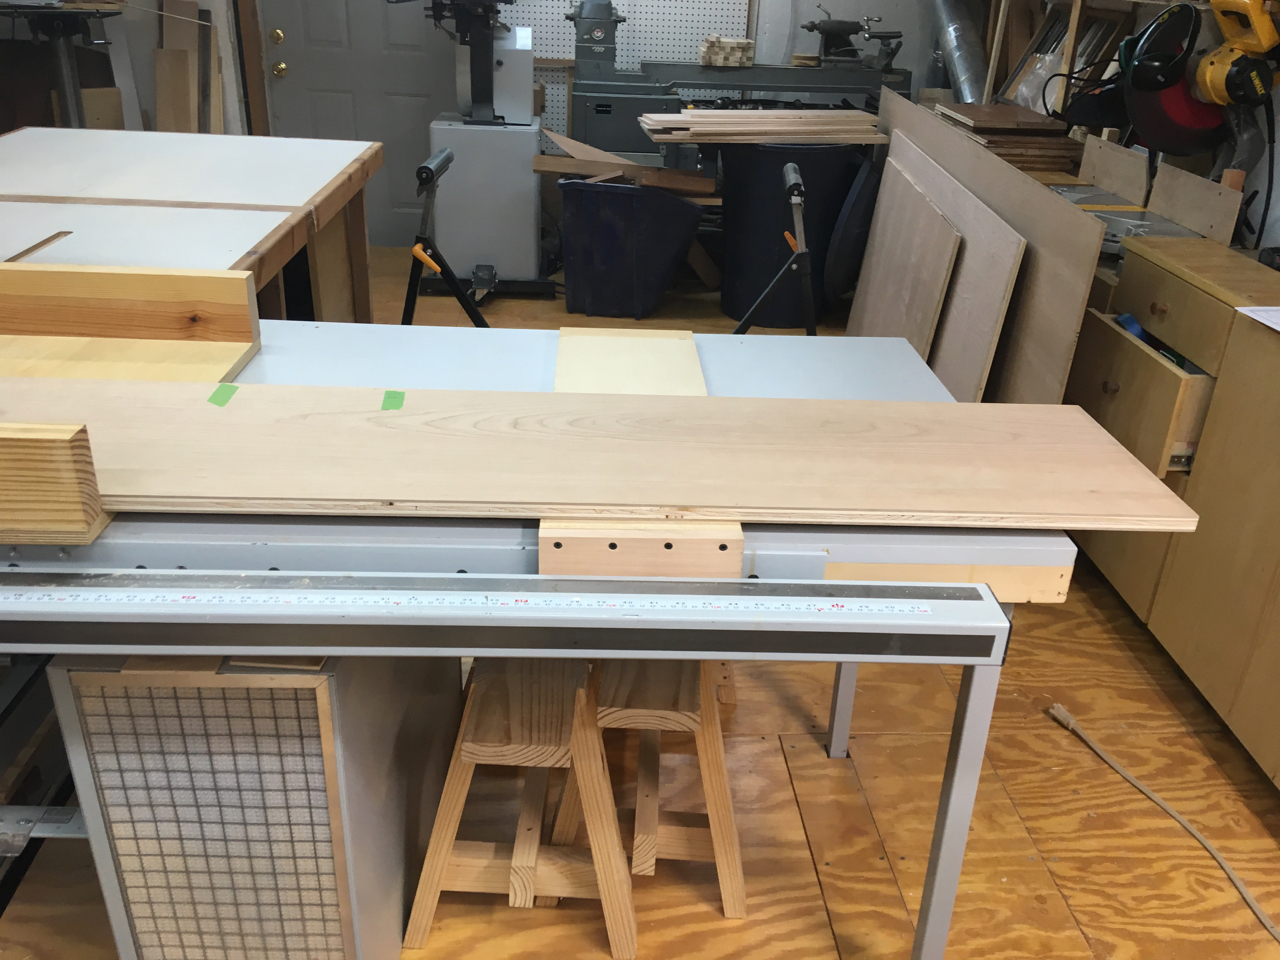
After roughing out the case parts, I ripped them to final width and final length. carefully truing up the edges as I went, to get as straight and true an edge as possible. This meant making more than one pass to get the edge progressively more straight.
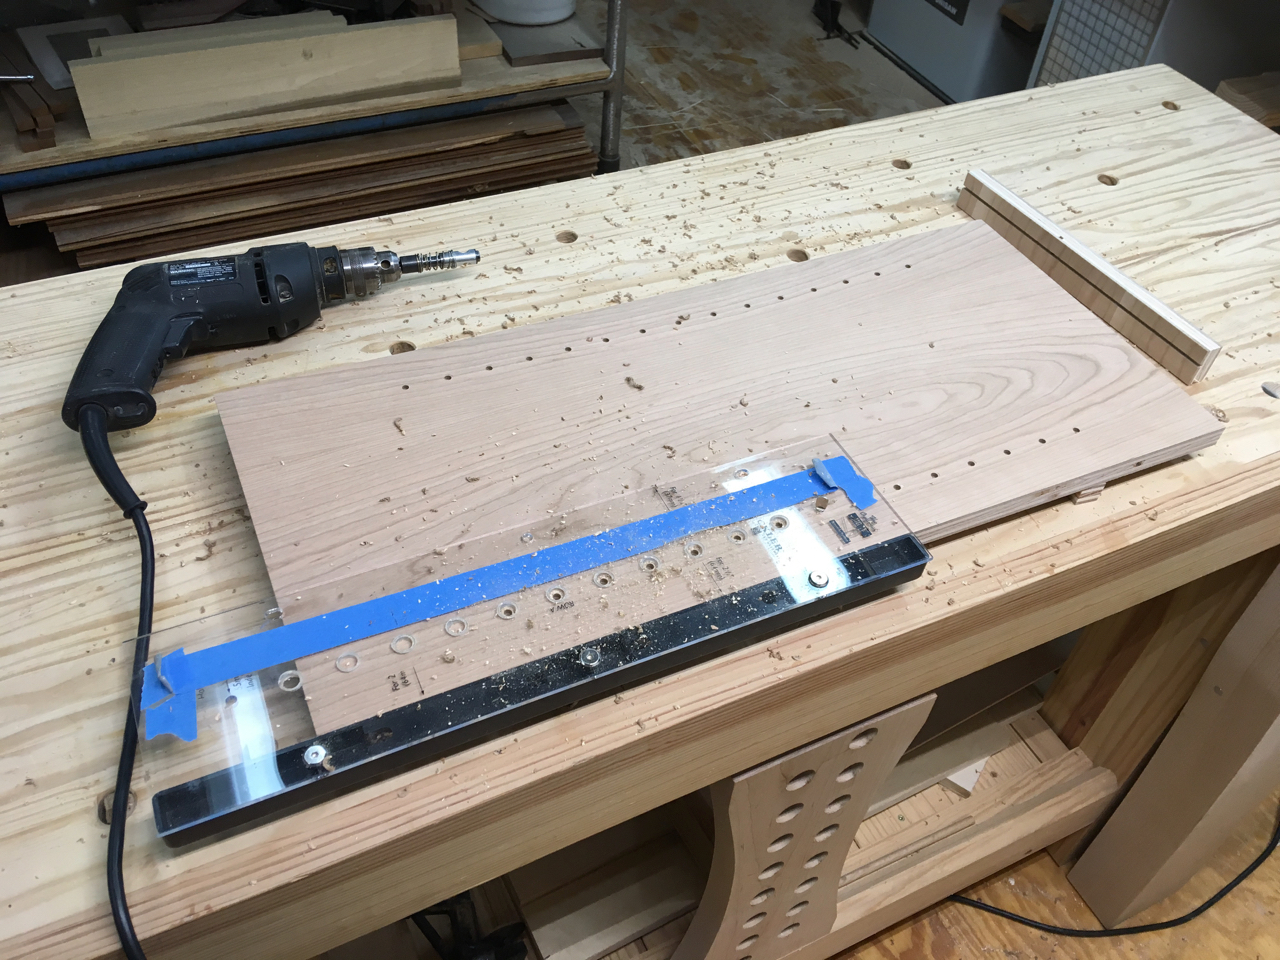
Once all the parts were cut to size, I needed to drill holes for the shelf pins in the sides of all five cases.
I had hoped to get all the parts sanded this weekend, but it’s a fair bit of work to turn four sheets of plywood into sized parts. With family commitments, chores, and some home maintenance, I was happy to get the parts ready for sanding.