I haven’t been writing about my woodworking for quite a long time. But I have not stopped my exploration of Windsor chair making.
Over the last six months and more, I’ve been walking “the learning curve,” albeit slowly. There has been lots of learning, with more than a lot of mistakes: reading, tool sharpening, and a fair bit of procrastination.
About two months ago I finally took the plunge and split a section of log. That went well.
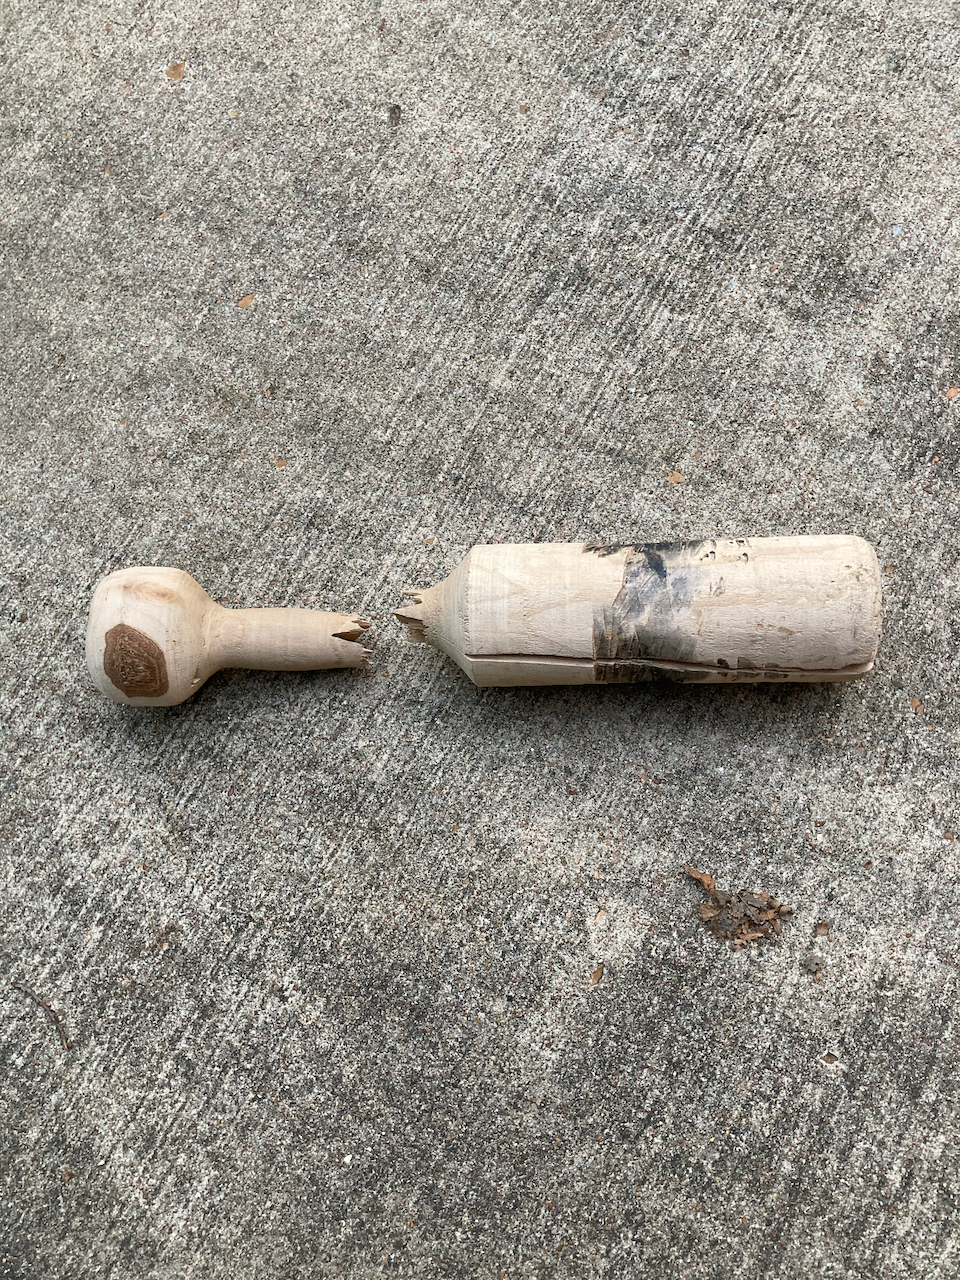
Then I went to split the wood and discovered the froe I’d purchased was really a “froe-like object” and not at all the right shape for real use in riving wood for chair making. I also broke the froe club I’d made trying to use the froe-like object, probably mostly because of the “froe” but also because I’d shaped the club poorly and it was weak.
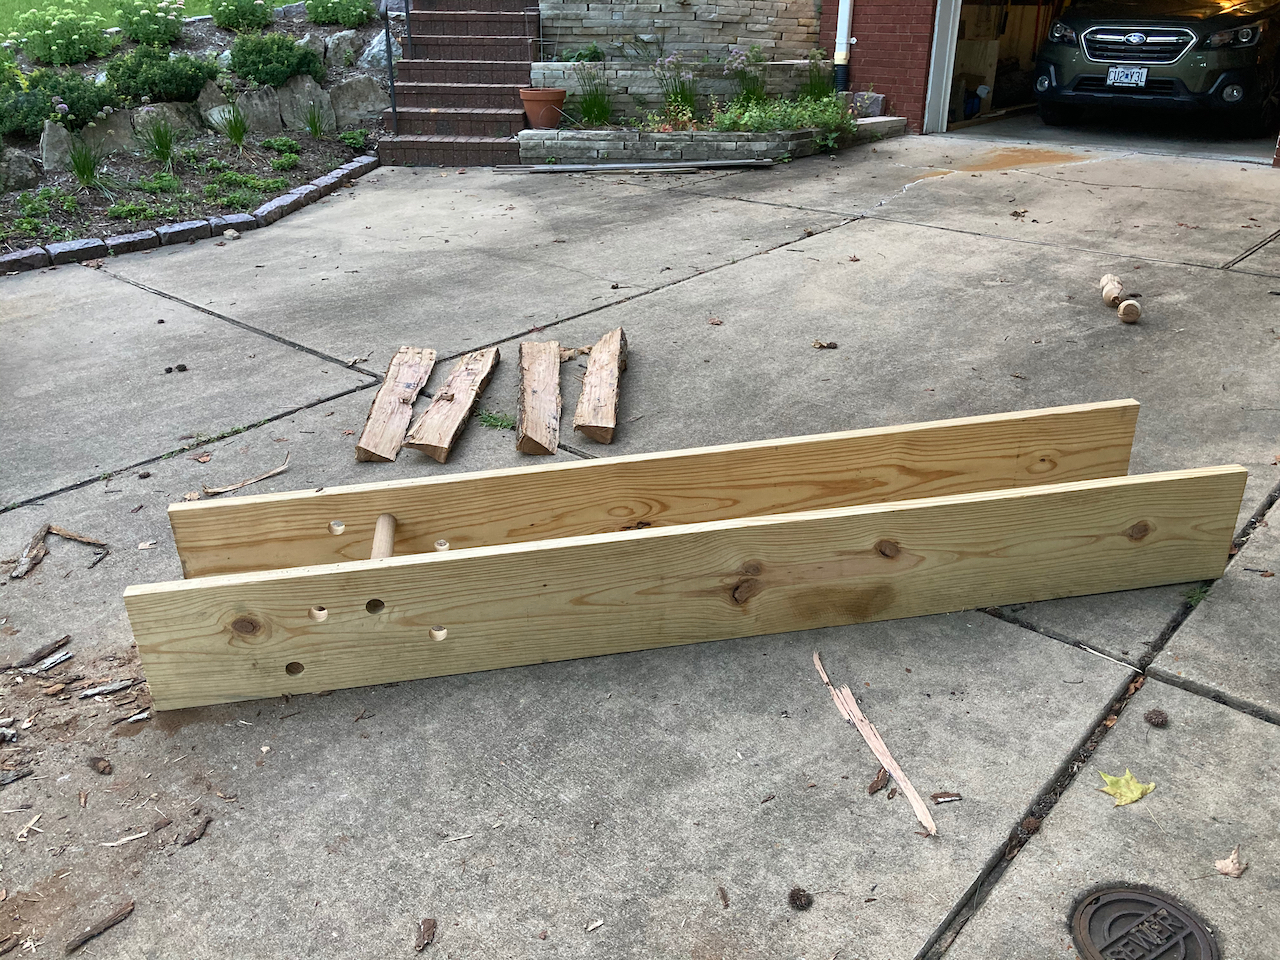
On a positive note, my riving brake based on Curtis Buchanan’s works well.
I also discovered what it means to try to rive a piece with an embedded knot and almost hurt yourself straining
I lucked into some chunks of osage orange from a local homeowner that had a huge tree fall, and used part of it to make a froe club with a much better shape, and lots of weight.
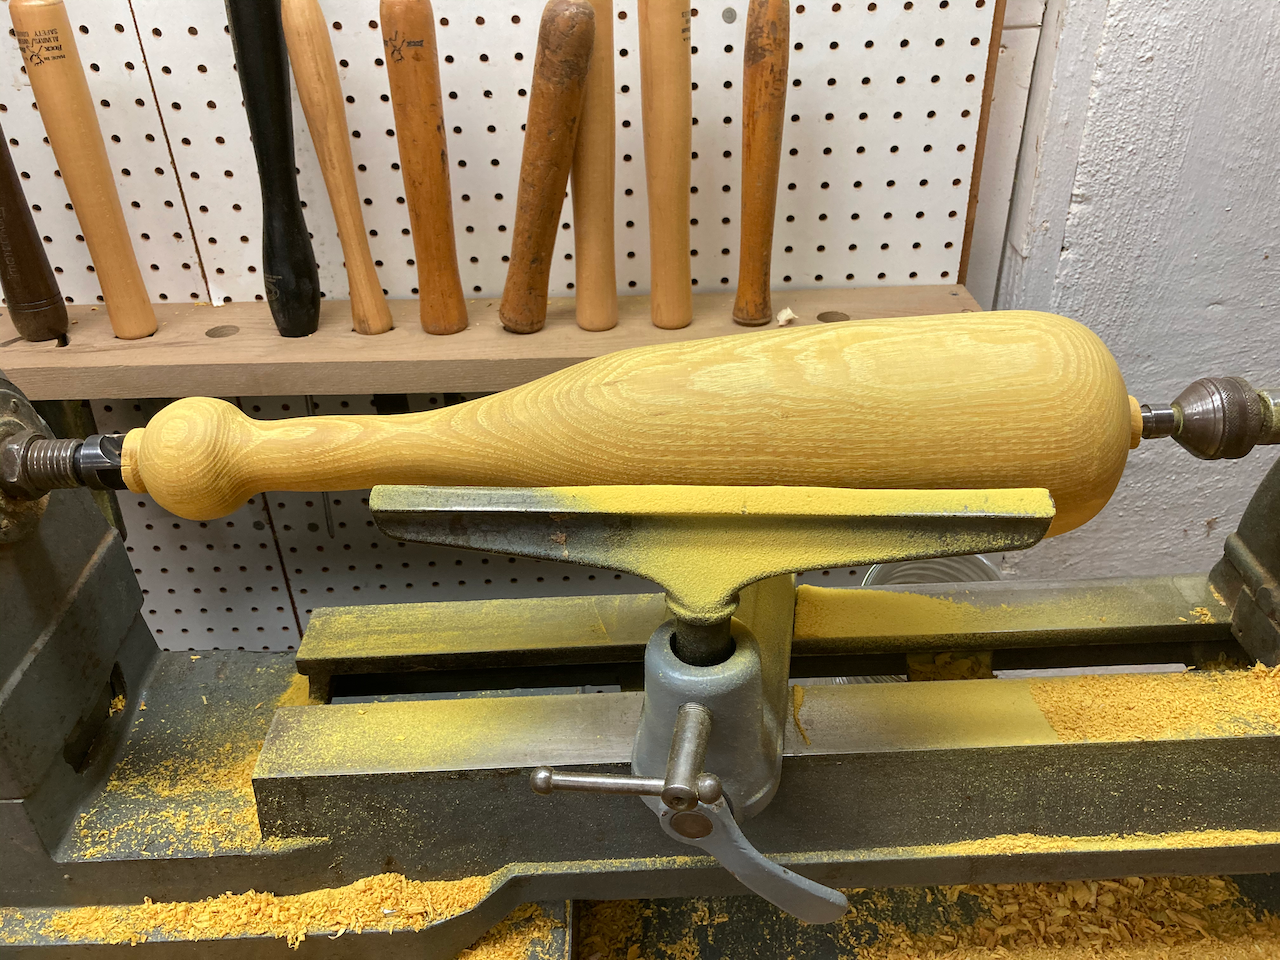
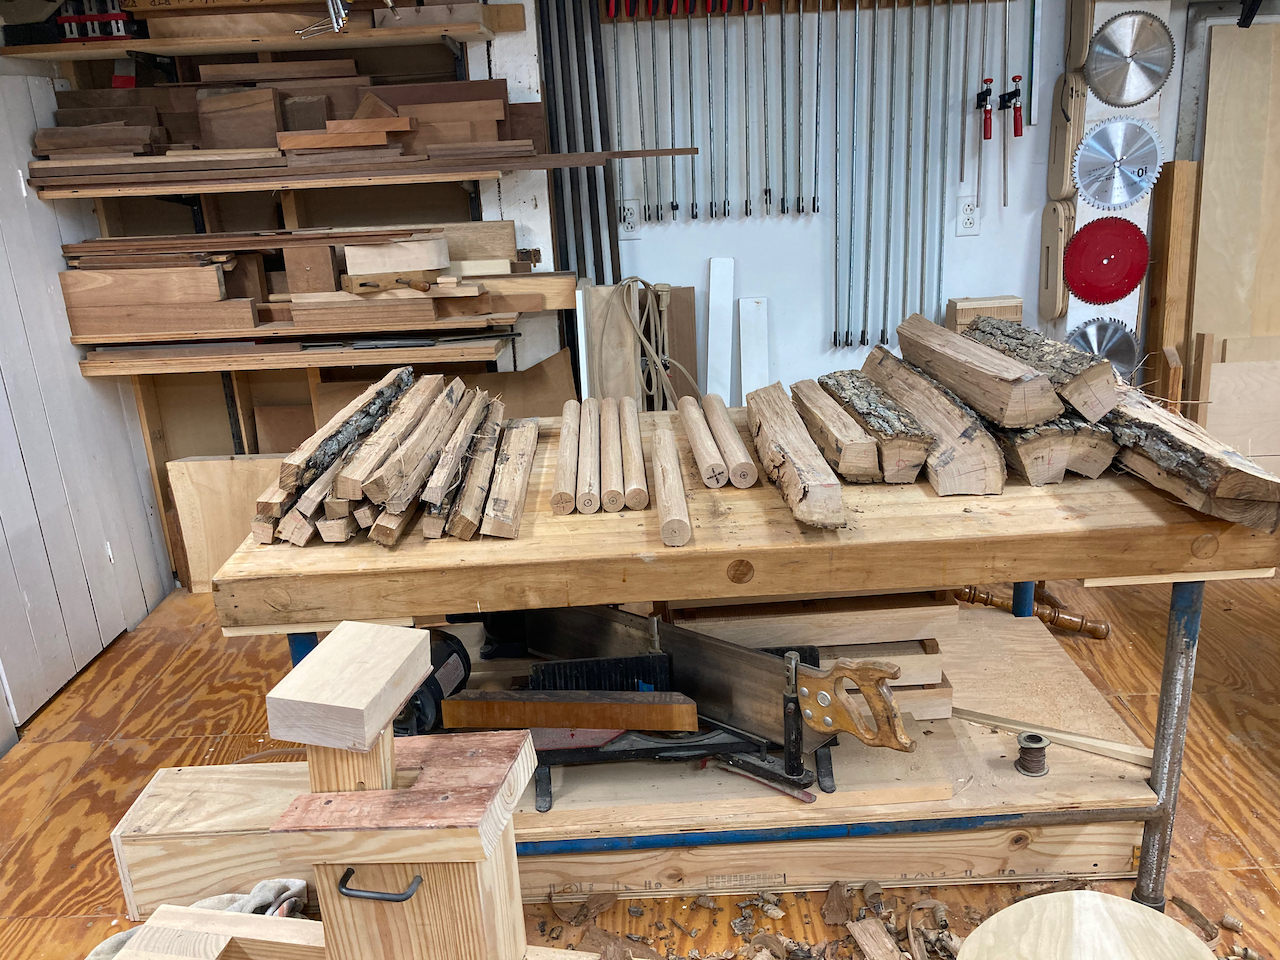
With my new club and a new (to me) froe I went after splitting again and it went much better. I ended up with some good chunks of wood, though with significant twist along their length. I turned the chunks destined for legs, posts, and stretchers into rounds to let them dry evenly until I turn them. While doing so, I discovered I’d used a soft piece of wood for my wooden lathe tool rest, because it dented when I was learning about turning properly and the tool would catch. And I also discovered I’d made the fence a bit too short, and extended it to be long enough for turning the post blanks round.
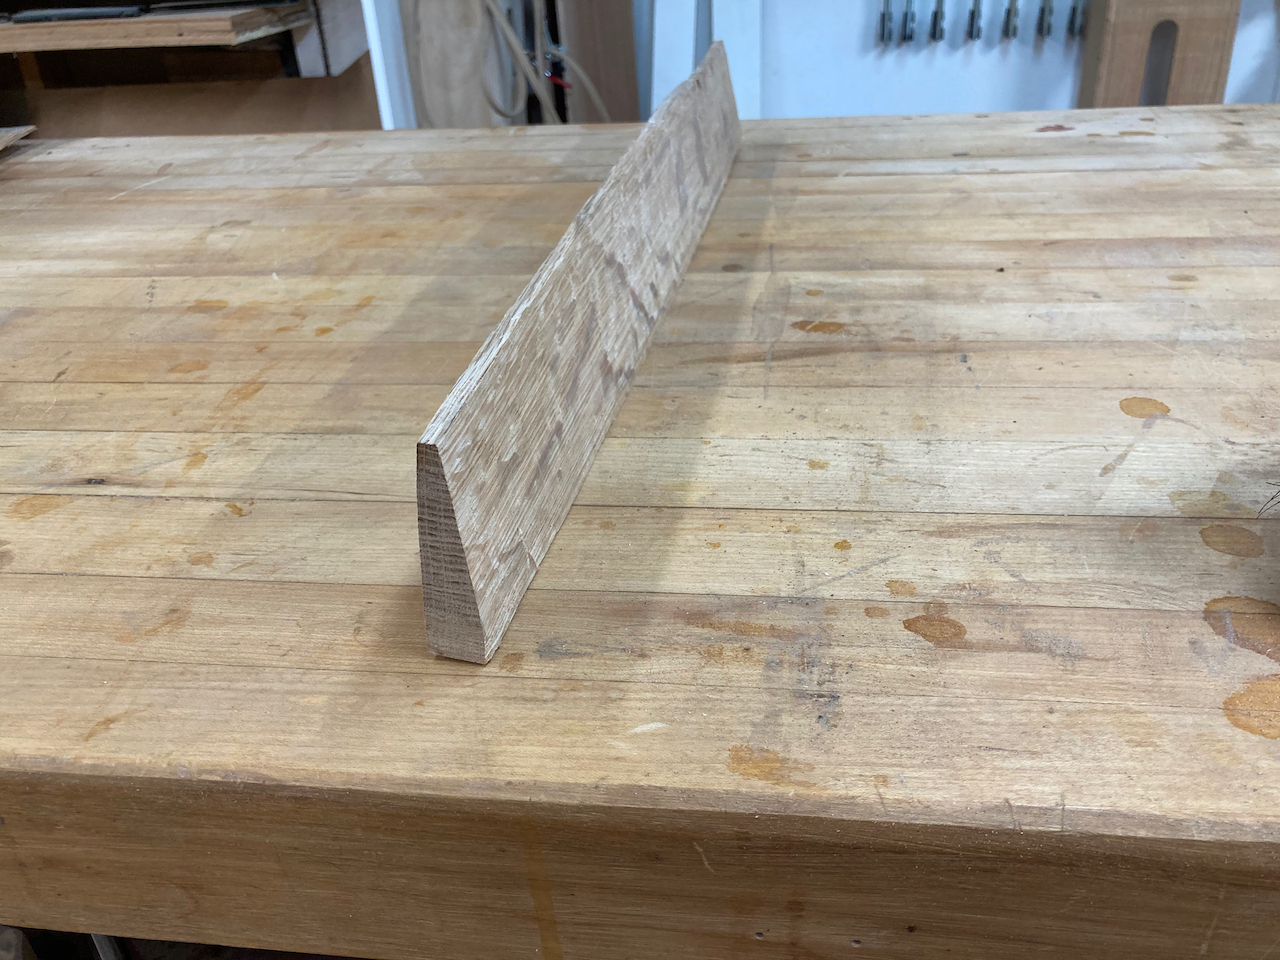
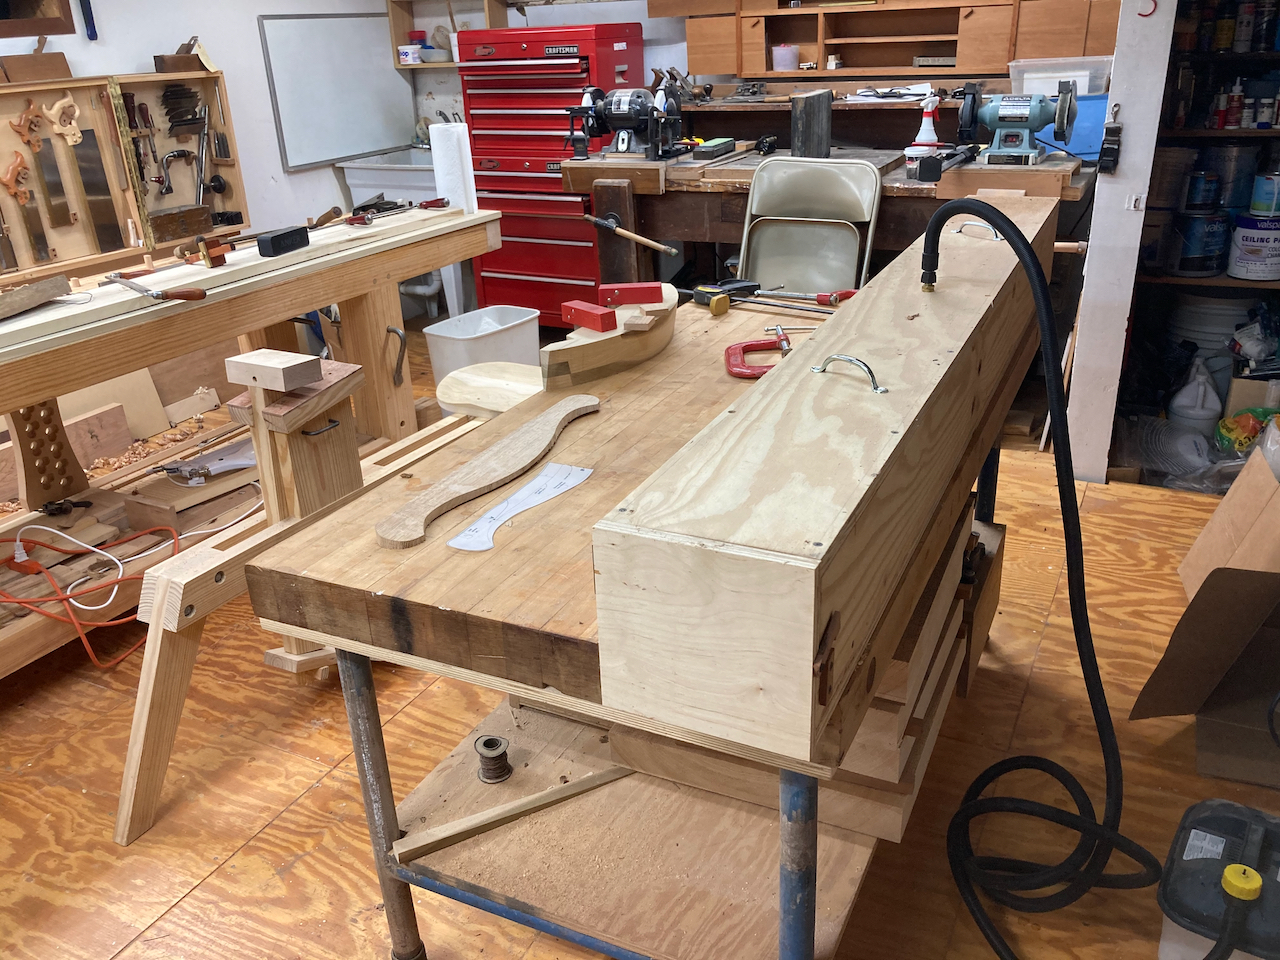
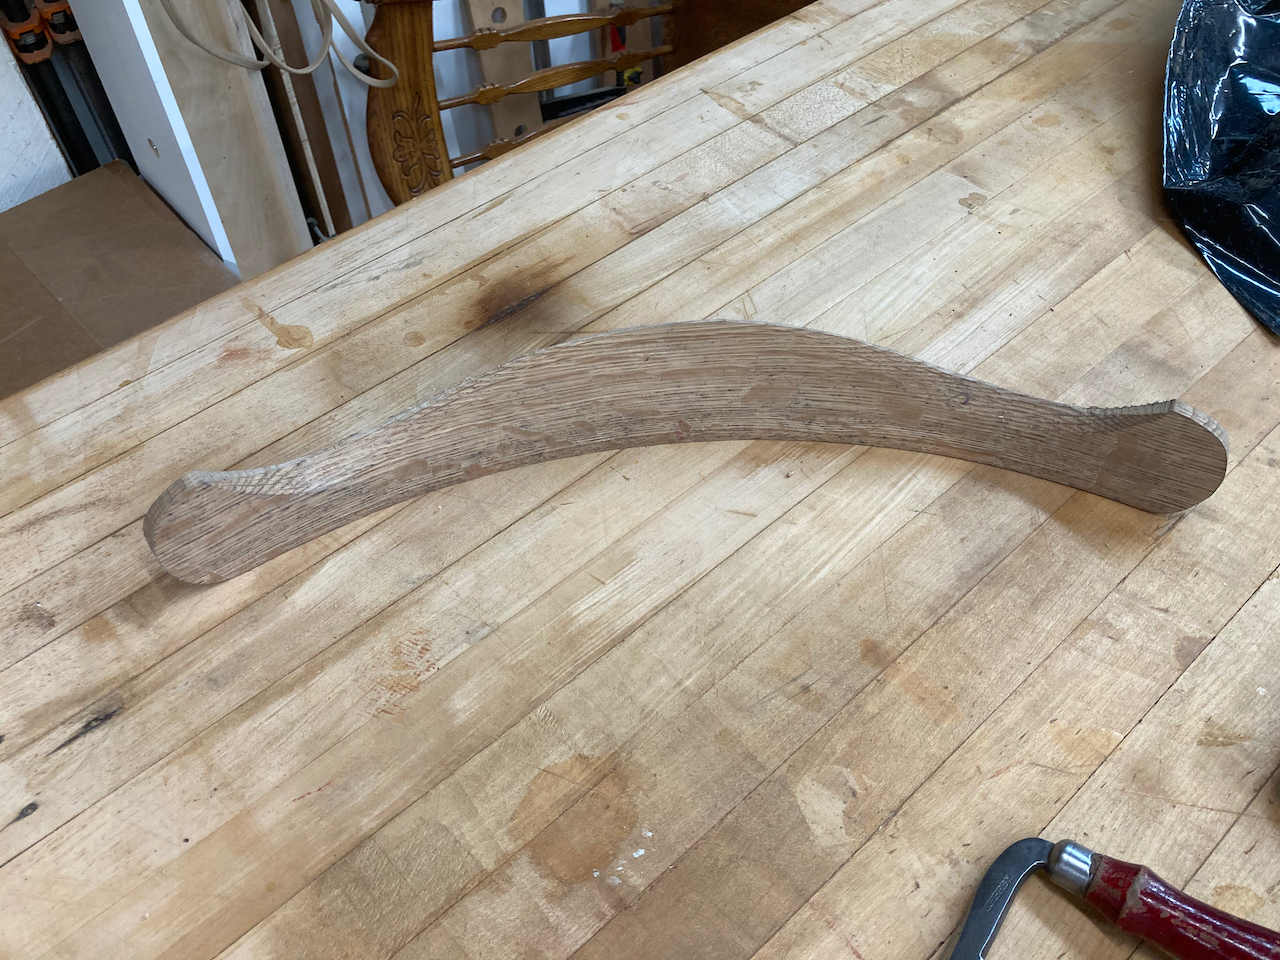
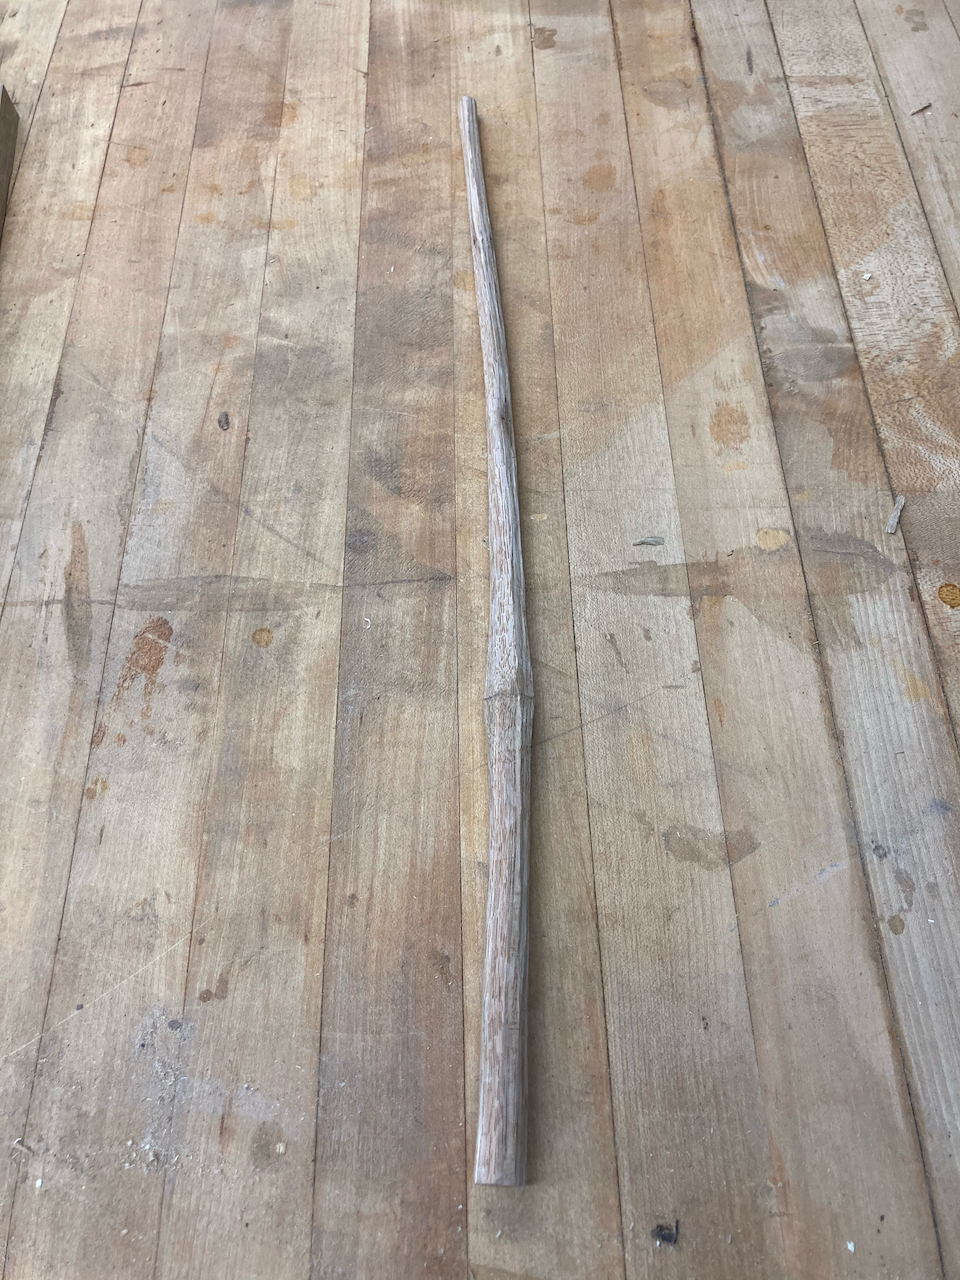
I also rived a piece of oak to the proper shape for the top of the chair, called the comb. This was my first significant work with draw knives and there was plenty of learning. I took a long time since I knew basically nothing and was figuring things out. But I got the piece in basic shape, then cut and shaped the ends and made the curved cuts to shape to top of the comb
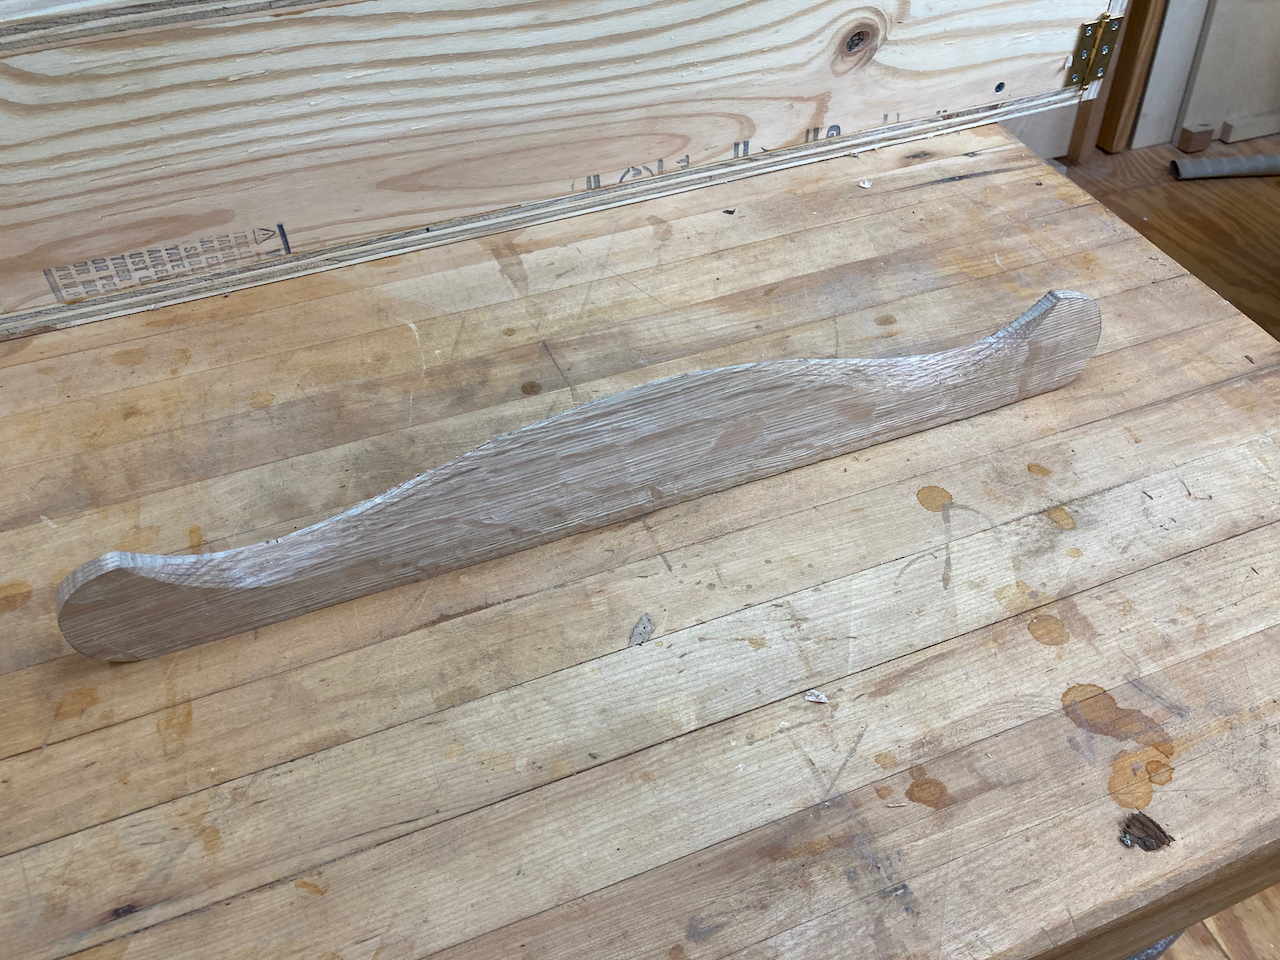
I then had my first try at steam bending the comb, using the steam box I built based upon Curtis Buchanan’s “snake coffin” steam box.
After an hour in the steam box, the comb bent around the form so easily I had time to do it multiple times to get it right and the wood was still flexible.
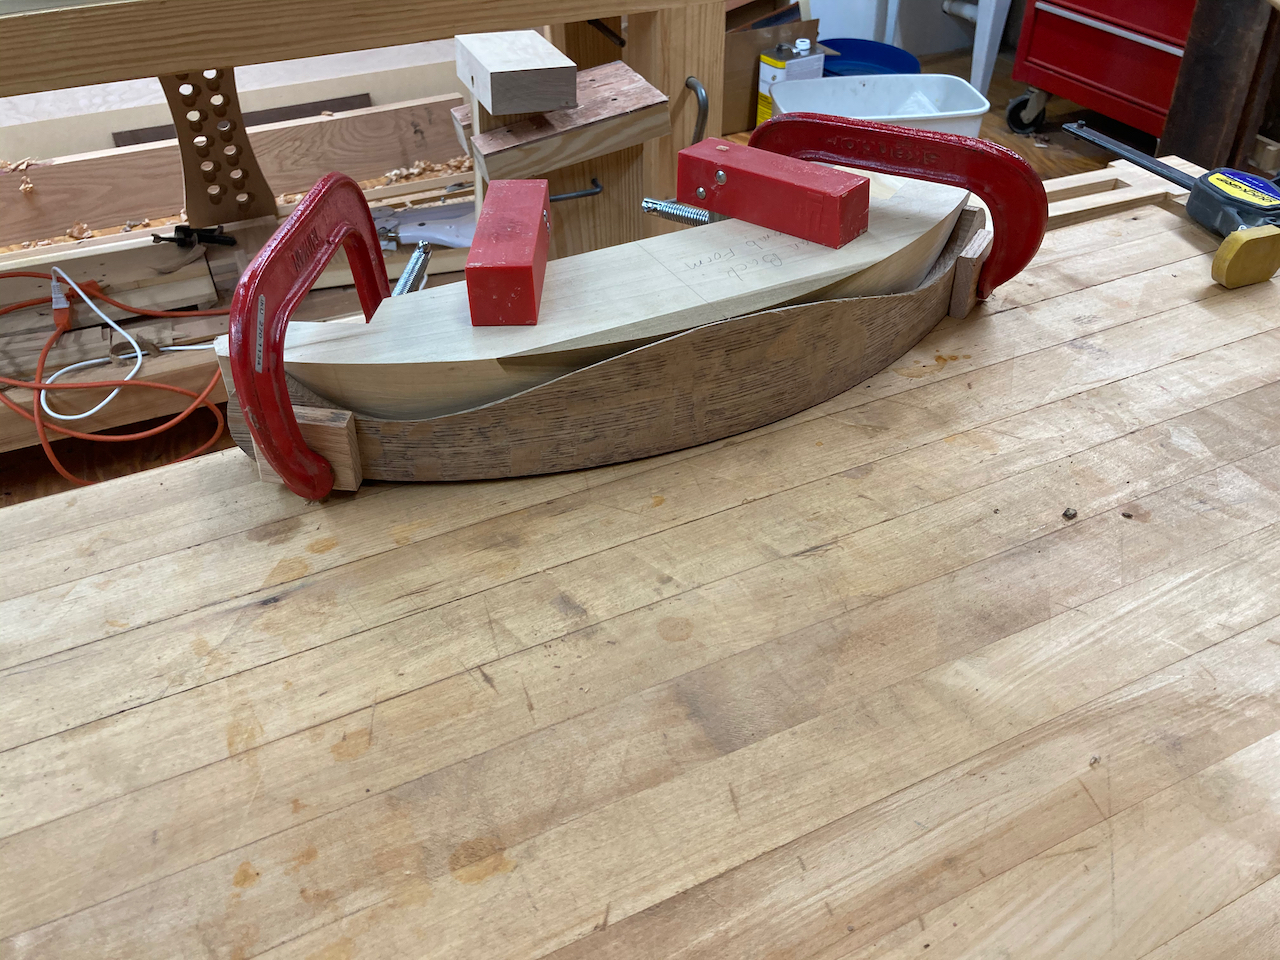
After the comb sat clamped in the form for about a week, I put it into the kiln I made to set the bend. The comb turned out well and is ready for cleaning up that will come later.
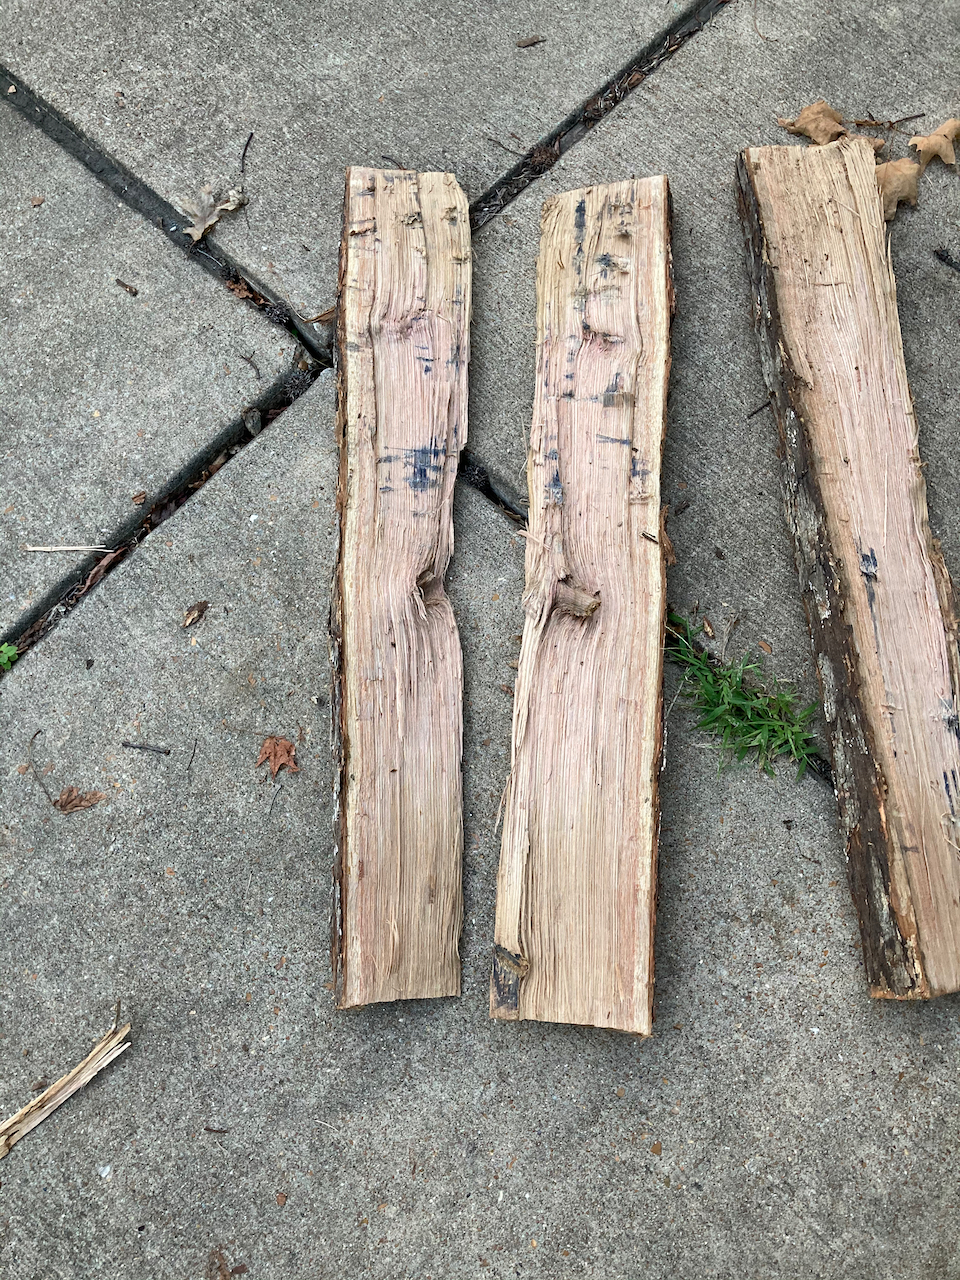
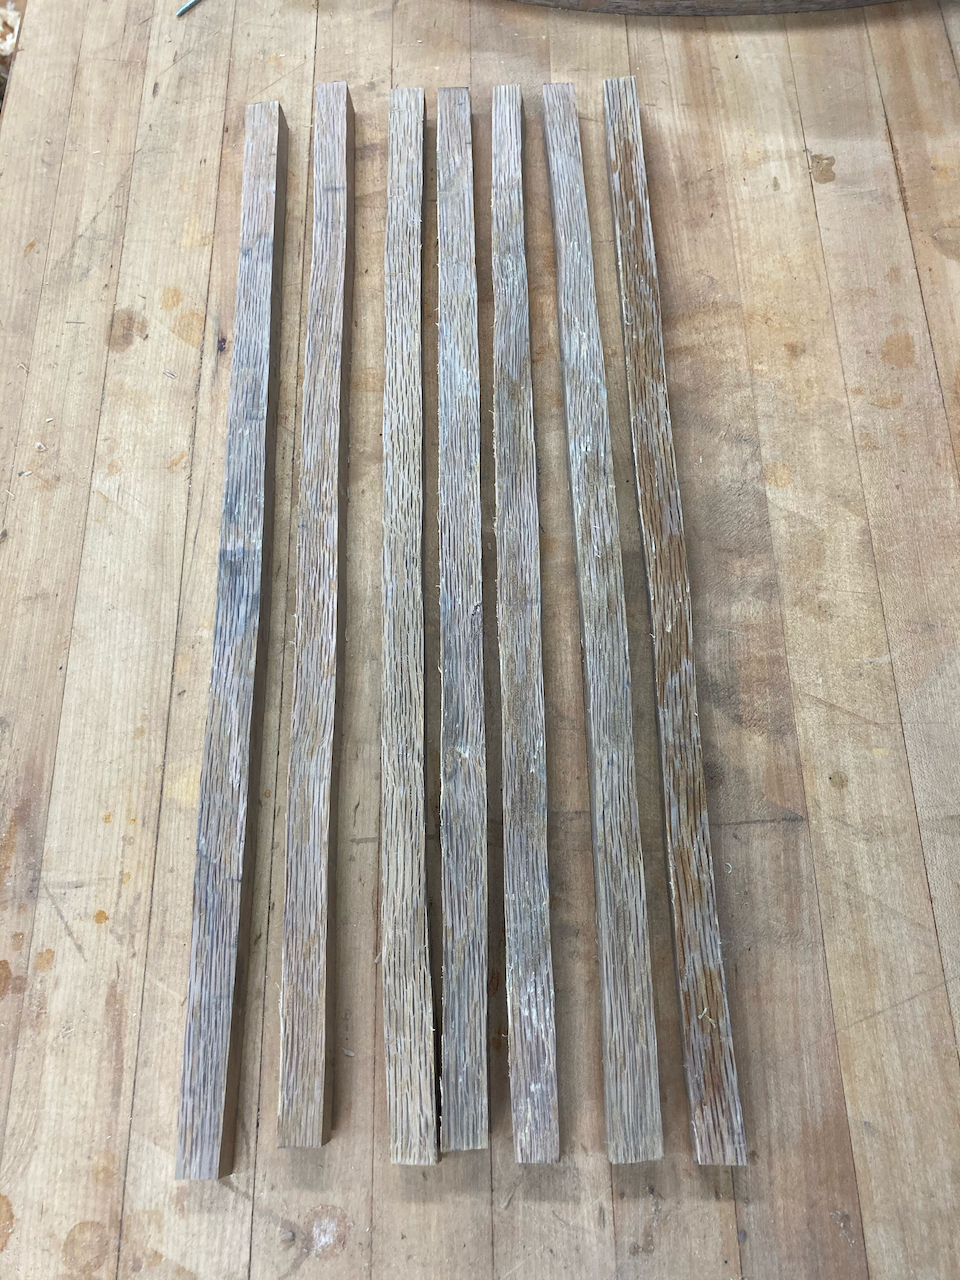
I also spent a lot of time learning about making spindle blanks, which are 3/4” square and 21” long to start. I mean I did a whole lot of learning. I learned about following the long wood fibers, which at first was realizing I was terrible at it. As I kept going though, I started to get a feel for the feedback from the drawknife and things started to work a bit better.
I also learned what Curtis Buchanan and Elia Bizzarri mean when they talk about wavy and twisted wood being hard to work for chair parts. I ended up with quite a few chunks of wood as firewood that I’d meant to make into spindles. They just weren’t straight enough for me to be able to use them. So I went and got a section of white oak log from a local tree company and had much better luck with that.
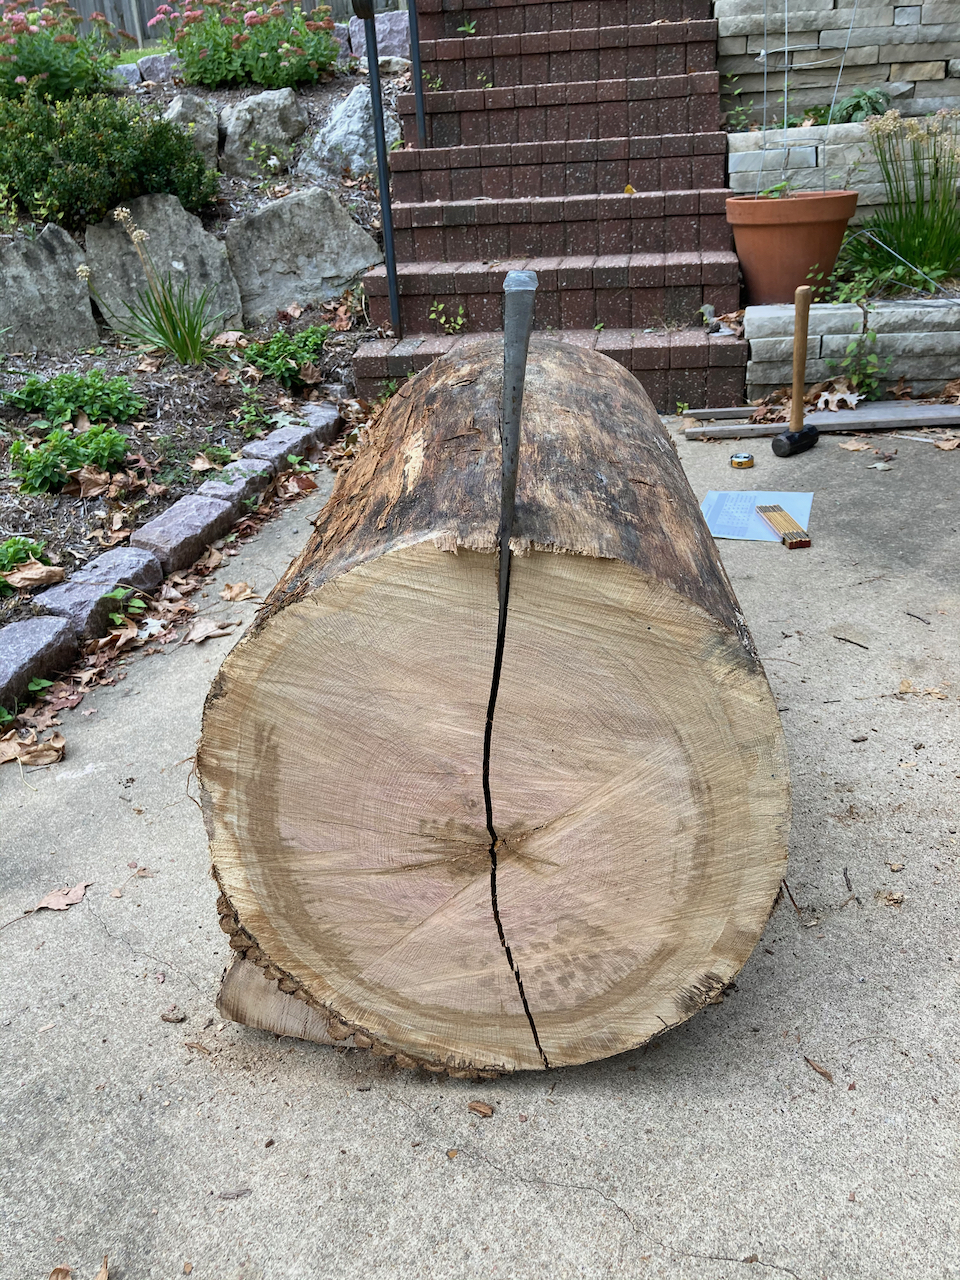
The section was large enough for me to split away the gnarly wood at the center of the log near the pith and discard the sapwood while still leaving considerable wood for parts. That led to many more straight and usable chunks of wood.
In the last month or so, I’ve been taking Zoom classes from Elia Bizzarri and Curtis Buchanan on making Curtis’s Democratic side char (so named because it’s designed to require as few tools as possible to make it accessible to as many makers as possible). It’s been great, with lots of good humor and more great information than I’ve yet to absorb. I haven’t yet told Elia or Curtis that I’m building my first fan back side chair (from Curtis’s plans) and not building the Democratic chair, so don’t tell them 🙂.
Watching Elia work and Curtis explain the process while in my shop working on things has been great. And I’ve made good progress. I roughed out my first batch of spindles, which I’m sure would be terribly disappointing to an expert like Elia or Curtis. But they aren’t bad for a first try, I think.
One of the spindles bowed on me when I put it in the kiln.
Curtis was kind enough to respond to an email and let me know I should be able to use the spindle that bowed. But since I needed practice and didn’t want to be short a spindle, before he got back to me I got another chunk of wood from the remaining log section and made a start at another set of spindles, as much for practice as to have spares for when I mess some of them up. Happily, making those blanks went dramatically faster than my previous glacial pace with the first set.
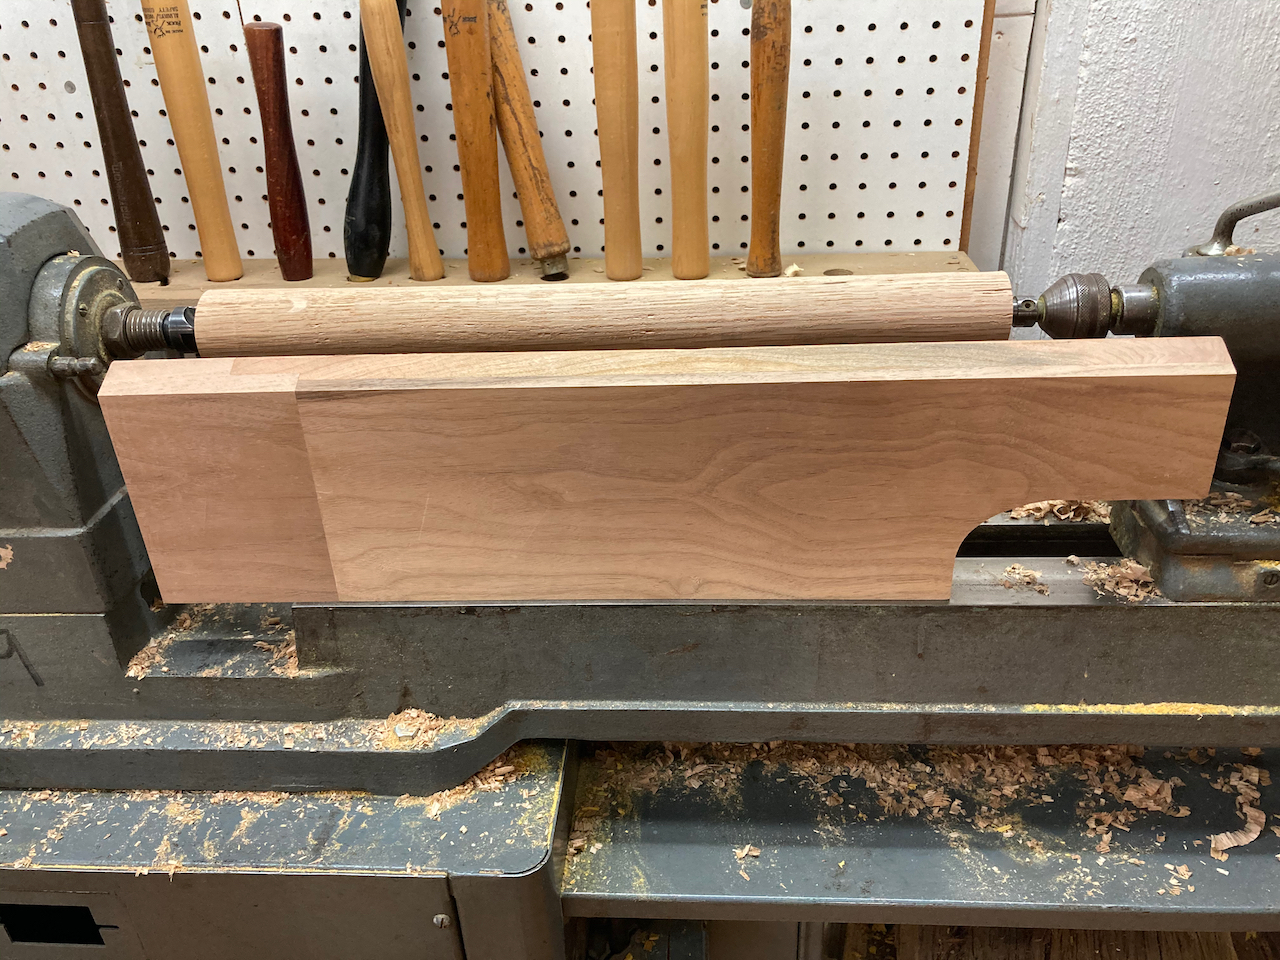
I have also spent time working to flatten my first chair seat blank. My piece had a fair amount of twist, so it took a while to get the pith side flat.
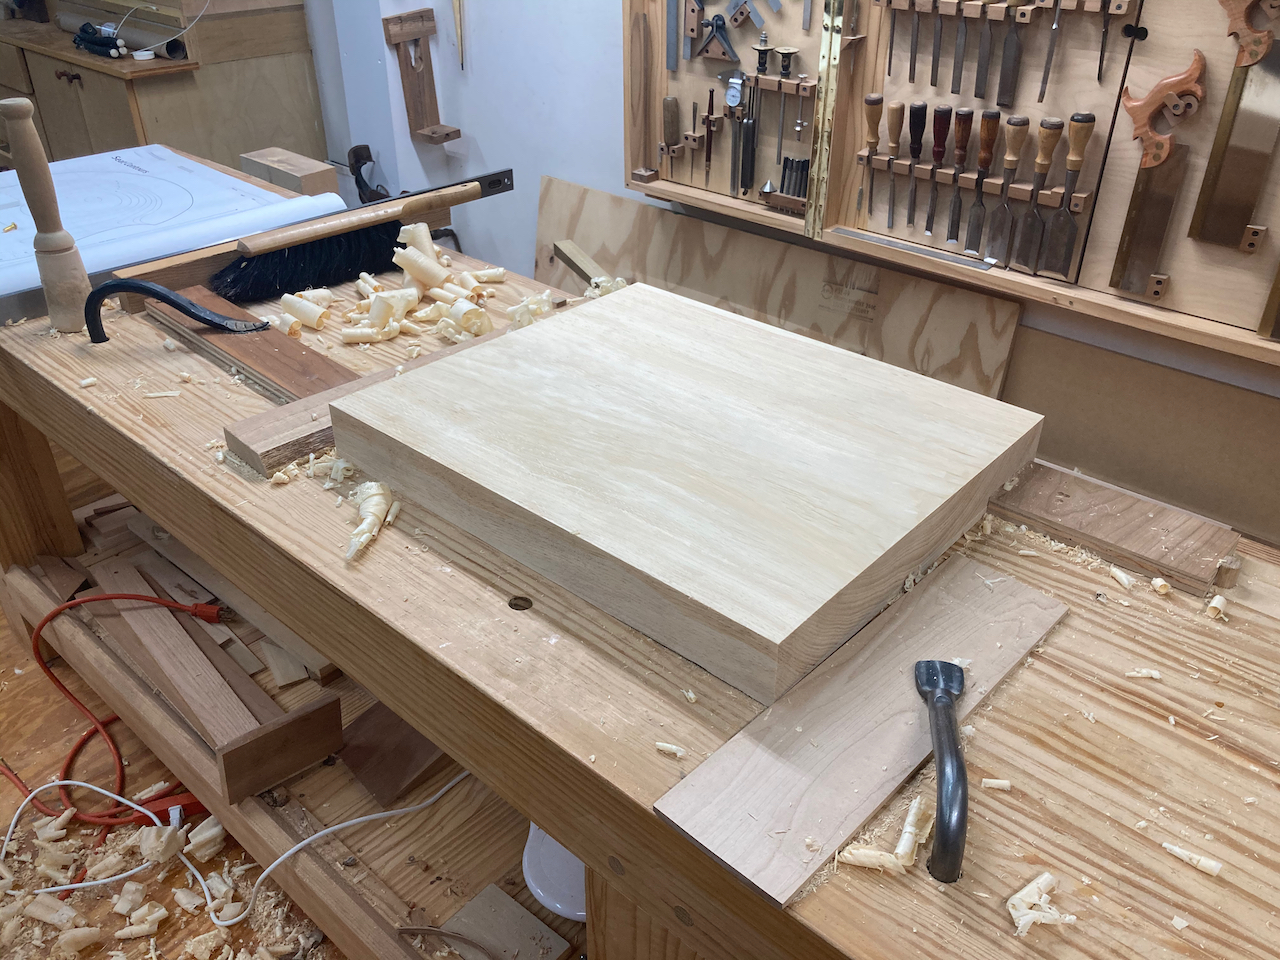
I spent some time last weekend and this week taking the blank close to the 1 7/8” thickness I need before I begin working it into a seat. It is now close and I expect to get it fully there this weekend.
In order to make progress on the seat, I need to have the posts for the upper part of the chair turned and the ends tapered. I plan to turn those this weekend. They will need to spend time drying this coming week before I can taper their ends and fit them to the seat. I hope to have time this weekend to turn the chair legs and maybe the stretchers, as well as trying to shape the new set of spindles and see if that work also goes more quickly.
I have a tremendous amount of learning still ahead of me, but a lot of the things I’ve watched Curtis or Elia do, and have read about, are starting to make a bit of sense. It’s always an incredible experience when an art begins to unfurl ahead of you as you pursue it.