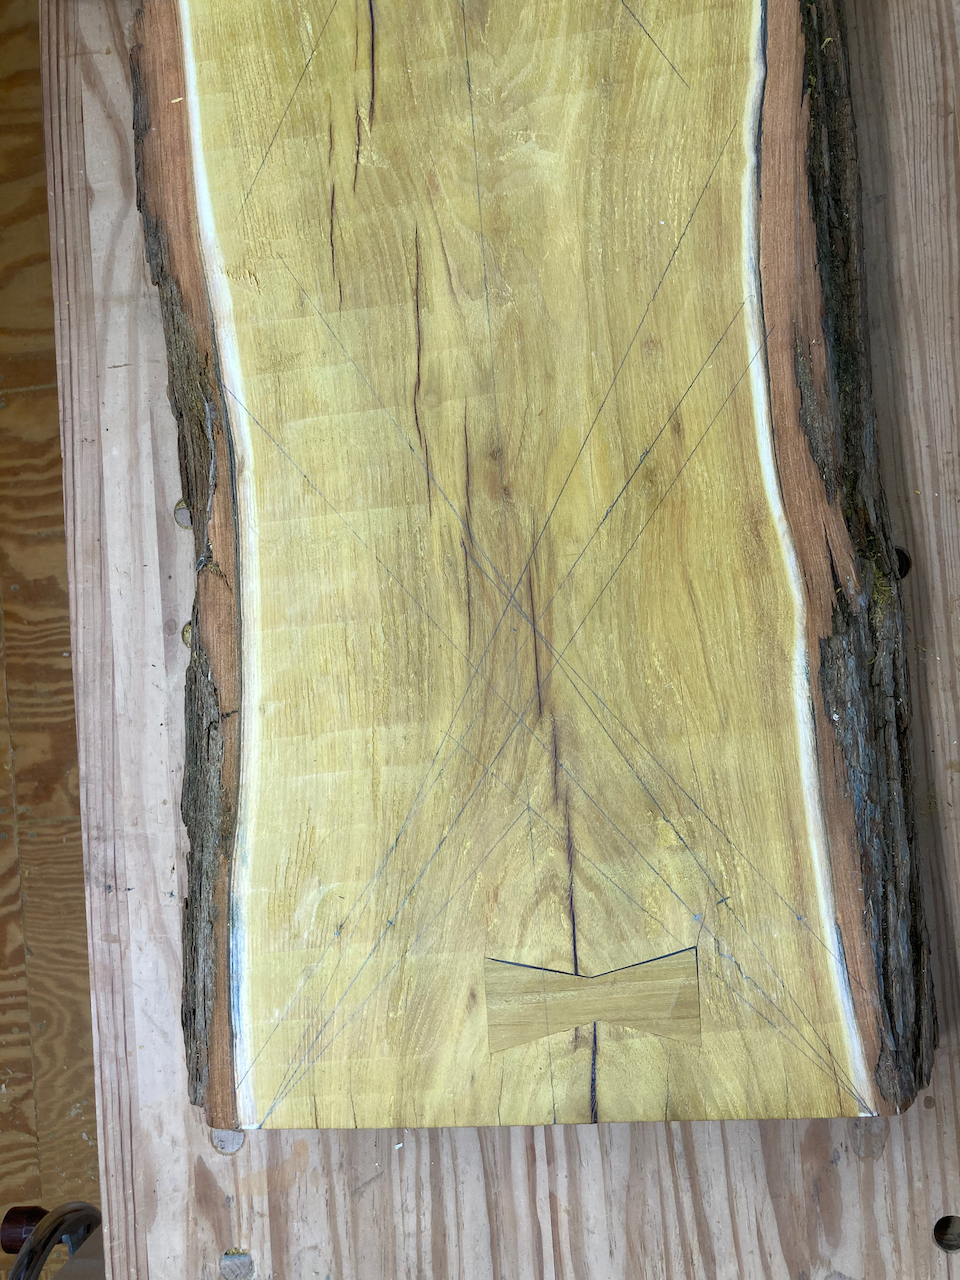
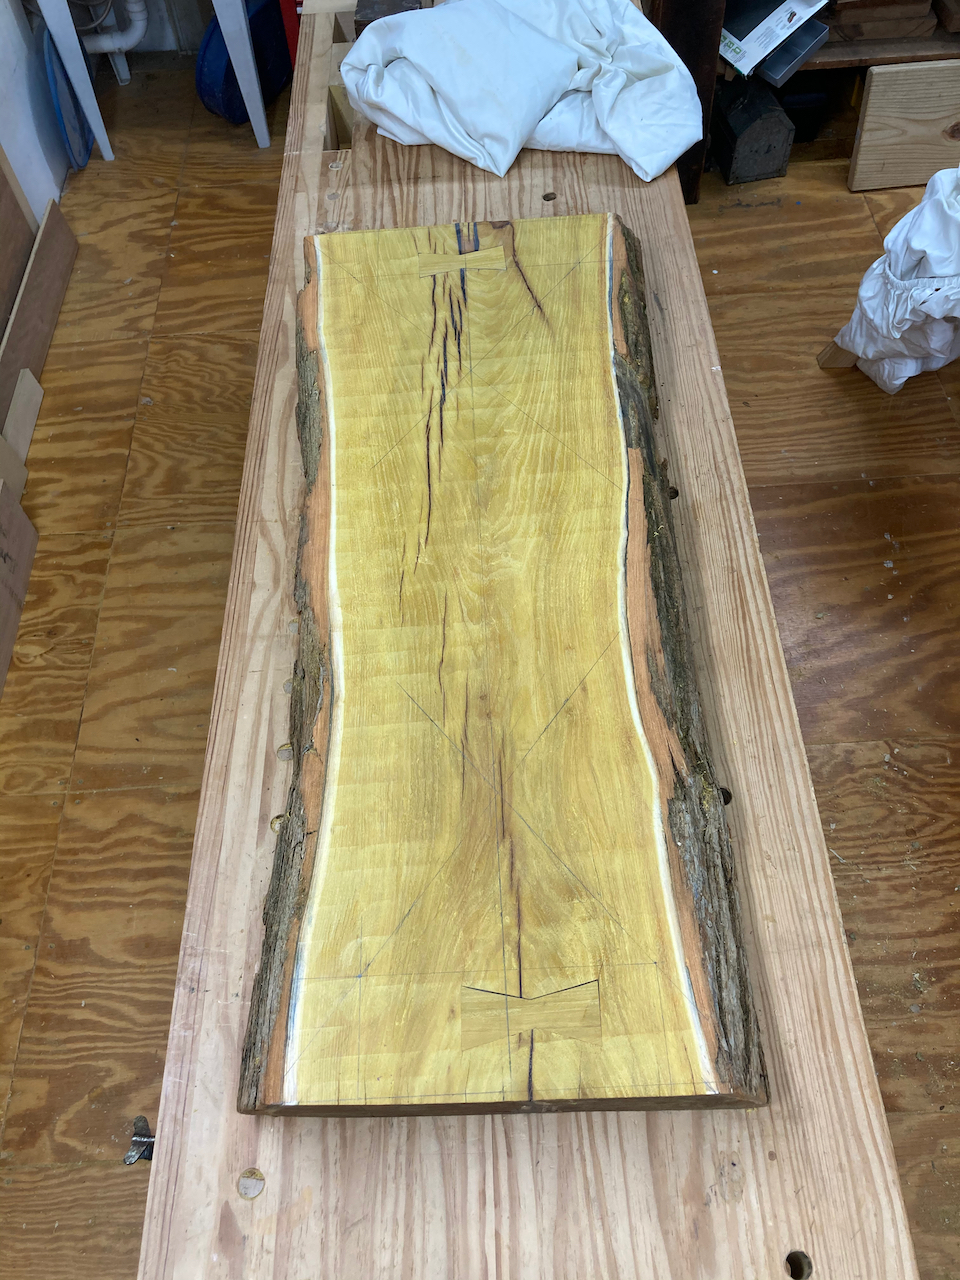
This week I was able to get into the shop a few times including a good stretch today. Since I’ve never laid out legs before, it took a lot of experimenting to find a rake and splay I believe will work, as shown by all the lines on one end of the slab bottom.
I didn’t want to make a mistake when it comes time to drill and ream the holes, so I cleaned things up.
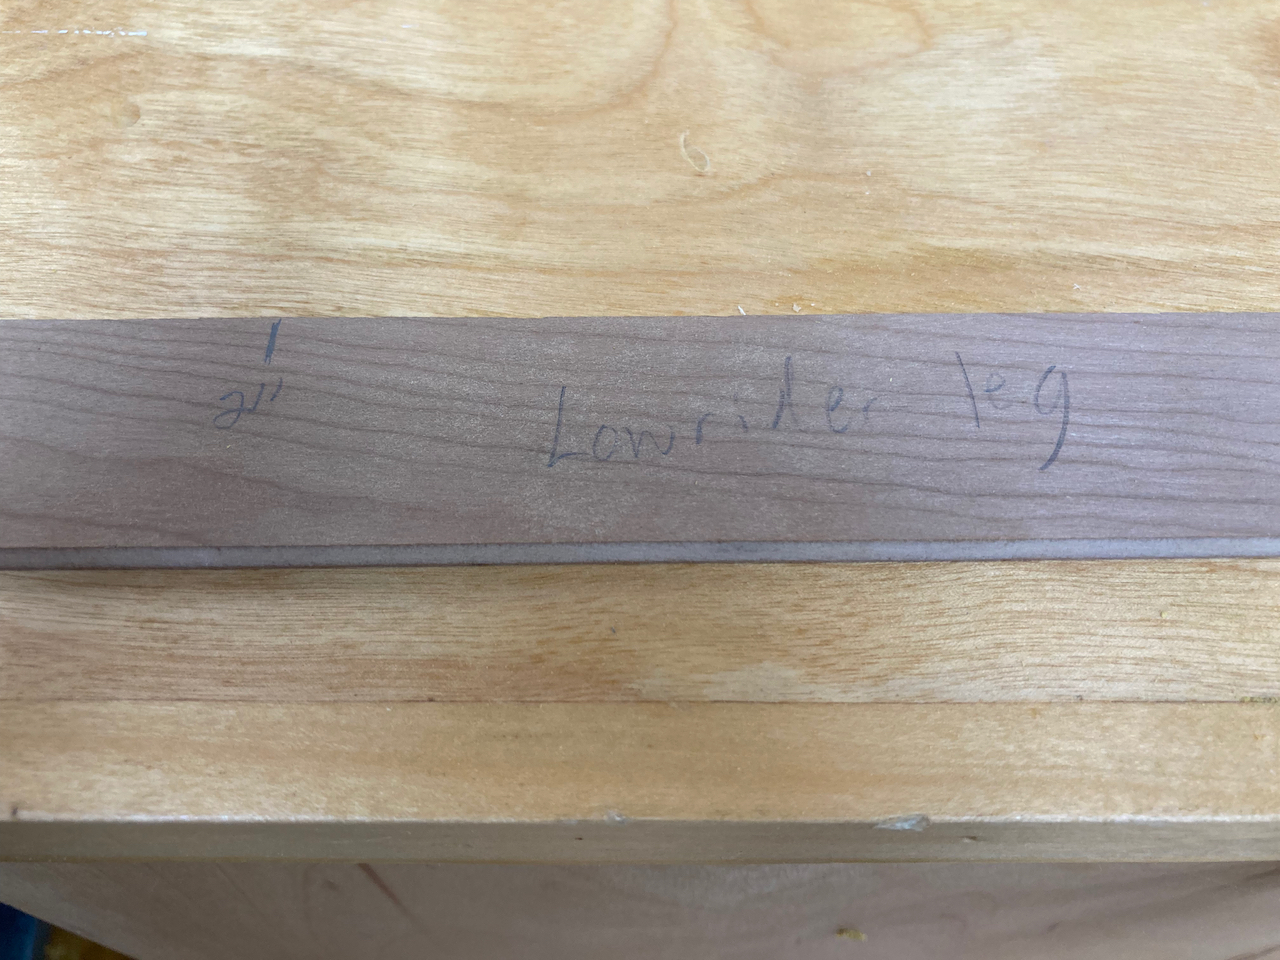
I also found time during the week to rough out the fourth leg, which started out pretty rough.
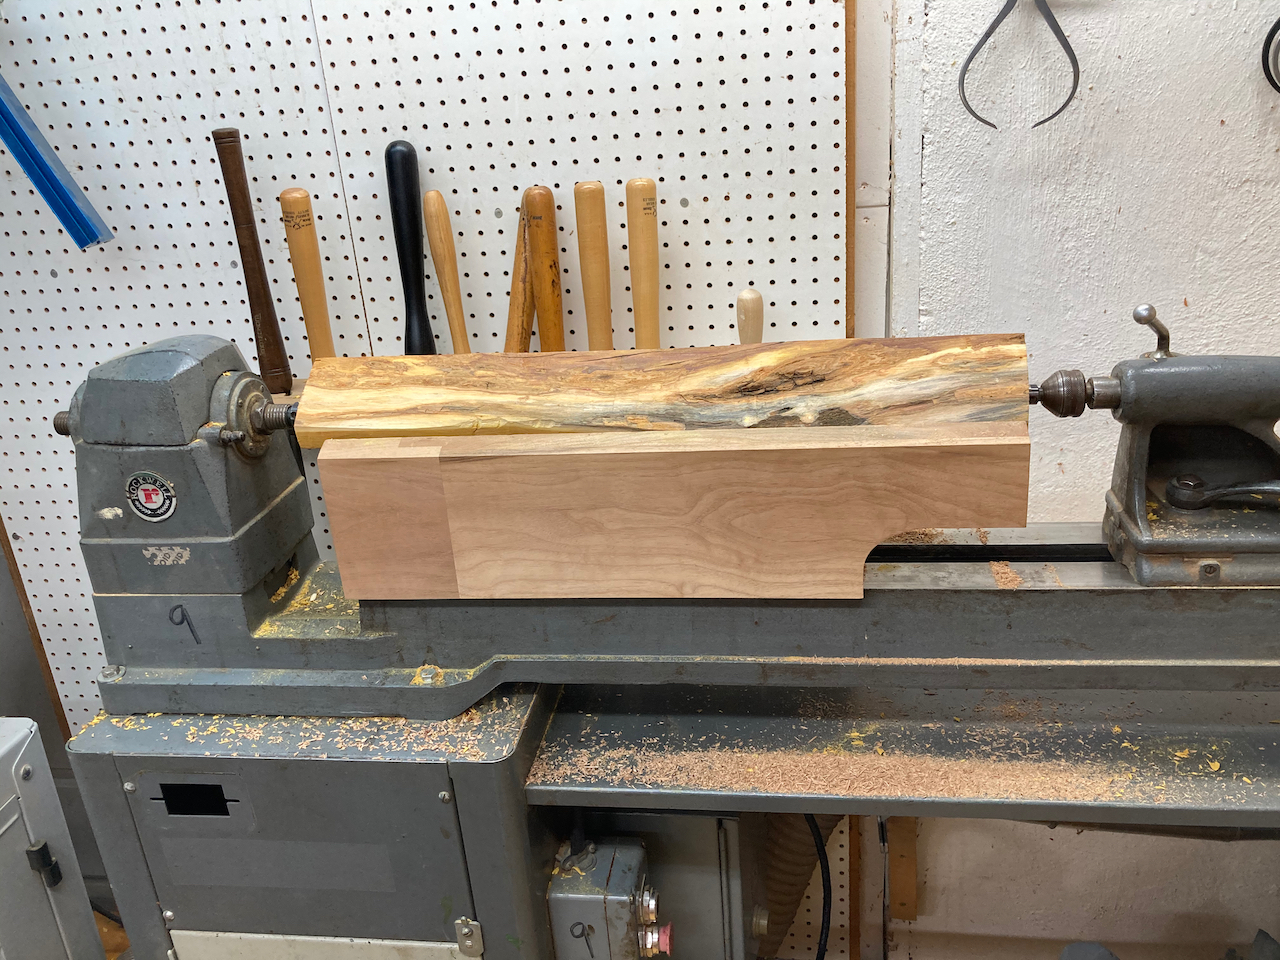
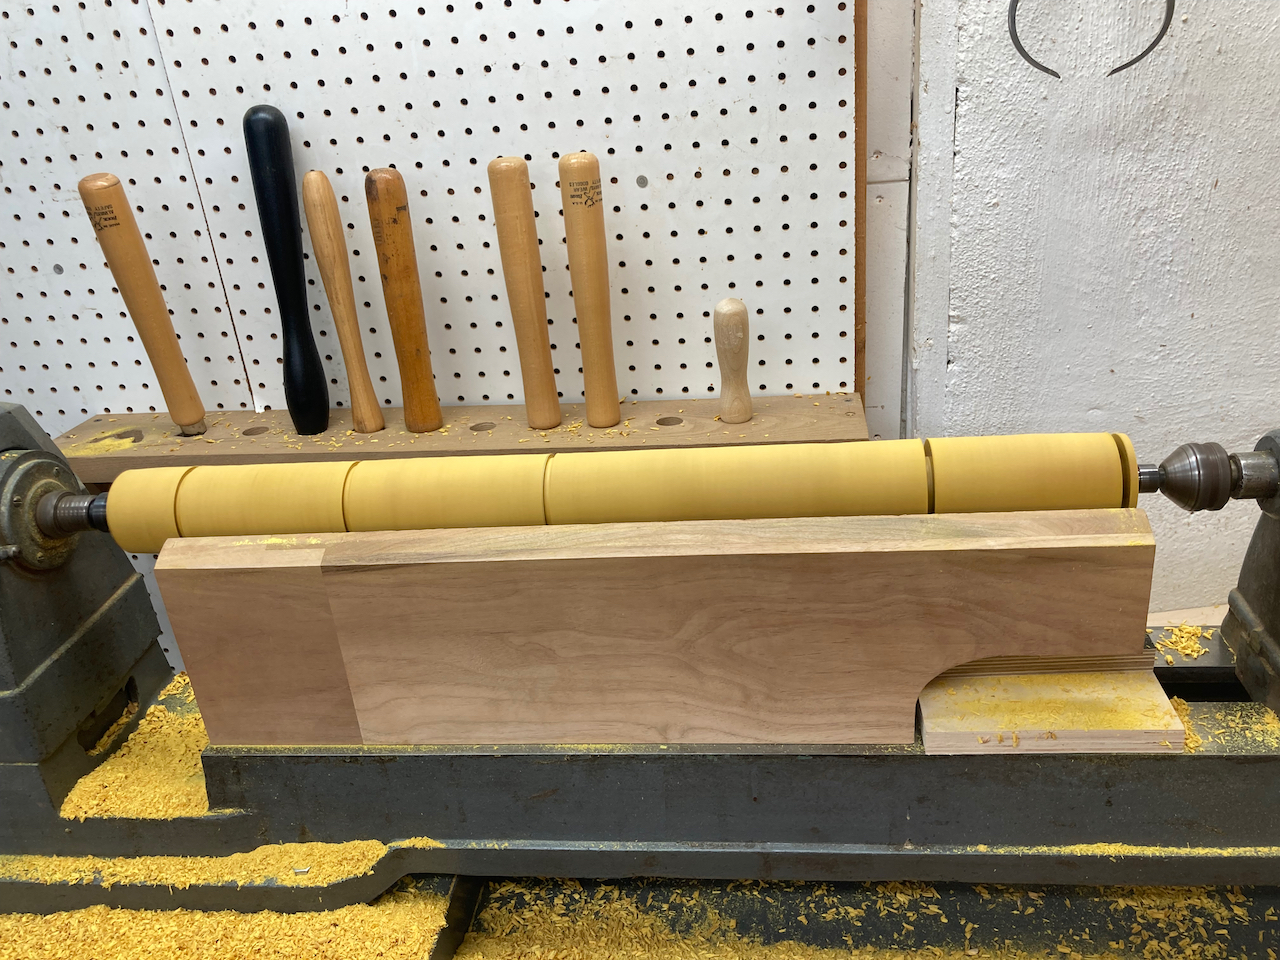
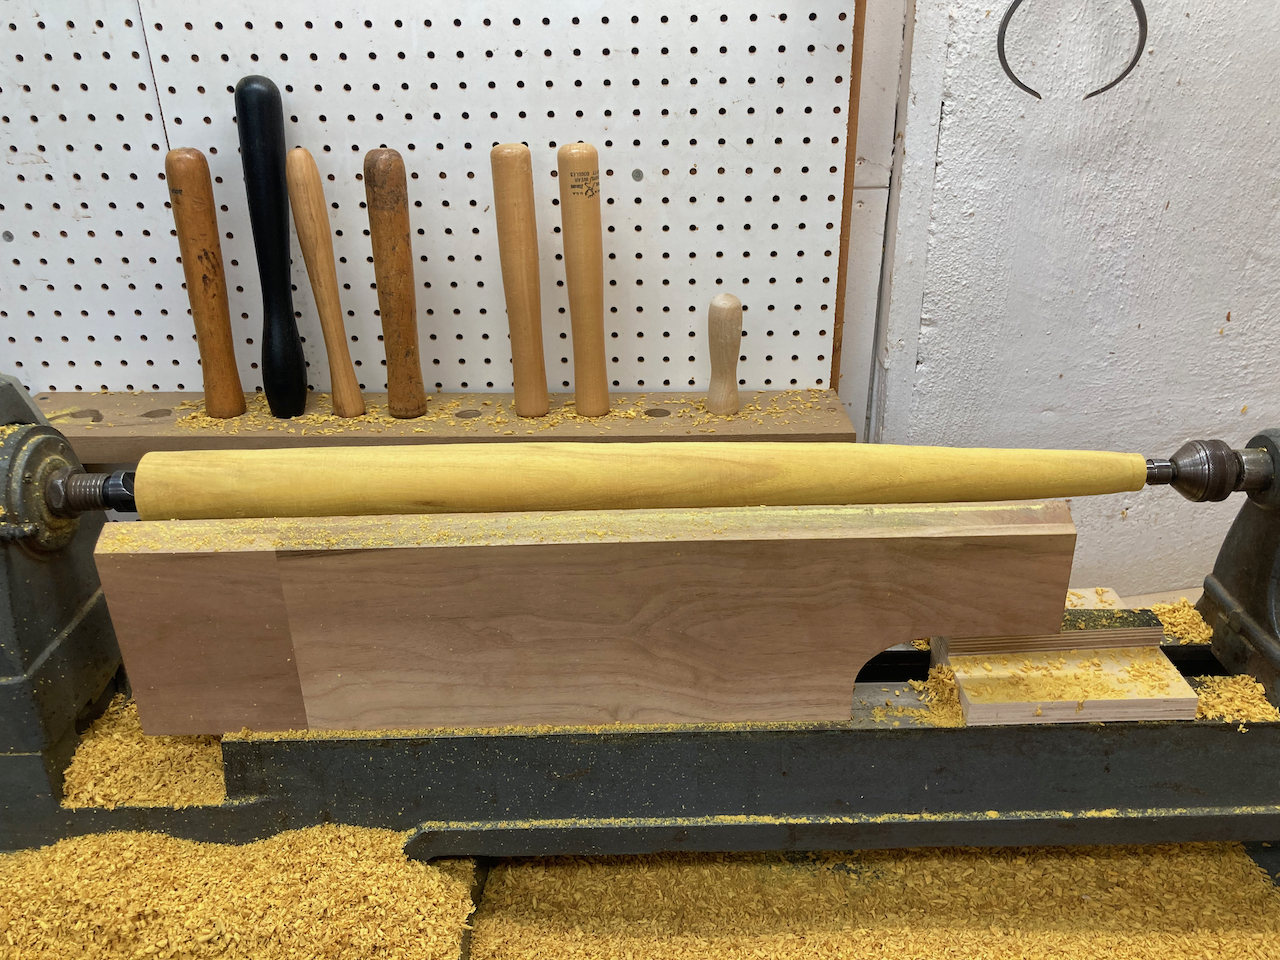
Today was a busy day. I turned all four legs to rough shape, including the tapered tenon, a bit large. I put more details onto my drilling diagram and used it to figure out how long the tapered tenon needs to be and the right diameters for turning it.

I made a story stick, which has marks on it for where certain diameters should be.
I also set up three outside calipers with each dimension, so I wouldn’t have to constantly adjust one.
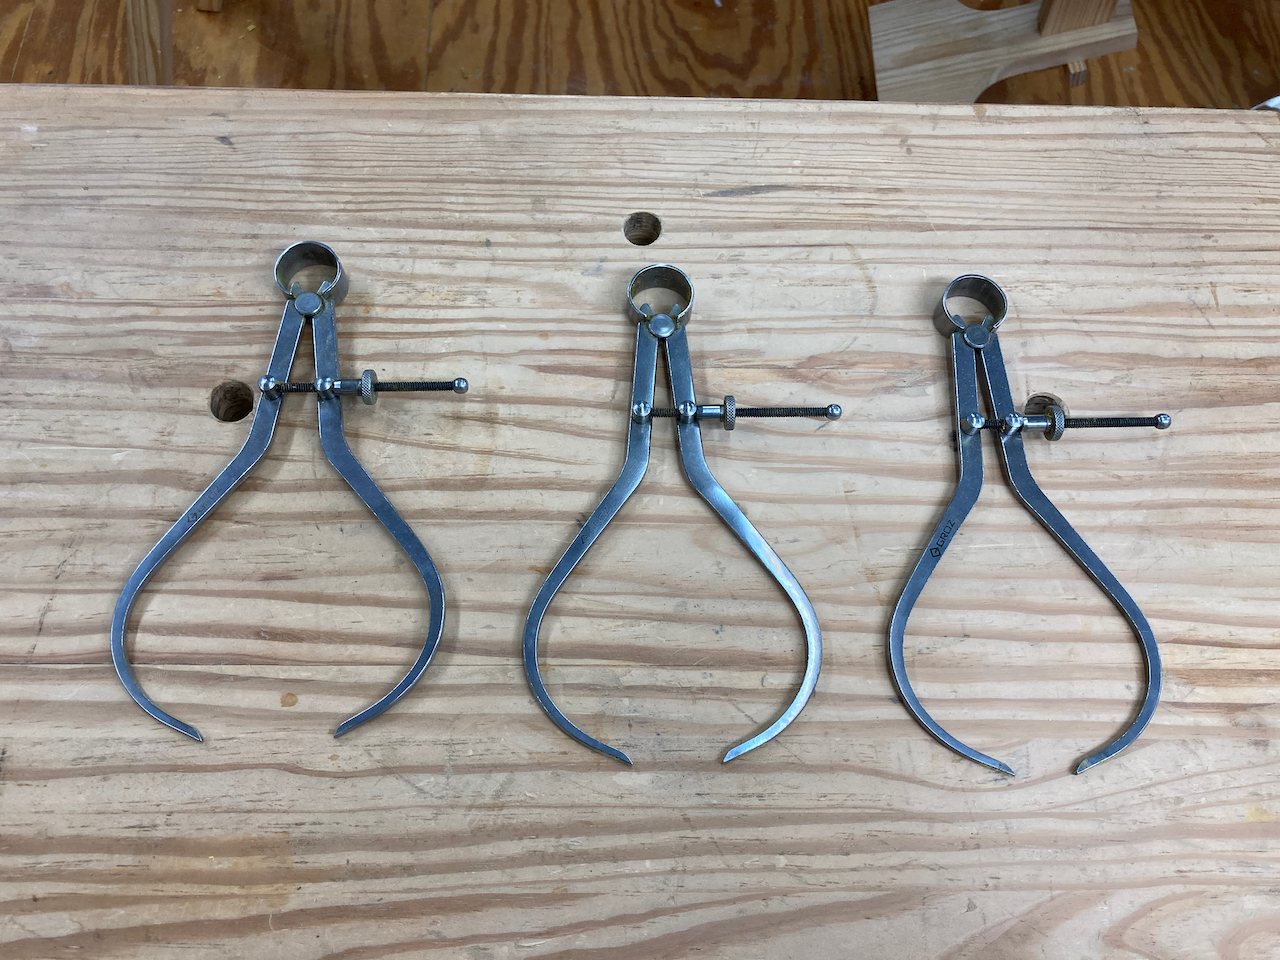
Then, with each leg, I laid down pencil lines using the story stick and used a parting tool and the appropriate caliper to cut a groove to the correct diameter. This provided a ‘map’ of the material I needed to remove.
As I keep doing lathe work, I’m building skills and confidence. These legs still took a lot more time than it would have taken an expert, but I’m getting faster and more accurate.
I took a break from turning to attend the ninth class in the wonderful Elia Bizzari and Curtis Buchanan ten part Zoom class on building Curtis’s Velda’s Chair. I am so glad I signed up for the class. I’m learning so much. Maybe one day I’ll be able to successfully build one of these.

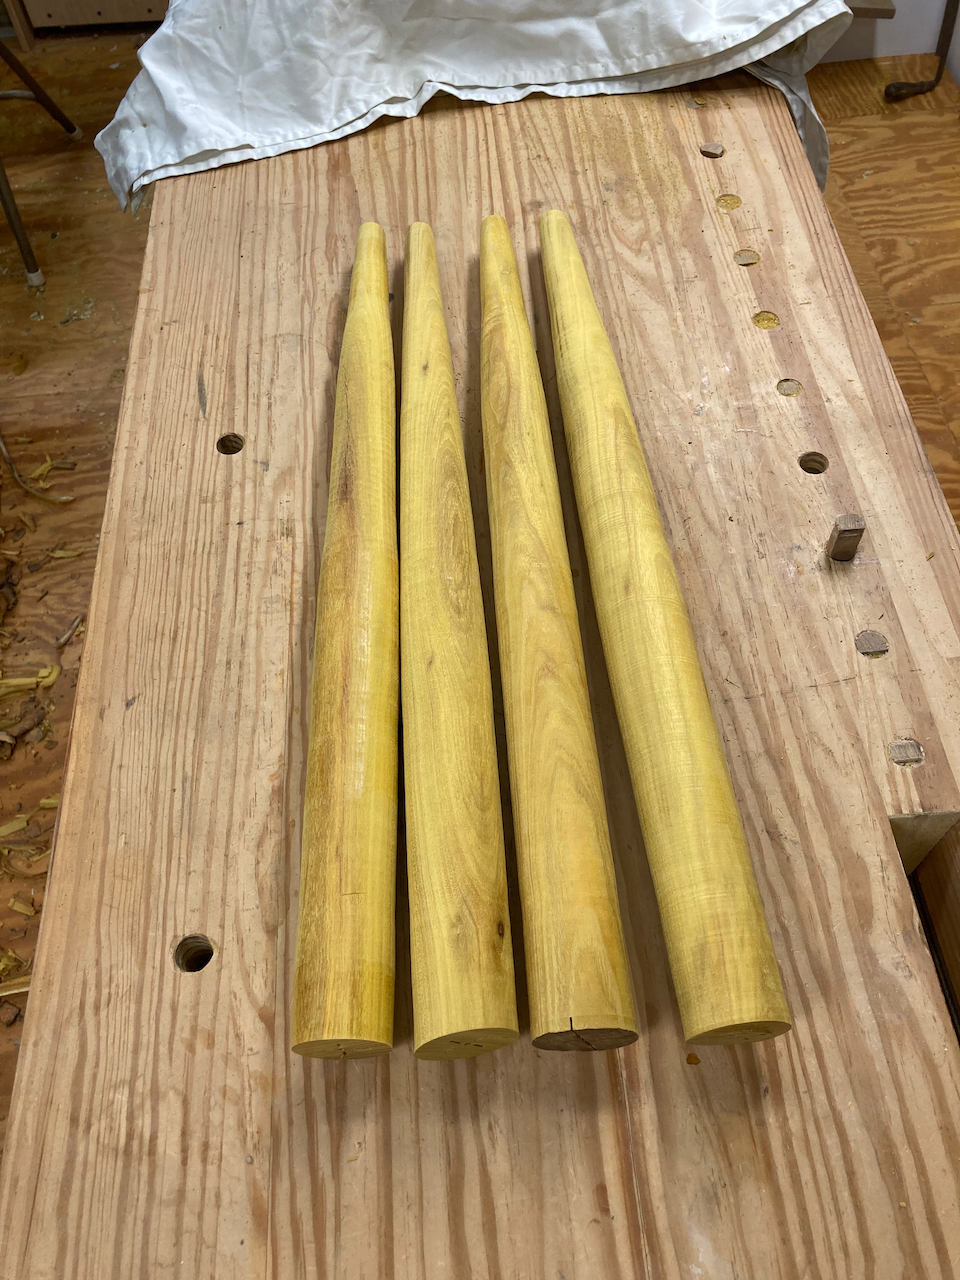
After another great class, I finished turning the fourth leg, leaving me with four nearly identical legs ready for the kiln.
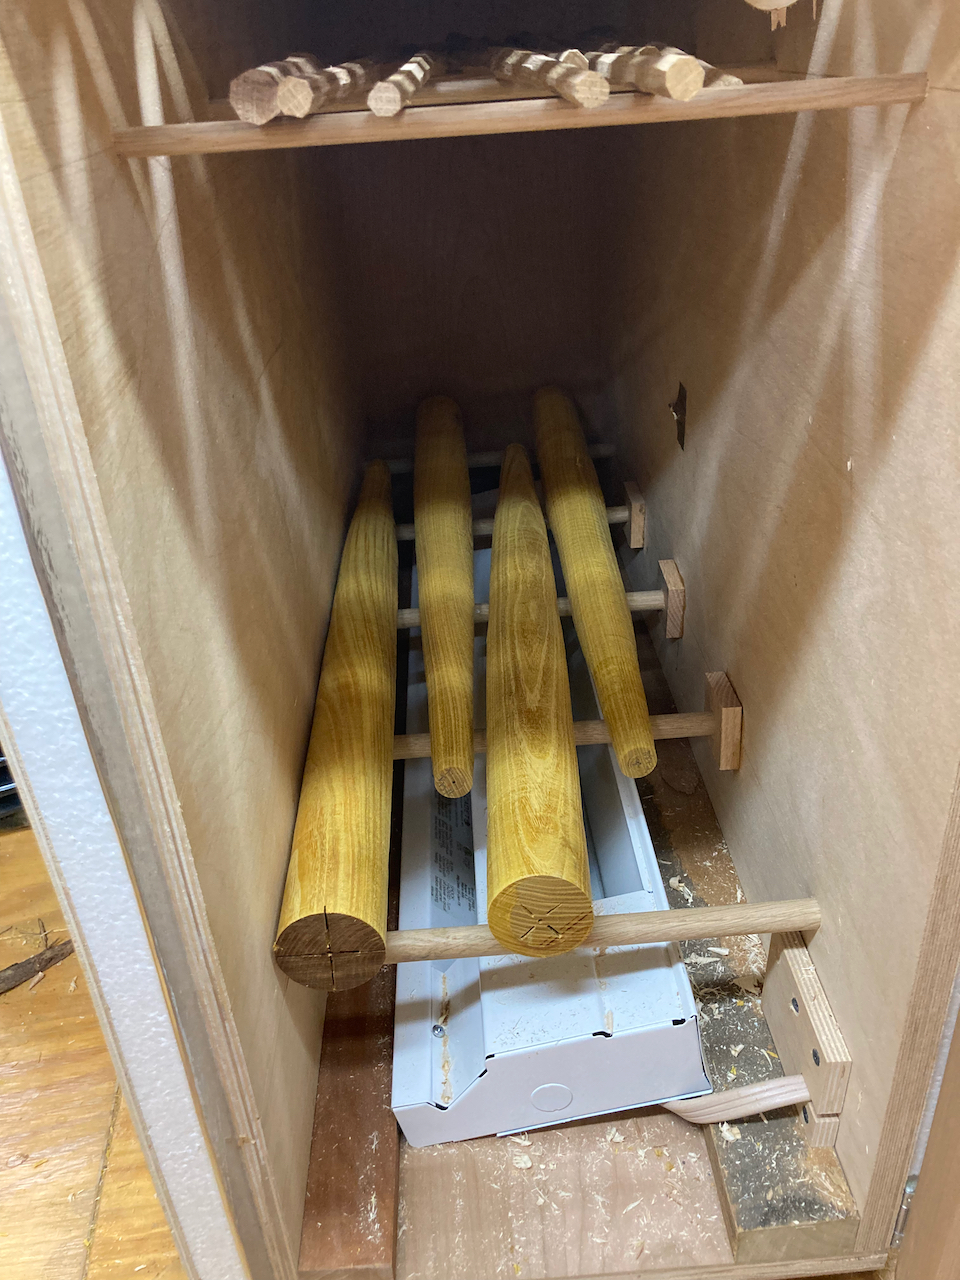
Curtis was kind enough to answer my question about drying large tenons during the class, so I realized I can dry the legs inside the kiln instead of just drying the tenon portion by sticking it into the kiln through a hole in the top. That made redundant the 1 3/8" diameter holes I’d already drilled in the top of the kiln. But I can patch them to hold regular sized chair leg tenons easily enough.
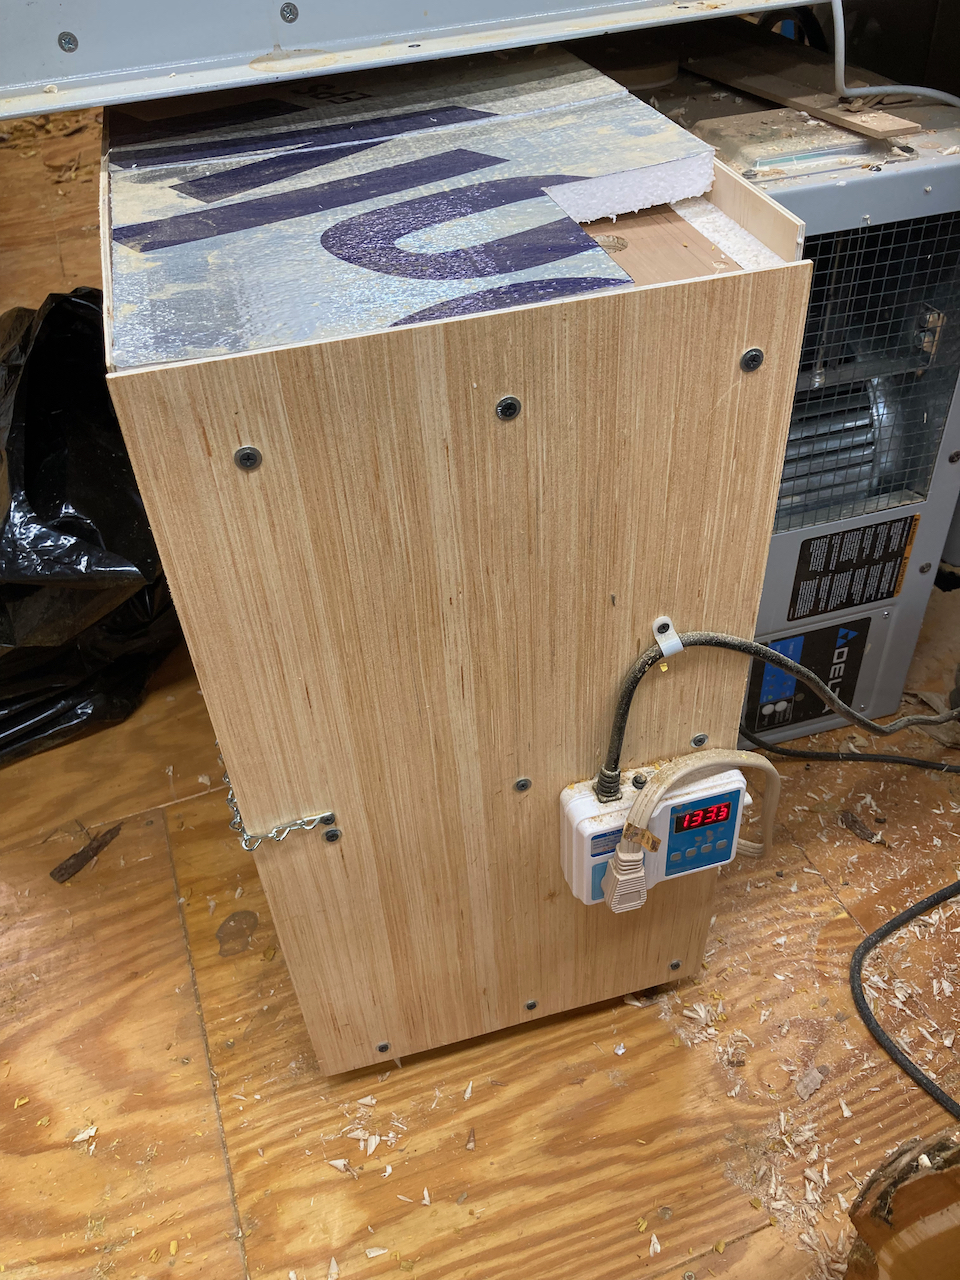
So I put the legs in my kiln.
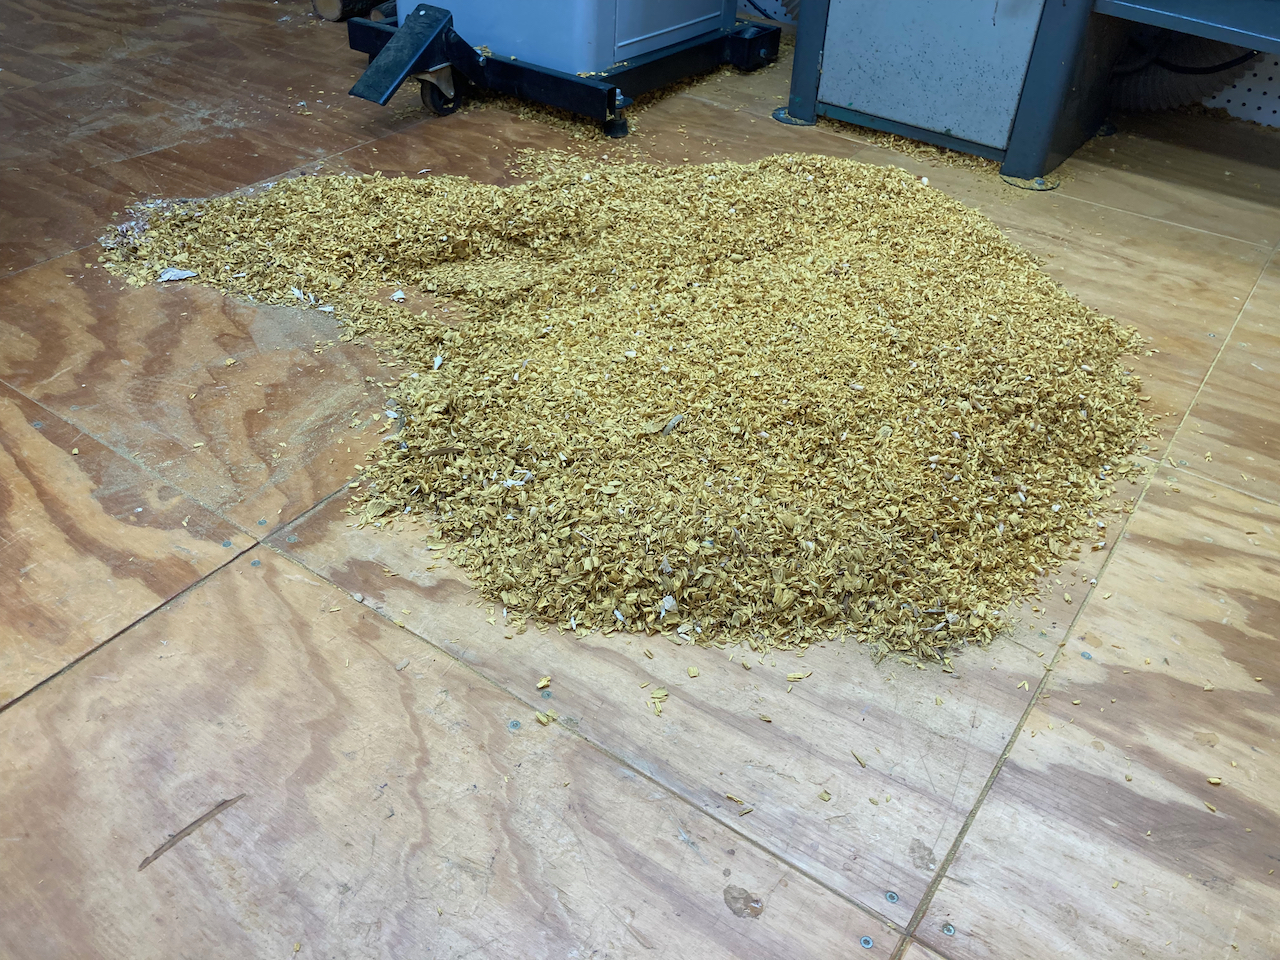
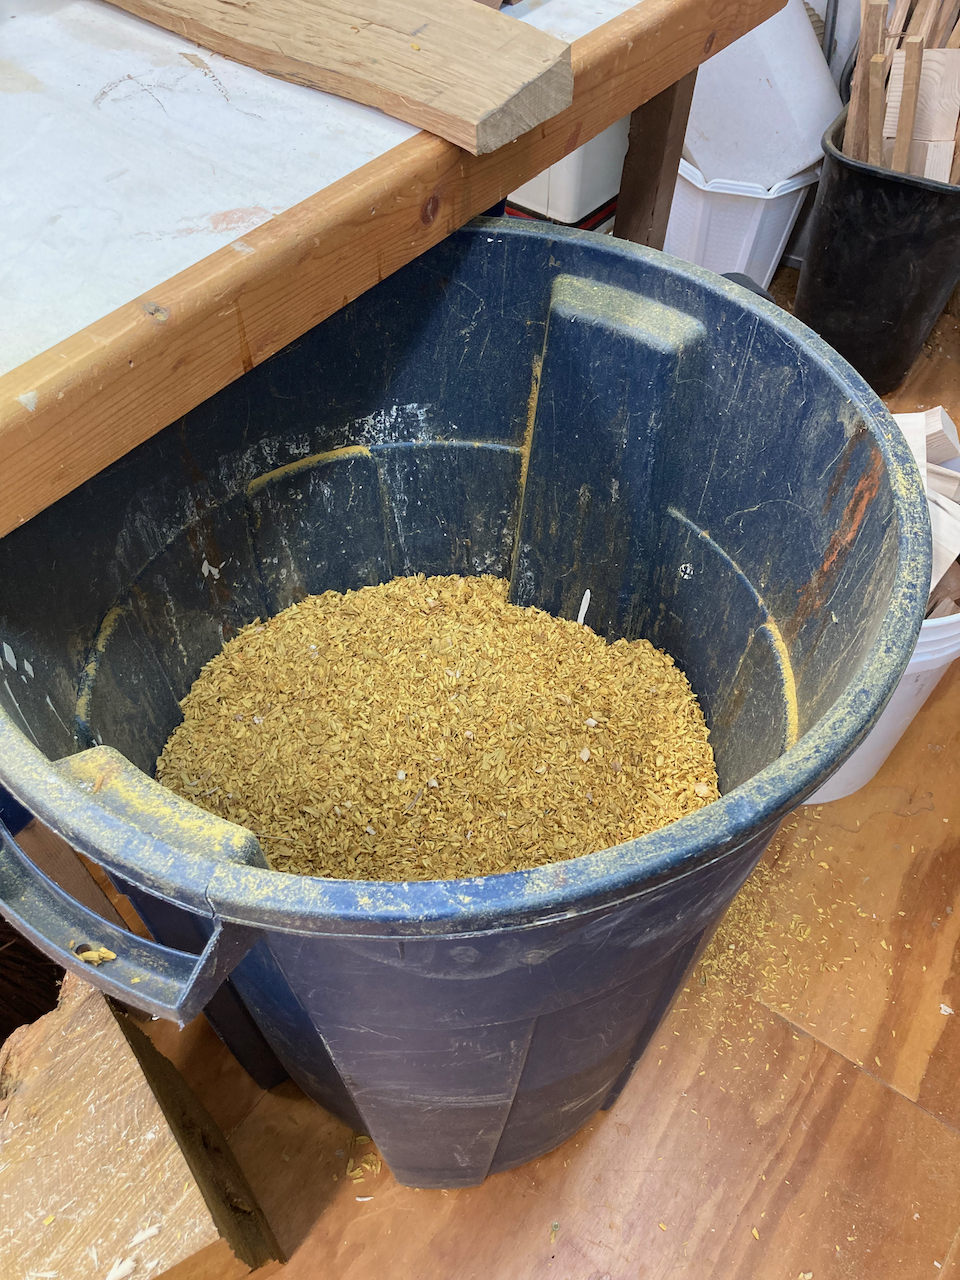
Turning sure creates a lot of shavings, or in this case chips. Osage orange turns a lot like red and white oak, producing small chips and not long strands. The pile was enough to fill half my shop trash can.
I’m not sure how long it will take for the legs to completely super-dry. I’ll check them each day to see how they are doing and if they don’t take longer than a week will likely end up fitting them to the bench next weekend, since I probably won’t have a stretch of time long enough any evening this week. That will give me a chance to do some much needed sharpening of chisels and blades, finish up a small book holder for my daughter, and hopefully do some more learning about chair making.