I suppose I’m still procrastinating on carving the seat for my shave horse, but it’s productive at least.
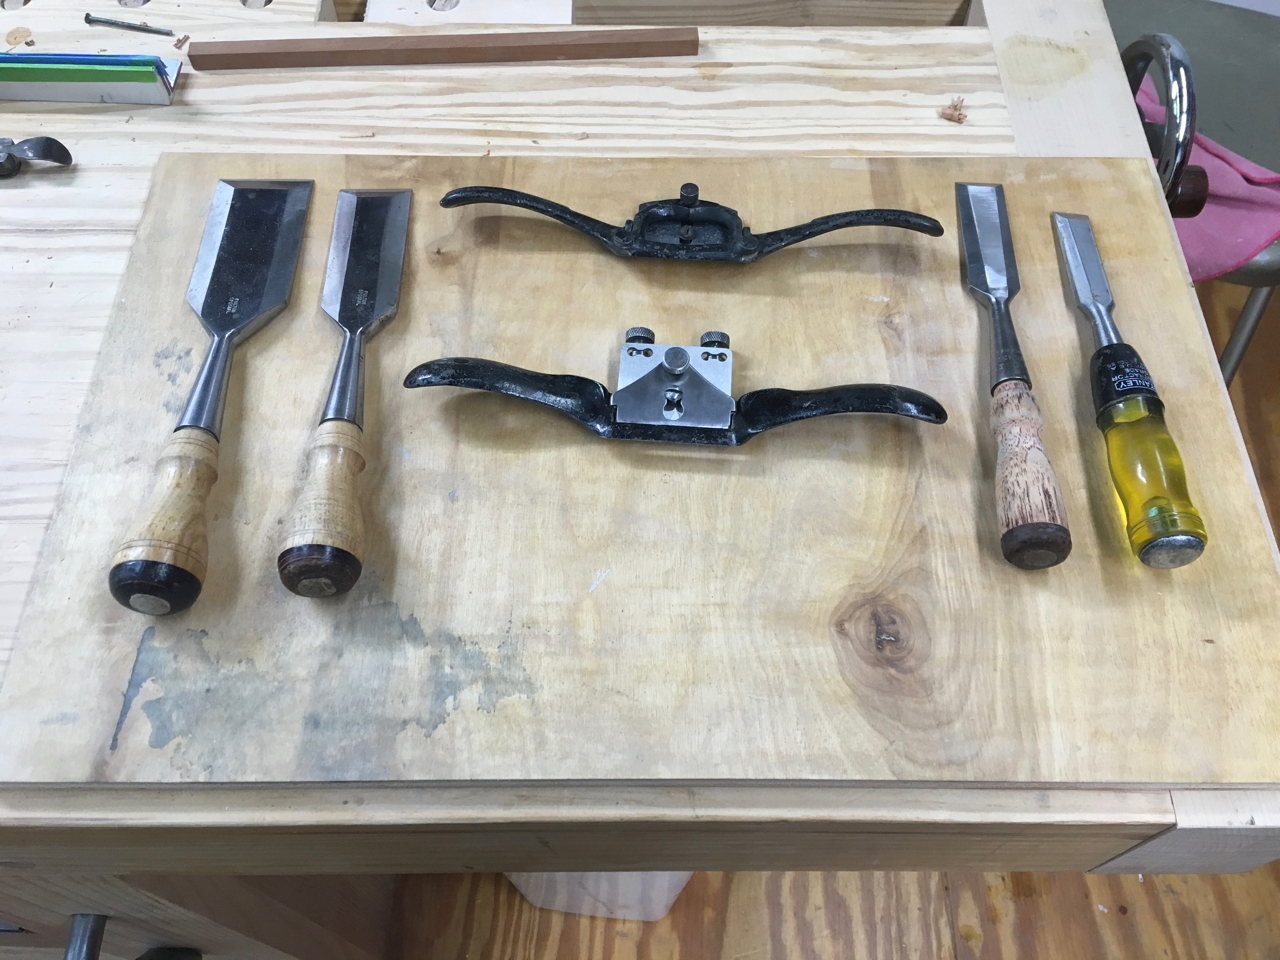
There are a number of specialized tools required for chair making, and I’ve purchased them over the course of the last year or so. Most of them came new but I did purchase a couple of spokeshaves used. And those spokeshaves needed considerable tuning. I also had some hand plane irons and chisels that needed sharpening, as well as a couple of hand planes whose soles needed fettling (flattening the bottom).
So I started using the sharpening cabinet in earnest this weekend. I spent quite a few hours tuning up and sharpening things. I ended up punting on fettling the plane bottoms, as they are ‘extra’ planes I plan to tune up for specialized jobs, and after about half an hour on one I decided I didn’t want to take a bunch of time on them this weekend.
I’ll come back to them in a week or two.
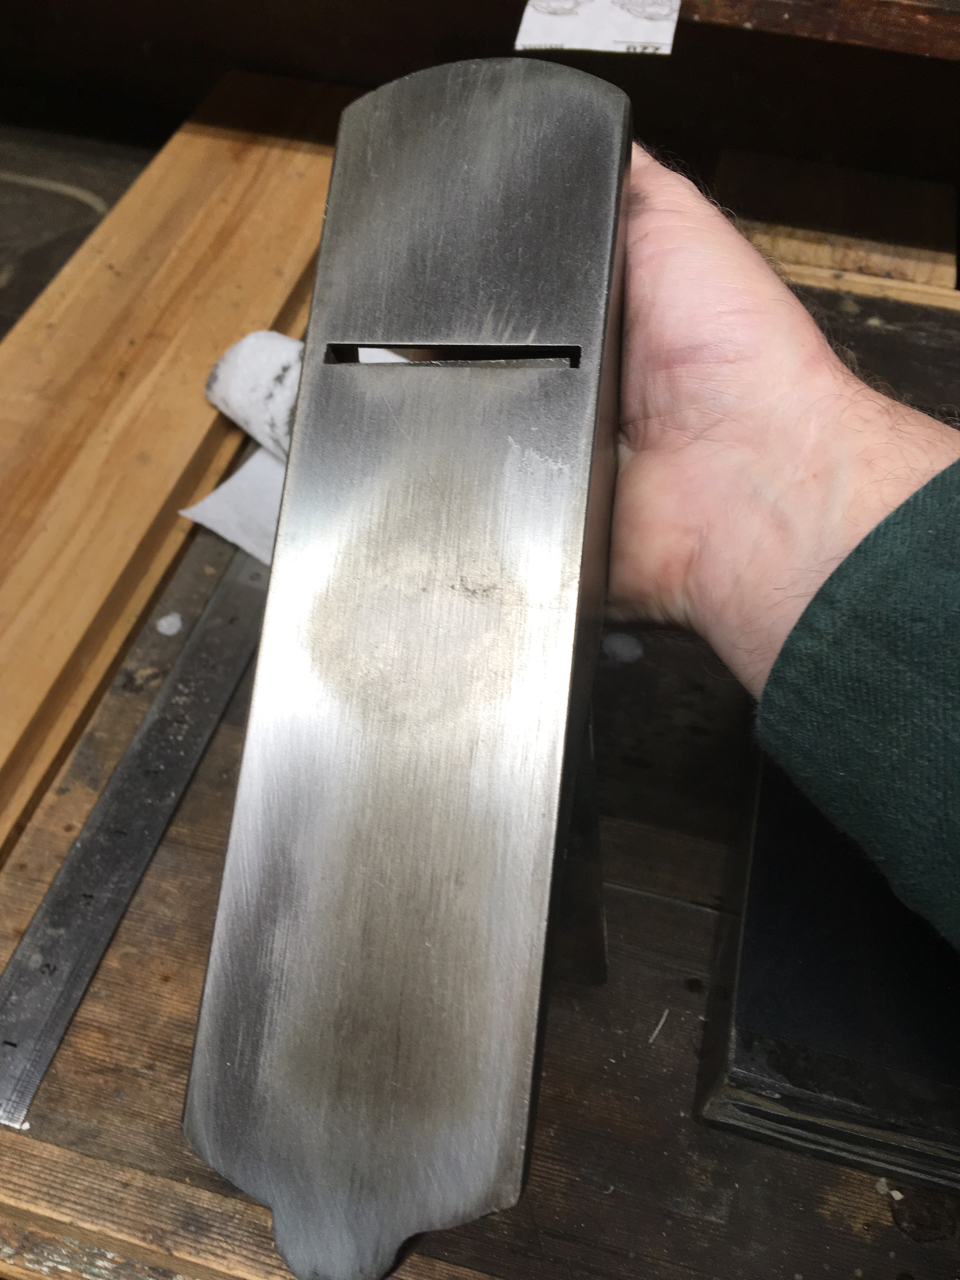
I touched up the edges on a number of hand plane blades, which didn’t take very long and let me fine tune the arrangement of items in the sharpening cabient. Then I started in on the spokeshaves and chisels. The spokeshaves turned out to need considerable work. This meant flattening their sole, flattening the cap iron on the one that has a cap iron, flattening the back of the blade, and grinding and sharpening the edge of the blades.
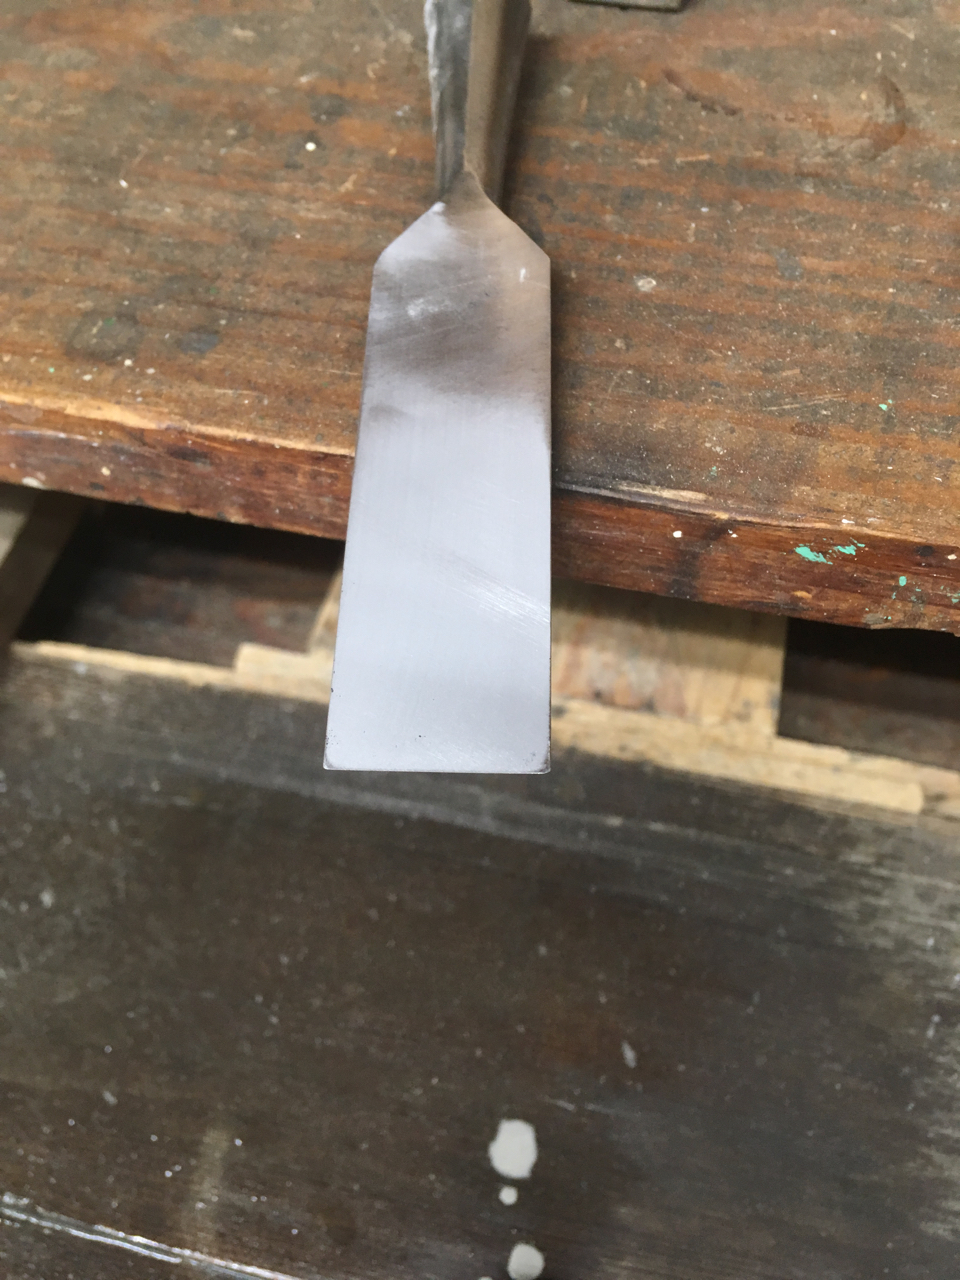
A couple of larger chisels needed moderate tune-ups: I hadn’t properly flattened their backs when I first got them years ago and as a result their performance was hit-and-miss. Because they are wide chisels (2" and 1 1/2"), it takes a while to flatten the back. I also ground a new bevel and went through the grits of waterstones there as well.
Two chisels were major projects. One is a high quality old Stanley chisel I had never tuned up because the back was ‘dubbed over’ so badly. With a chisel, you want the back totally flat, as it and bevel form the cutting edge. In the case of this chisel, someone wore/ground down the back corners pretty badly.
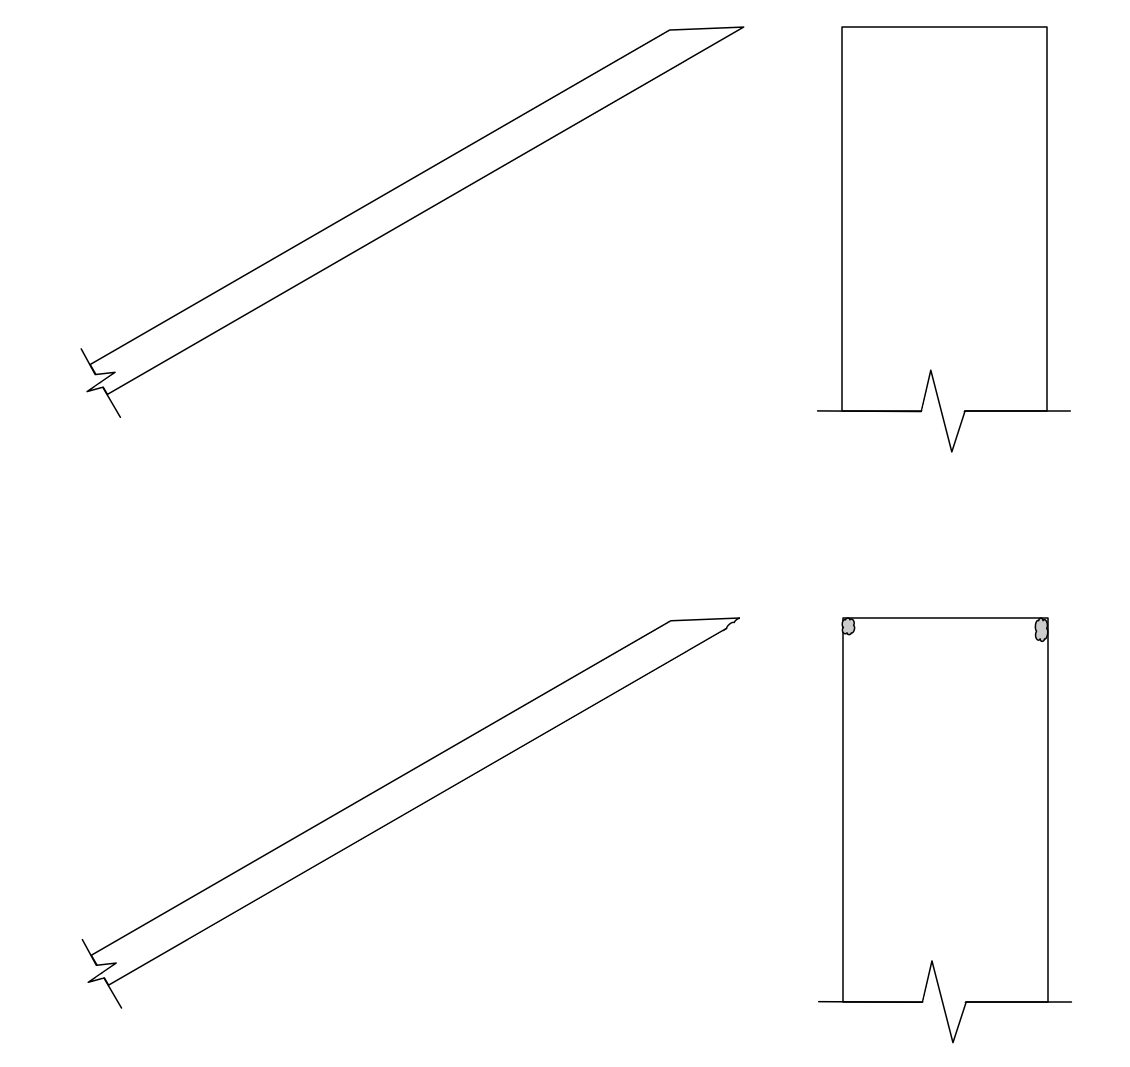
If you look closely, you can see the problems on the back corners.
So I had to reflatten the back and grind the bevel back a ways to get things back to flat, which took a while.
The other chisel is one of my ‘beater’ chisels. They are inexpensive Stanely chisels with plastic handles and metal ends, which I use for rough work (rightmost in the picture below). So, the back and the edge were pretty beat up and in need of significant work.
Happily, these are done and I can move on to other things.